


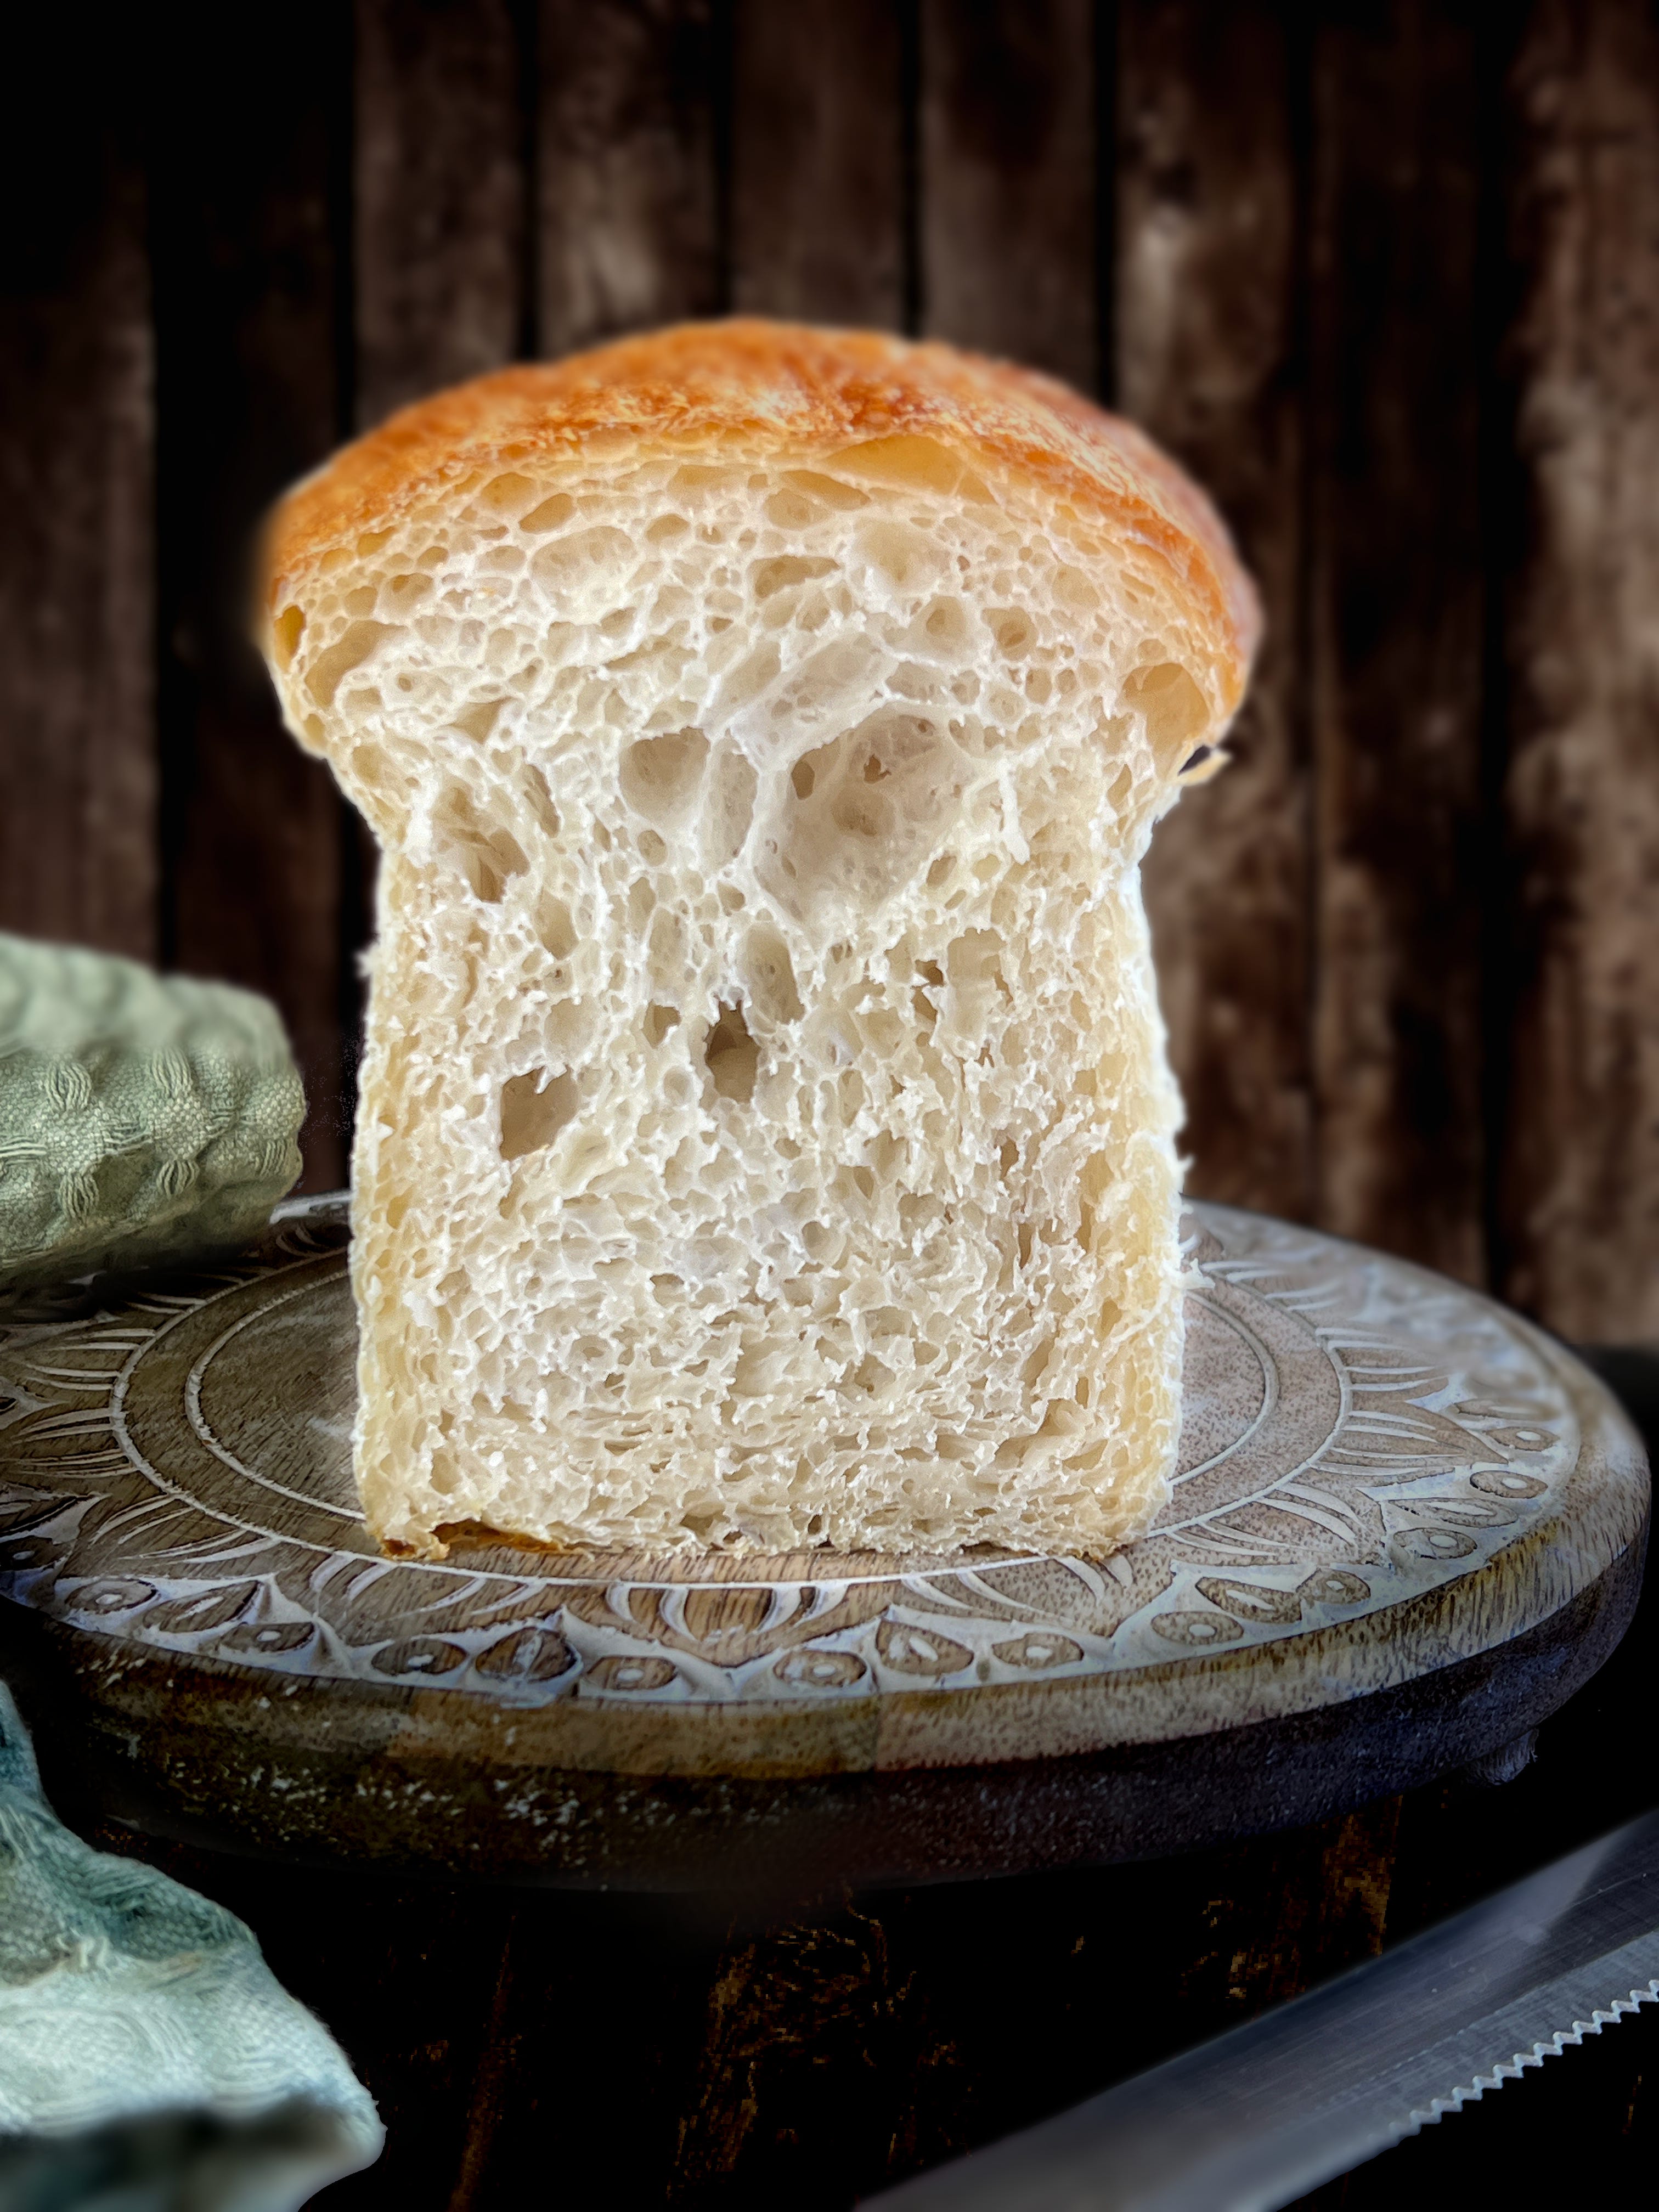
Versatile & Easy 4-Ingredient Tangy Sourdough Sandwich Bread
Fresh, versatile, and healthy home-baked bread with only 4 ingredients: perfect for the family’s sandwiches & more!
There’s something magical about sourdough bread. It’s not just bread; it’s a story of tradition, patience, and nature’s own leavening. At Mountaintop Kitchen, we hold a special place in our hearts for sourdough, a bread that connects us to generations past and beckons us to slow down and savor the journey. Growing up, I was mesmerized by the transformation of 4 simple ingredients into something so substancial and life-giving, all in my grandma’s tiny shoebox kitchen outside of Detroit.
Golden crust, wild tang,
Fermented with nature’s grace—
Sourdough's timeless gift.

The origins of sourdough bread stretch back thousands of years from grandma’s little kitchen. Our ancestors discovered, perhaps by happy accident, that leaving flour and water out allowed wild yeast and lactic acid bacteria to work their wonders. This natural fermentation process created a bread that was not only delicious but also easier to digest and more nutritious. From the Egyptian pyramids to the hills of ancient Rome, sourdough has been a staple, nourishing countless civilizations.
Sourdough made its way to America with the Gold Rush miners in the mid-1800s. These hardy pioneers relied on their sourdough starters to provide them with sustenance in the rugged wilderness. Today, the tradition continues in kitchens across the country, from seasoned bakers to enthusiastic newcomers. I carried forward my grandma’s bread-making tradition to Tennessee, Maryland, New Mexico, and now Mexico; the home of the Mountaintop Kitchen.
The Benefits of Sourdough:
Flavor: Sourdough’s signature tang comes from the lactic acid bacteria in the starter, creating a depth of flavor that’s hard to beat. Each loaf has its own unique character, influenced by the local wild yeast and the baker’s hand.
Nutrition: The long fermentation process breaks down gluten and phytic acid, making sourdough easier to digest and increasing the availability of nutrients. It’s also lower on the glycemic index, providing a steadier release of energy.
Shelf Life: Sourdough naturally resists mold, meaning your bread stays fresher longer. The acids produced during fermentation act as natural preservatives, extending the life of your loaf.
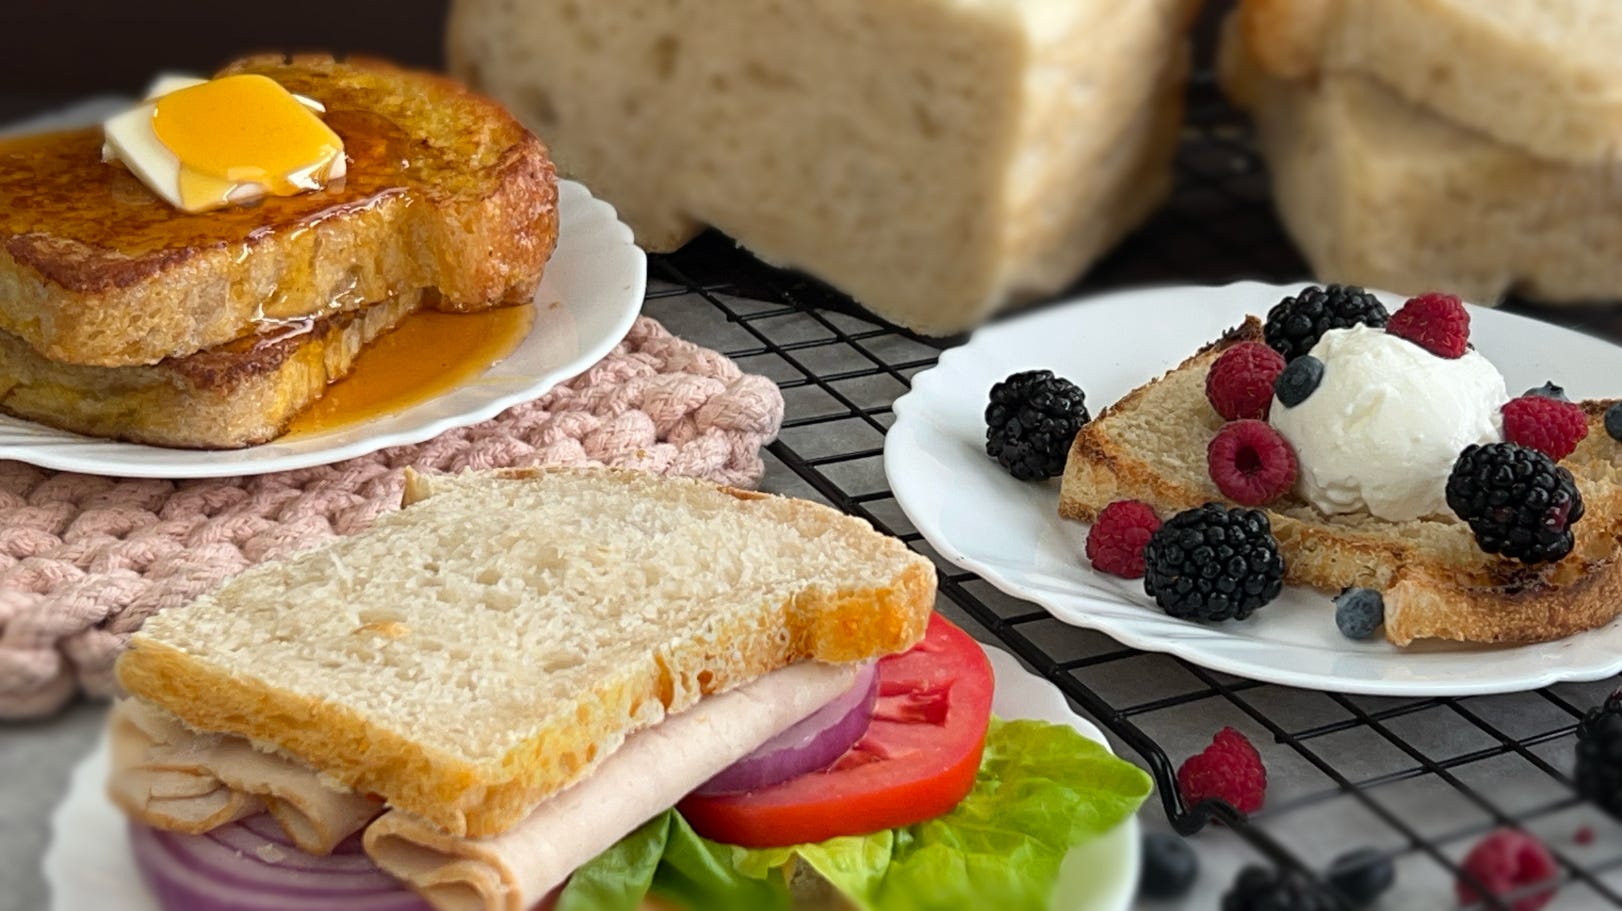
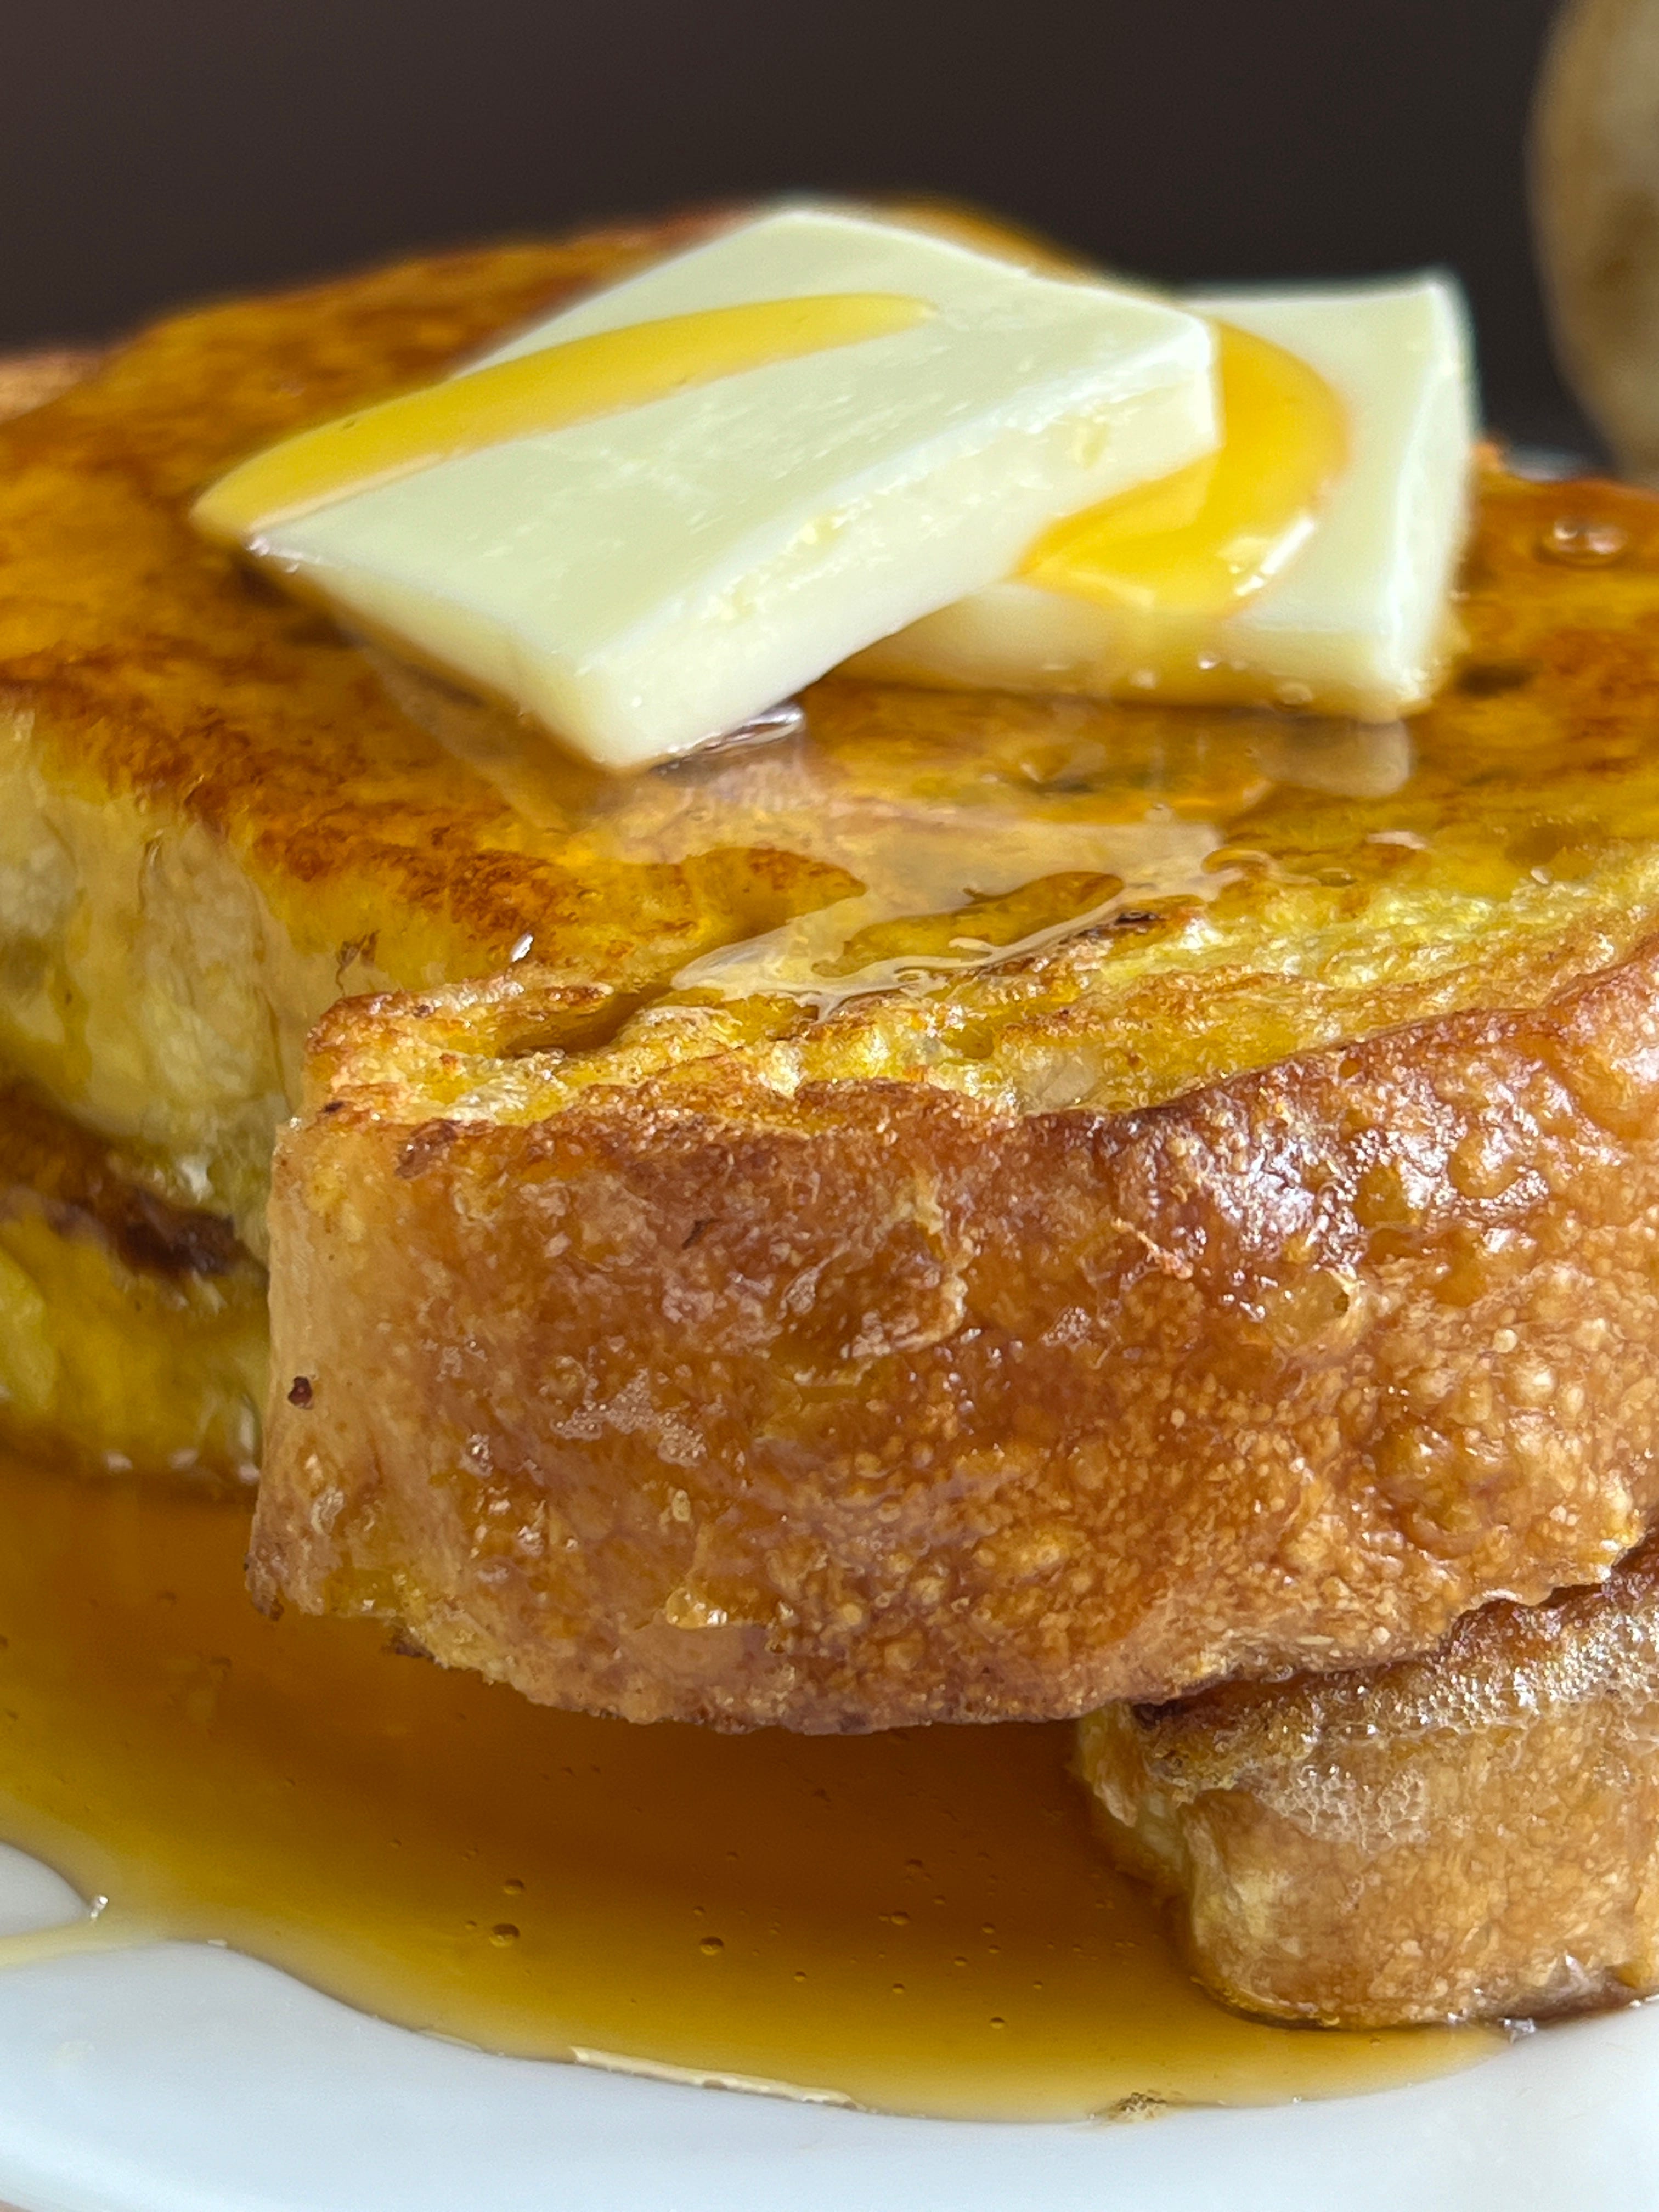
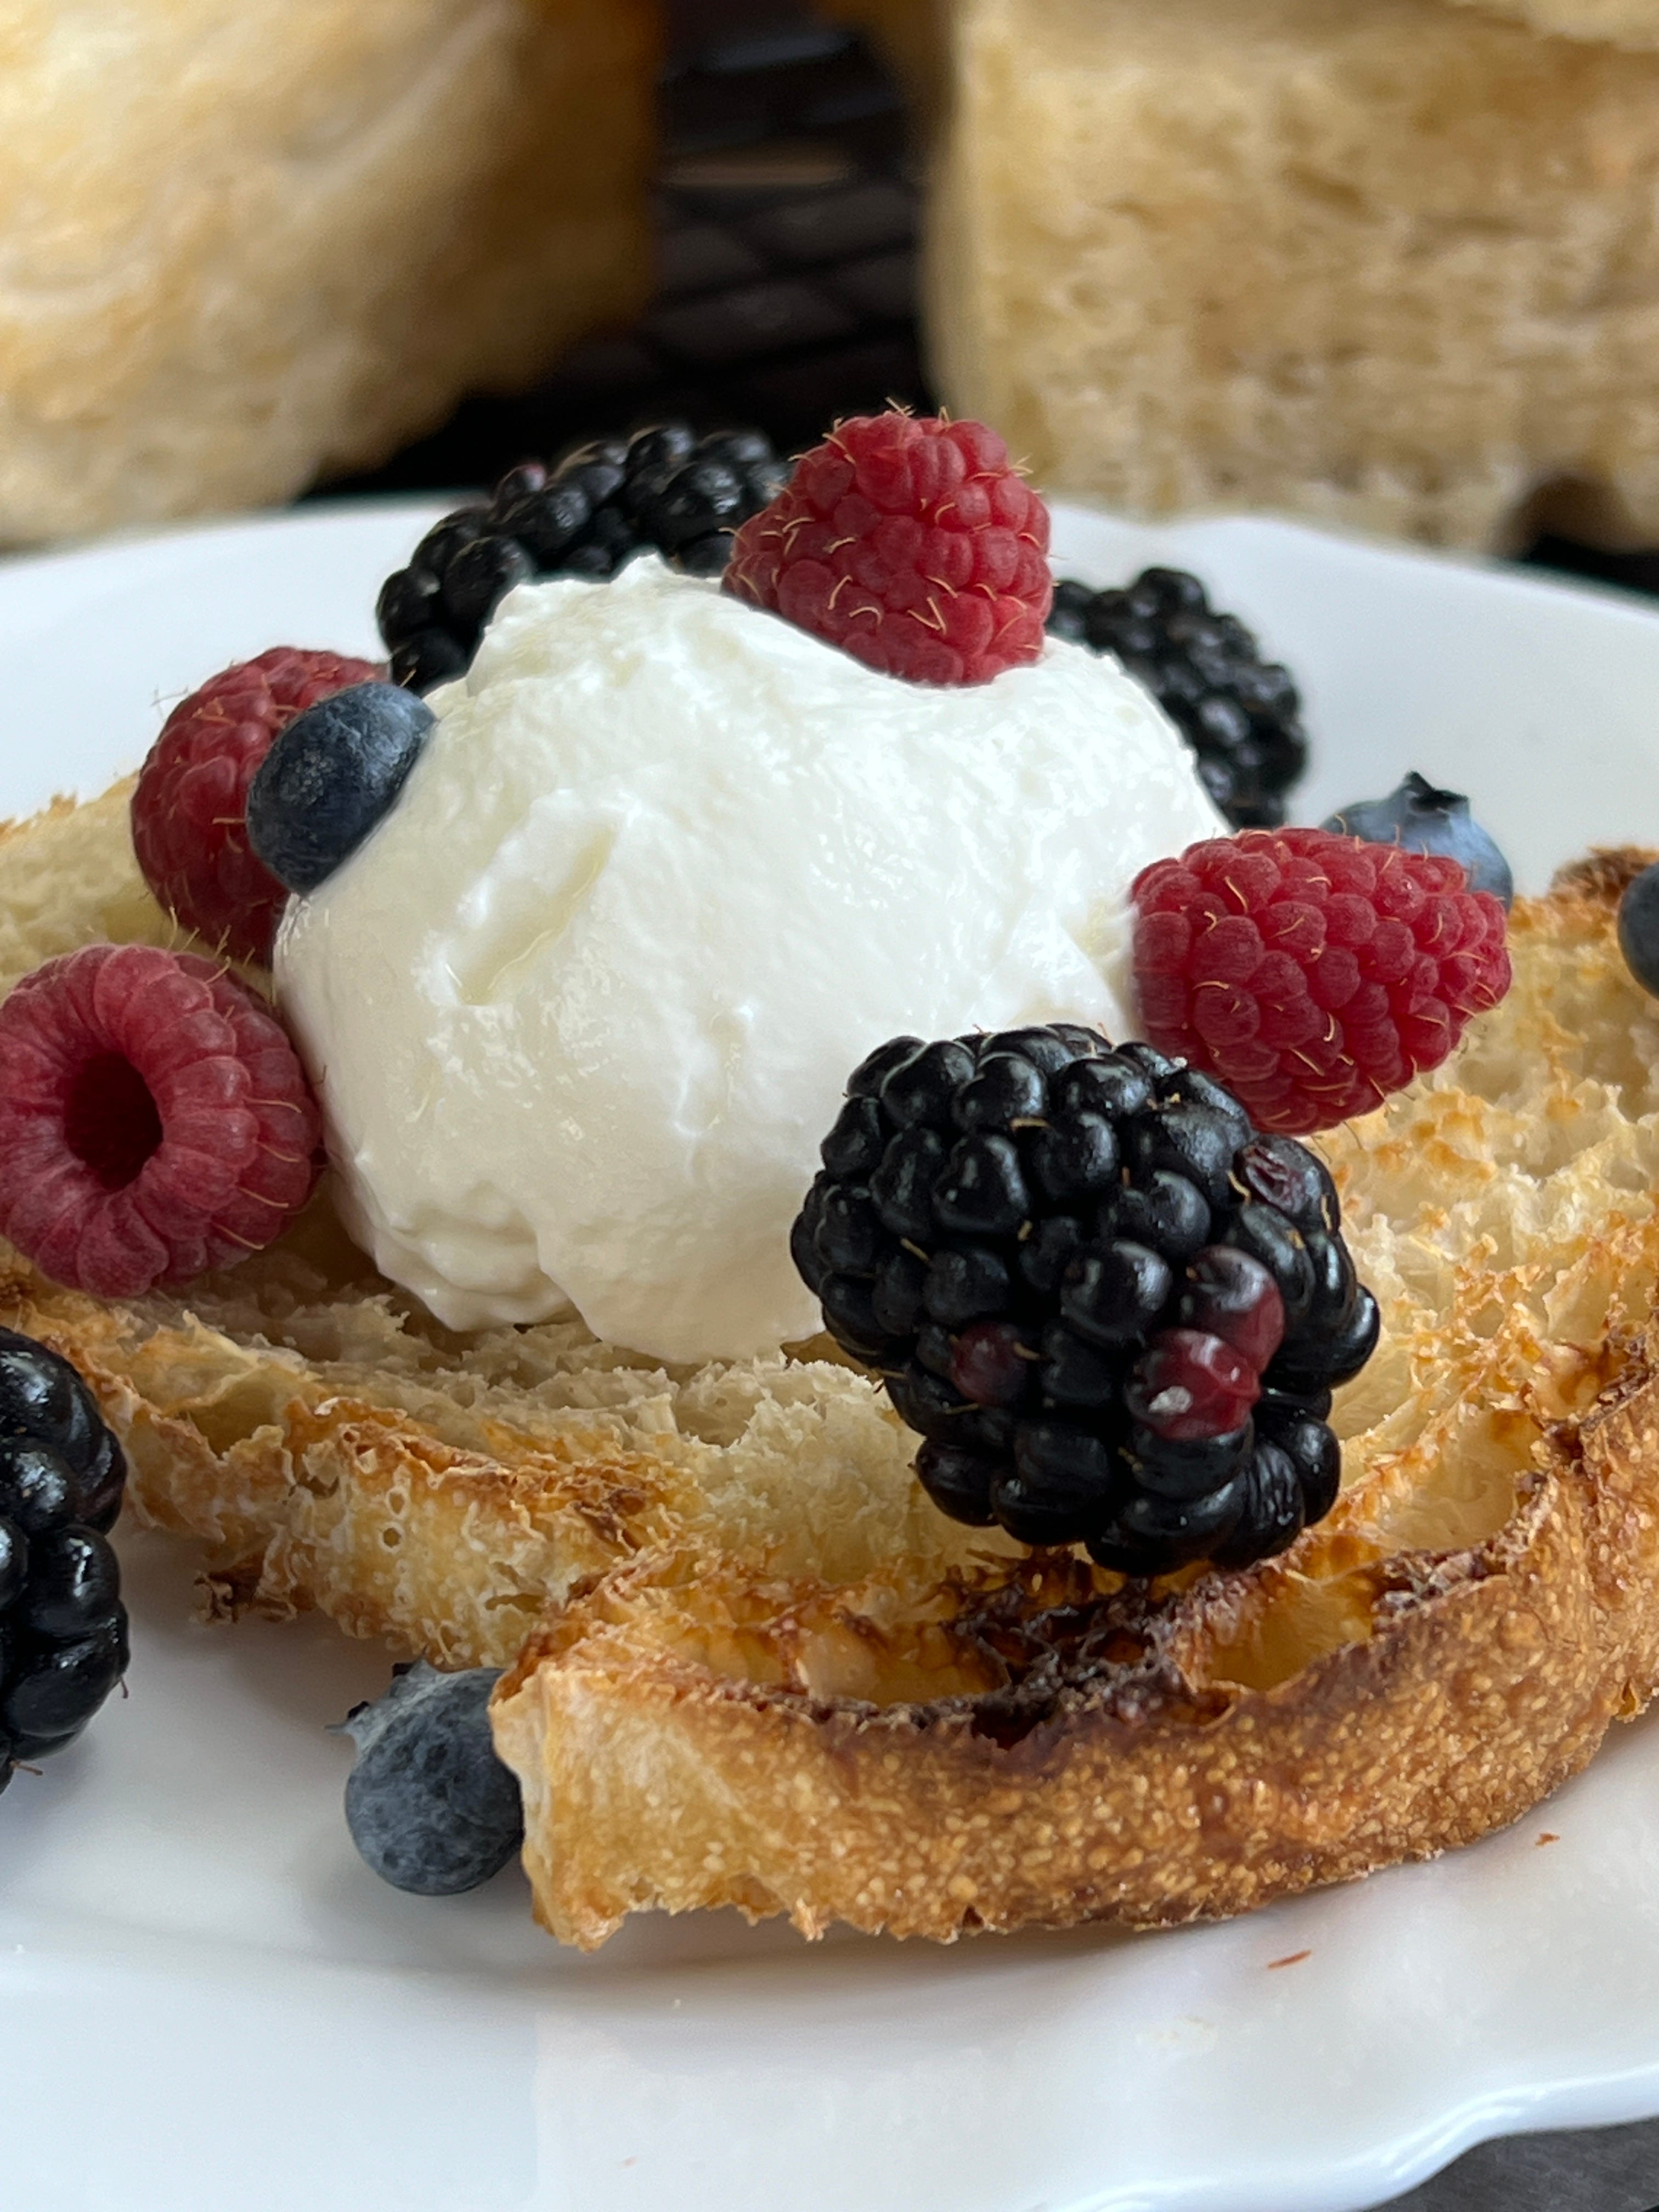
Versatility: Sourdough is not just for bread. Your starter can be used to make everything from pancakes to pizza dough, adding that distinctive sourdough flavor to a variety of baked goods. As you can see, we made French toast, a yummy sandwich, and toast with Greek yoghurt and mixed berries.


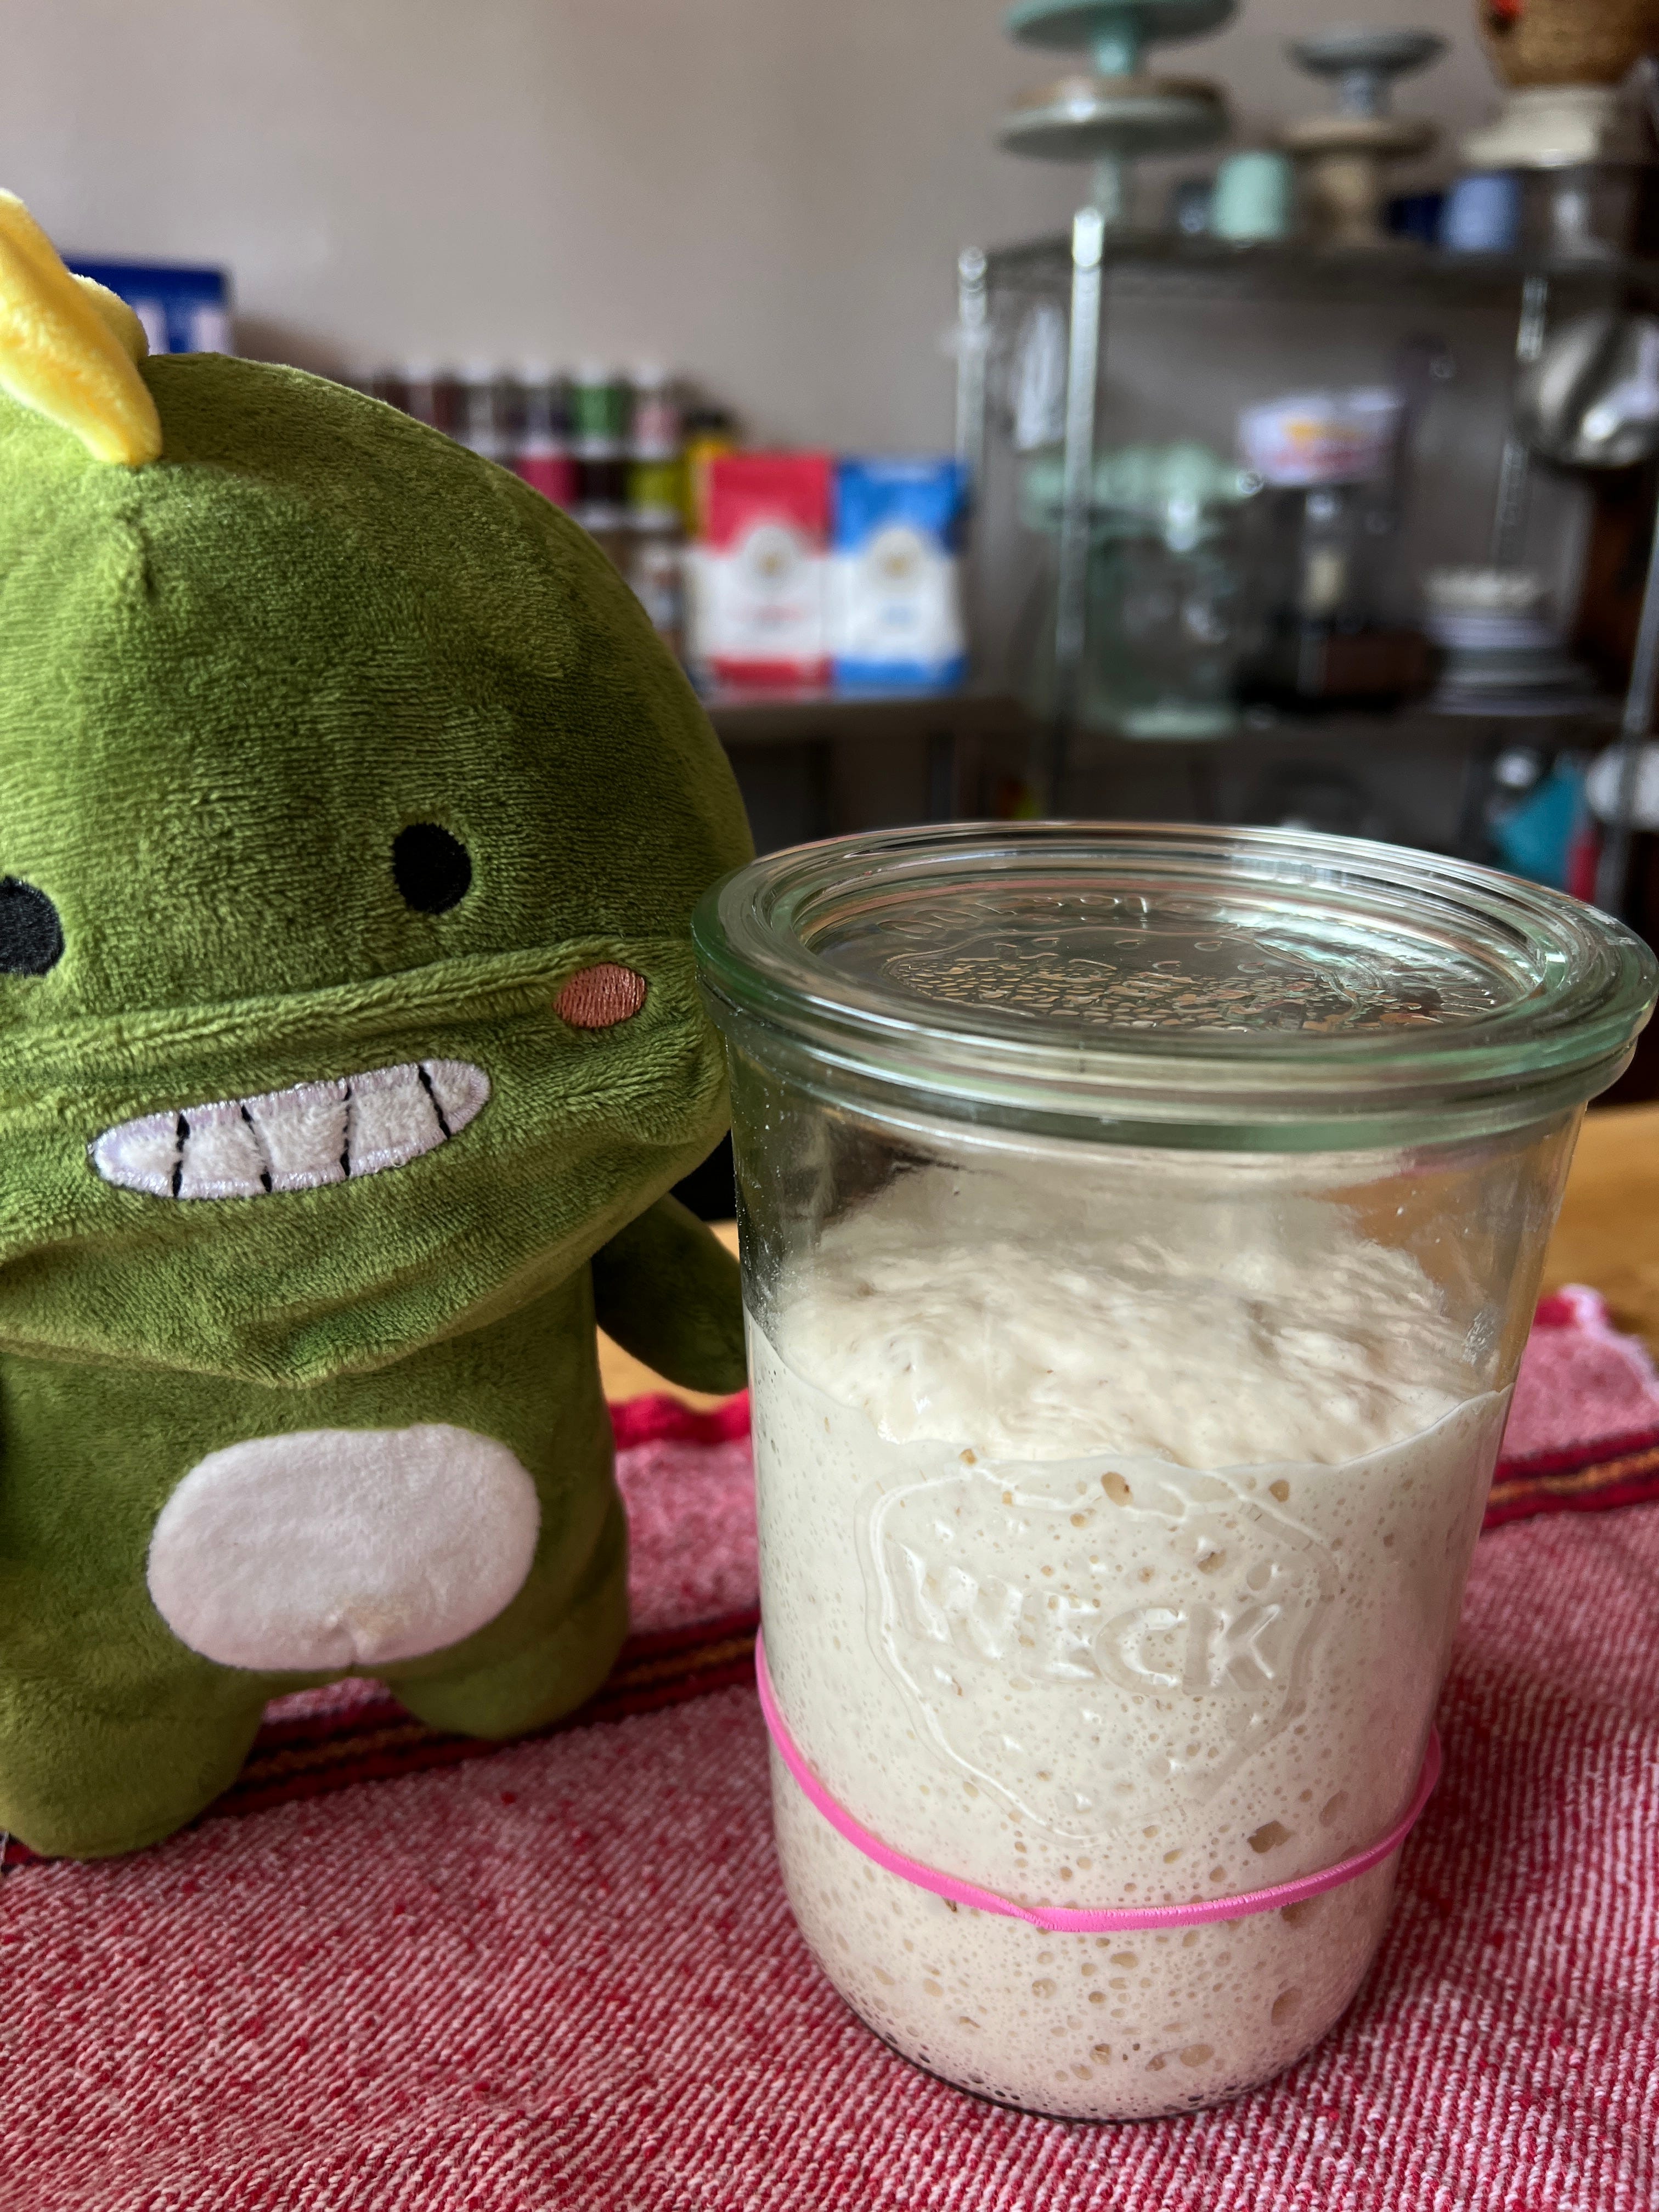
Sourdough Starter: At the heart of sourdough is the starter – a living, breathing culture of flour and water teeming with wild yeast and beneficial bacteria. Creating your own starter is a simple yet profound act. Mix equal parts flour and water, leave it out, and let nature take its course. With a bit of care and feeding, you’ll have a bubbly, active starter ready to raise your bread to new heights.
Sourdough Sandwich Bread
450g Bread Flour (100%)
315g Water (70%)
90g Active Starter (20%)
9g Fine Sea Salt (2%)


Tradition: At Mountaintop Kitchen, we believe that baking sourdough bread is more than just a culinary activity; it’s a way to connect with a time-honored tradition. Each loaf is a testament to the patient art of fermentation, a practice that demands time, care, and a touch of love.
So, whether you’re a seasoned sourdough aficionado or a curious newcomer, we invite you to embrace the slow rhythm of sourdough baking. Let’s celebrate the simple joy of turning flour, water, and salt into something truly extraordinary. Happy baking! Just follow these simple instructions. Baking sourdough bread from scratch does take some time for stretching, folding, fermentation, shaping, etc. But it is easy once you get the hang of it.
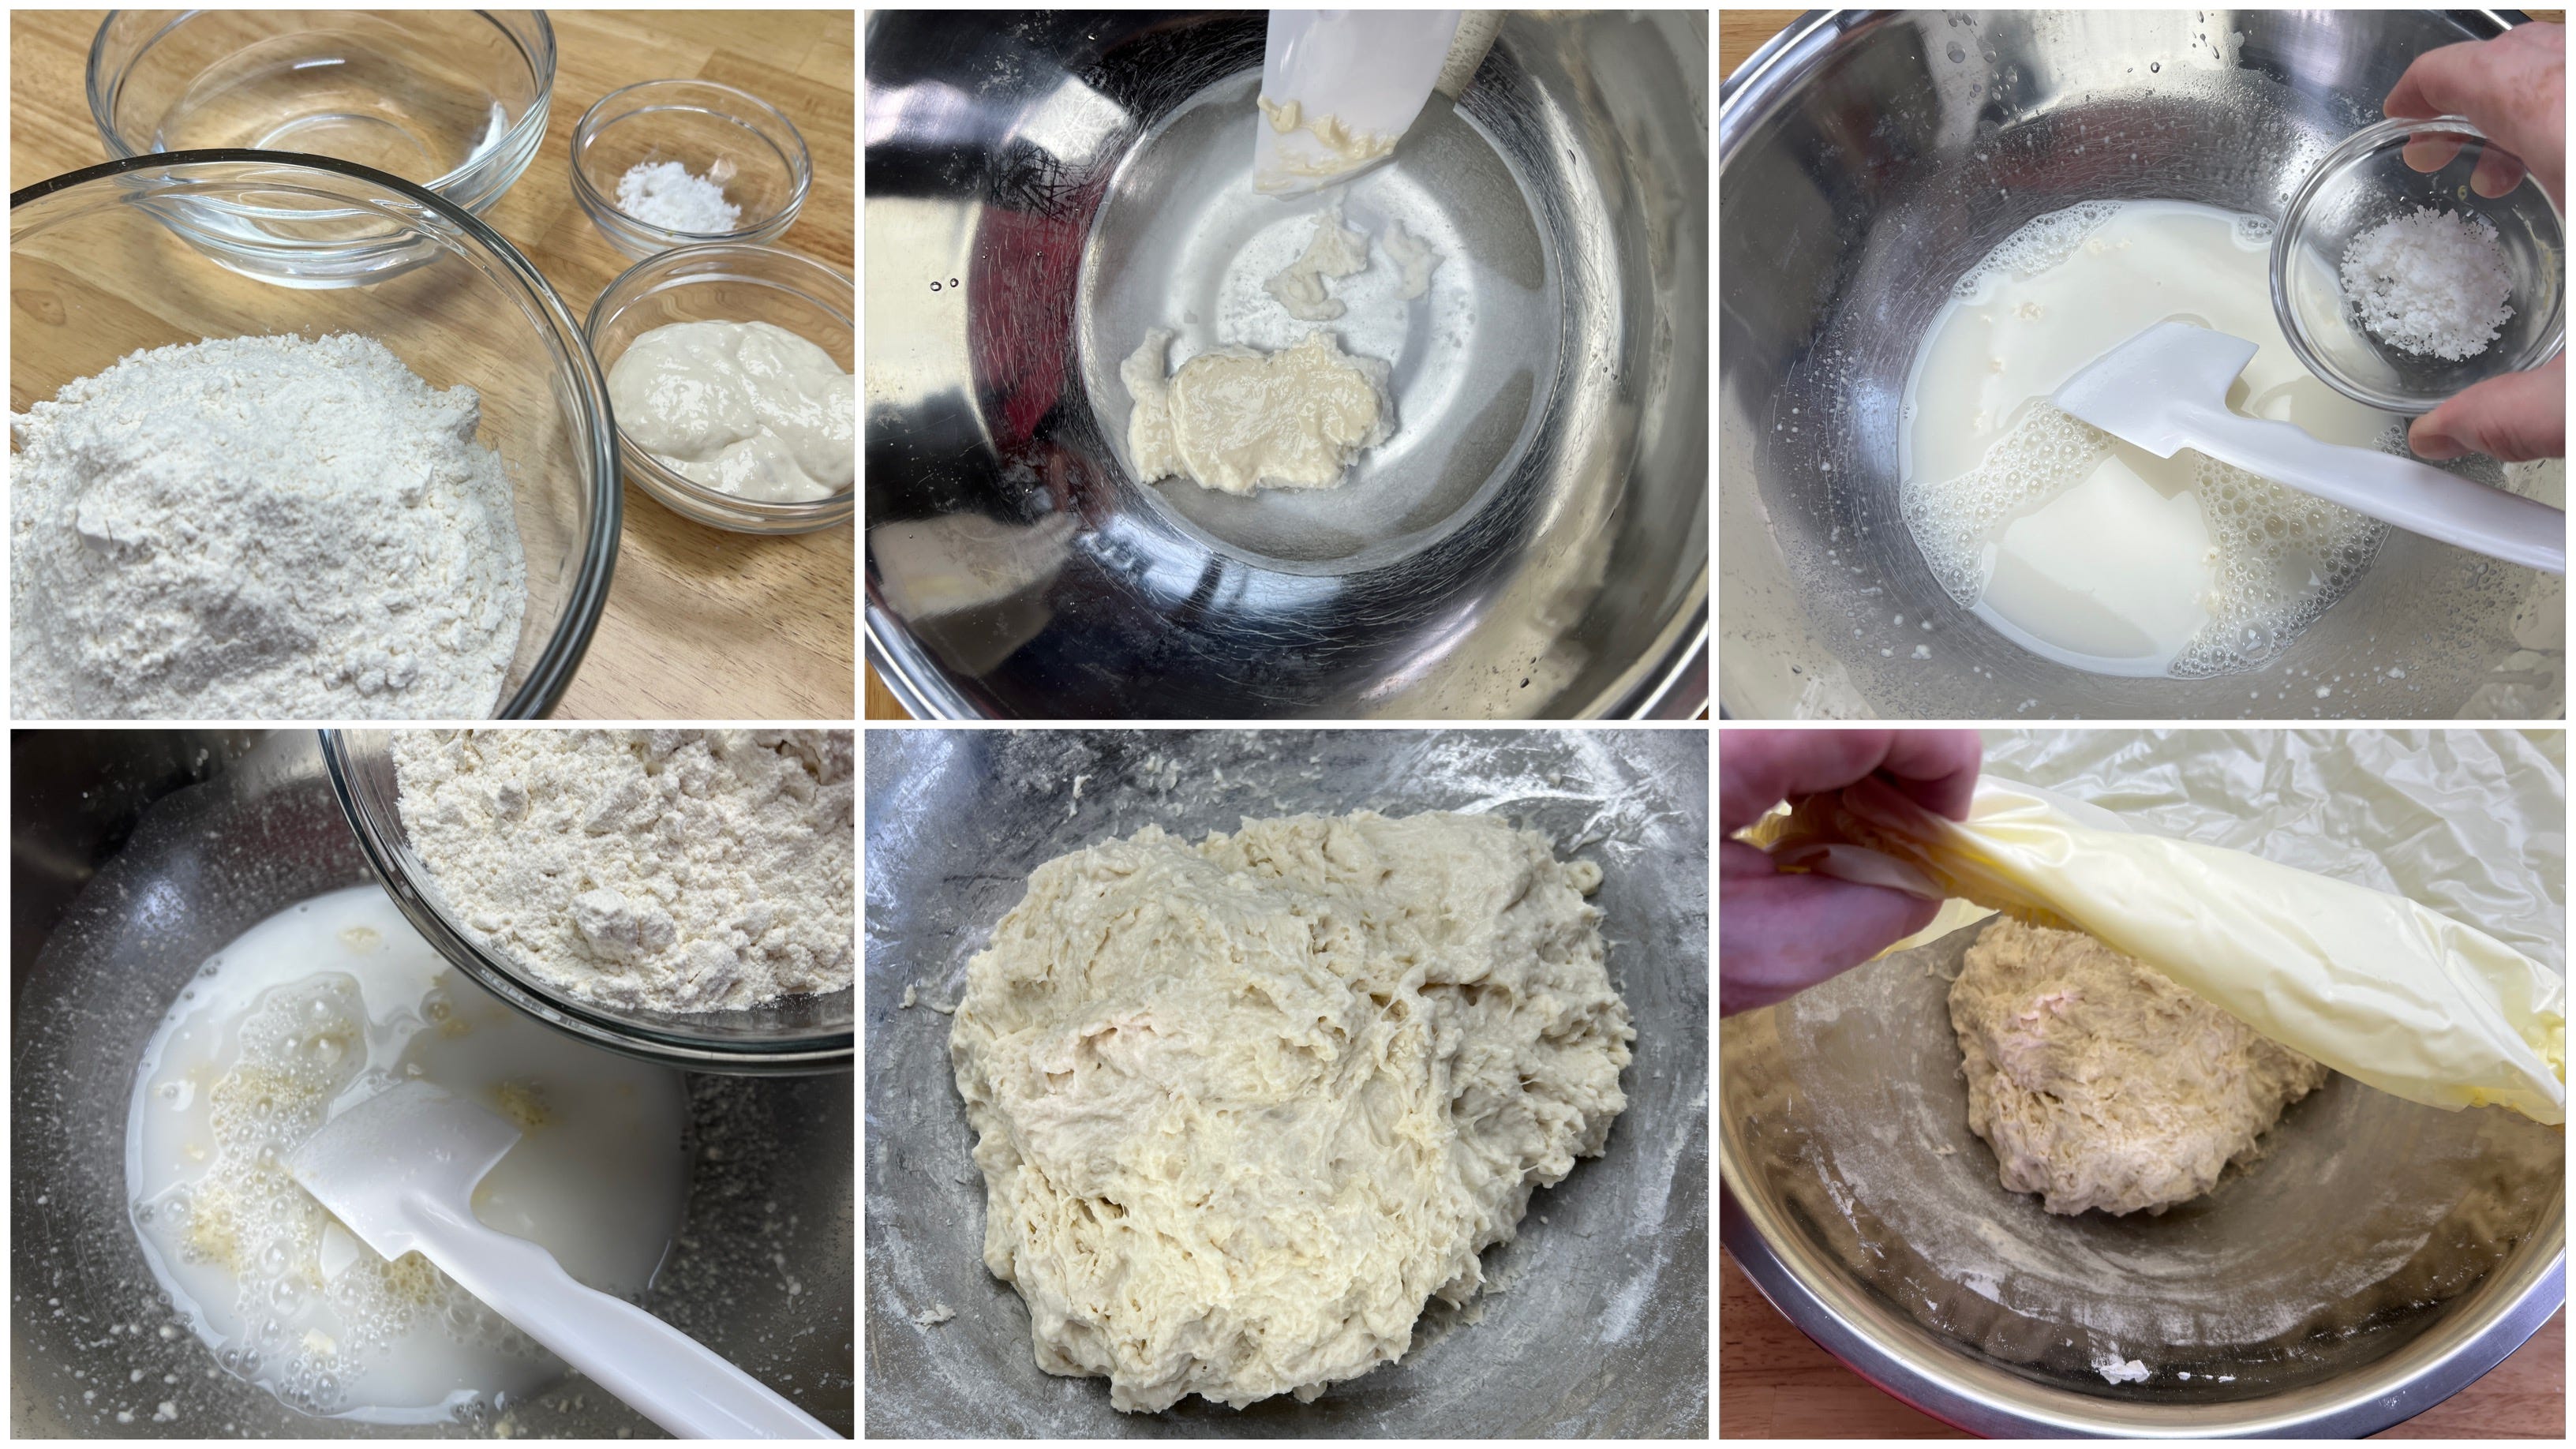
Autolyse: In a large mixing bowl, combine the 90g of active starter and 315g water. Mix until combined. Add the 450g of bread flour. Mix thoroughly with fingers or a spatula to combine. At this point, you will have a shaggy dough. Cover the bowl and let it rest for 45 minutes to an hour. This hydration of the flour is called autolyse.
Add Salt: Sprinkle 9g fine sea salt over the dough. Incorporate the salt into the dough by mixing and pinching until the salt is fully dissolved. Salt may be added during the autolyse if preferred (as we did).
First Stretch and Fold: Perform the first stretch and fold by grabbing one side of the shaggy dough, stretching it upwards, and folding it over to the opposite side. Rotate the bowl 90 degrees and repeat until you have completed at least four stretches and folds, more if you like. Cover and let the dough rest for 30 minutes.
Second Stretch and Fold: Repeat the stretch and fold process as described above. Cover and let the dough rest for another 30 minutes.
Third Stretch and Fold: Perform the stretch and fold again, cover, and let the dough rest for 30 minutes.
Fourth and Final Stretch and Fold: Complete the final stretch and fold. Cover the dough and let it rest for 1 hour.
Shape the Dough: After the final rest, lightly flour the top of the dough and gently turn it out onto a clean surface, floured side down. Shape the dough into a log that will fit into a 9x4x4 Pullman loaf pan (see video). Tuck the sides under as you roll to create surface tension.
Final Rise: Place the shaped dough into the Pullman loaf pan with seam side down. Cover and let it rise at room temperature for 3-5 hours, or until the dough has risen to just above the rim of the pan (how much depends on your preference).
Preheat the Oven: About 30 minutes before baking, preheat your oven to 425°F (218°C).
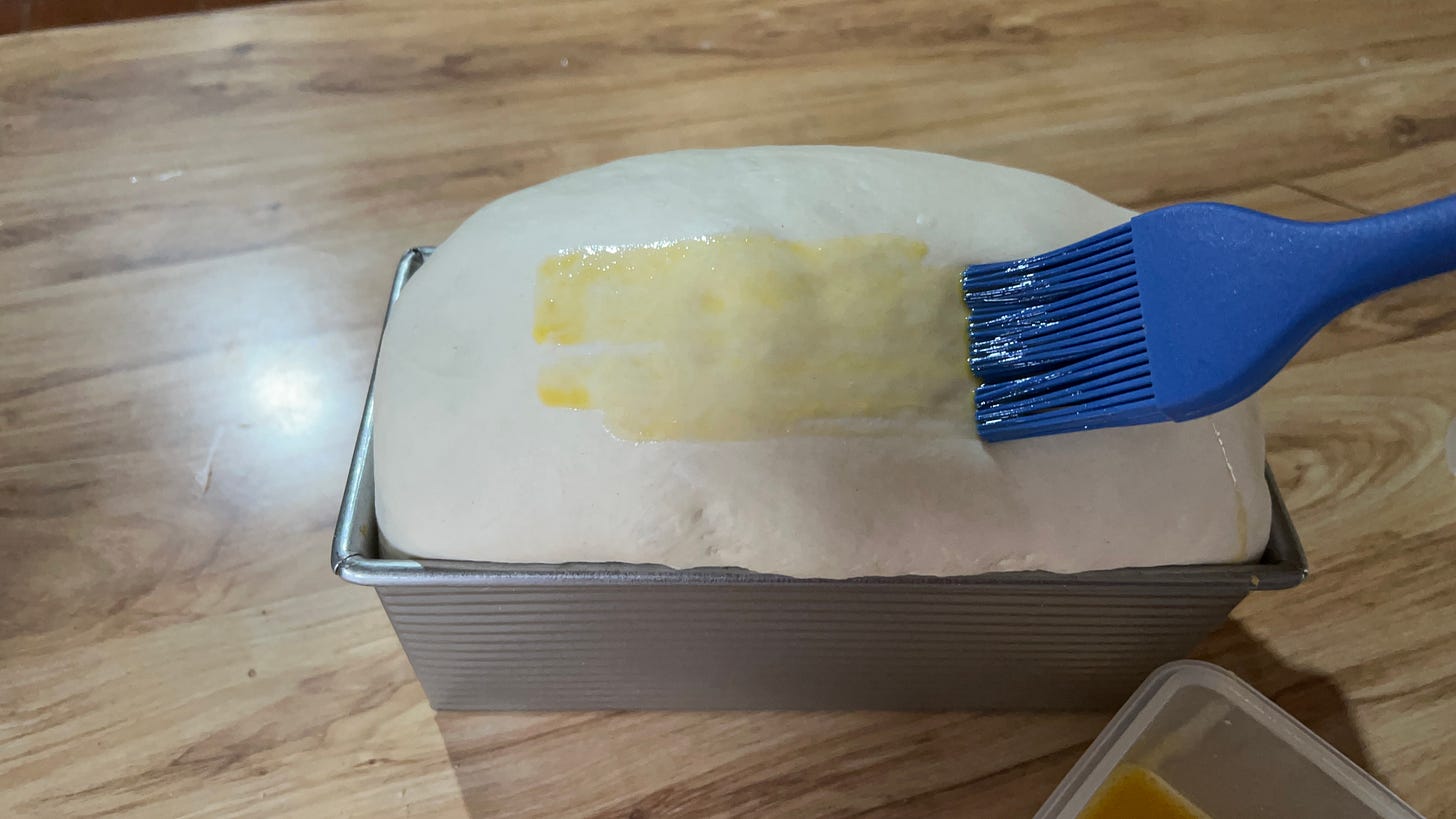
Egg wash Egg Wash: In a small bowl, beat one egg with a teaspoon of water or milk. Brush the top of the risen dough with the egg wash for a shiny, golden crust.
For less of a dome, reduce the final rise time until you get the desired height. Bake: Place the pan in the preheated oven and bake for 30 minutes, turning the pan 180 degrees after 20 minutes to ensure even baking. Optionally remove the bread from the pan and return it to the oven to brown the blond sides.
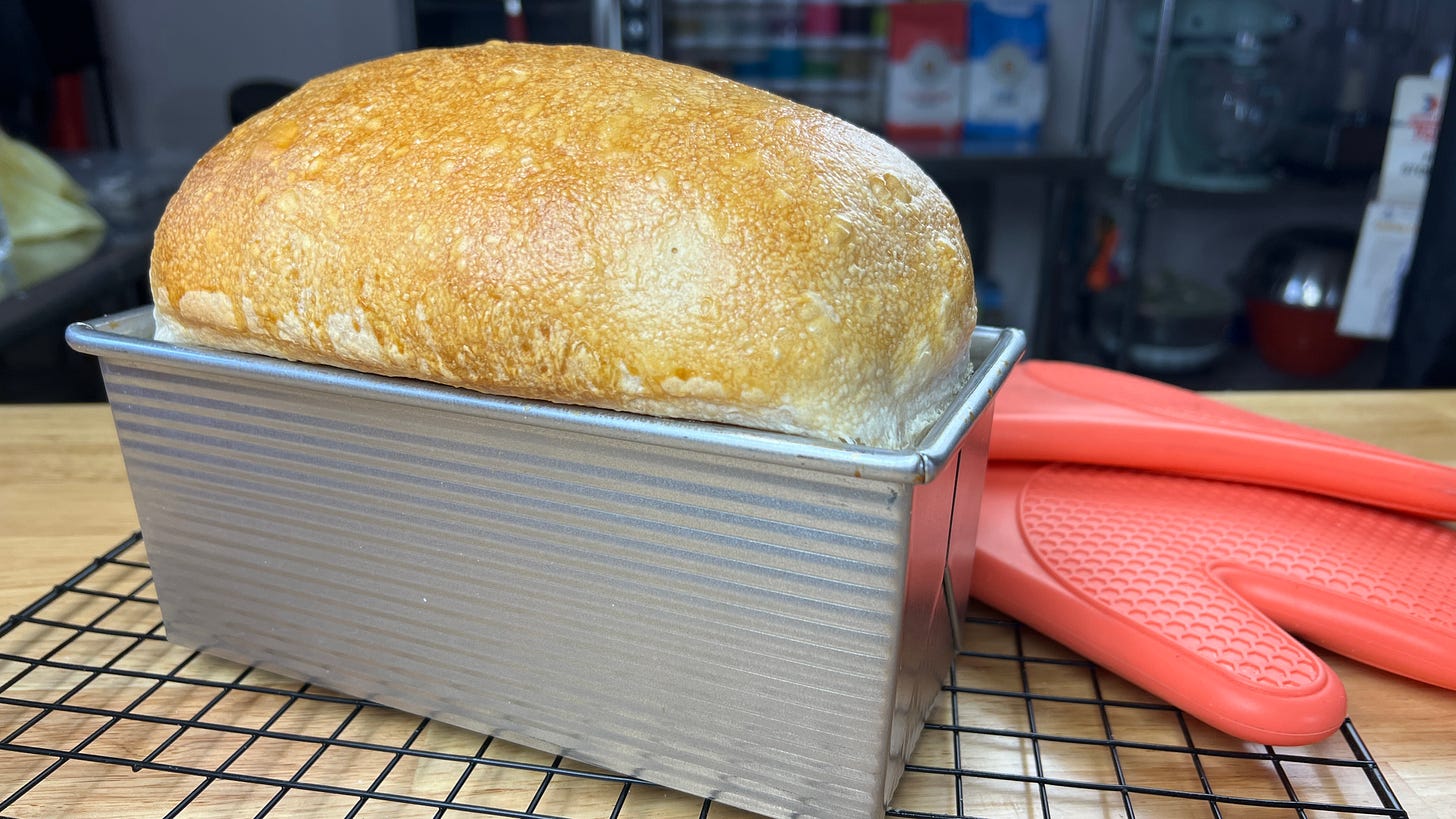
Cool: Remove the loaf from the oven and let it cool in the pan for 10 minutes. Then, transfer the loaf to a wire rack to cool completely before slicing, about 2 hours. The internal temperature of the bread should be around 195F.


Enjoy your delicious homemade sourdough sandwich bread!

Equipment (Disclosure: Items below include affiliate links with Amazon USA. You pay the regular price, and I get a small commission.) I only recommend products that I own myself and know to be excellent quality. I often get asked on social media sites about my kitchen tools, so here are most of them used to make this recipe.
9”x4”x4” Pullman bread pans (Any suitable bread pan of the same size will be fine; if you want the perfectly square loaf, a Pullman pan with lid is necessary.)
Mixing bowls (I like this oven-proof glass set of 10 for mixing and portioning out ingredients.)
Stand mixer (This dough can be mixed by hand as we did, but a stand mixer ensures consistency, especially when incorporating any butter, if used.)
Bench scraper and dough scraper (These tools cut and scrape doughs.)
Glass jar with lid (The straight sides are perfect for sourdough starter.)
Kitchen scale (Ingredients should be weighed rather than relying on volume.)
Probe thermometer (Bread temperature must be checked for doneness.)
Oven thermometer (All ovens need calibration, an in-oven thermometer is essential.)
Silicon oven mitts (I’ve burned my hands too many times with cloth mitts.)
I didn't get butter out of the freezer, and it was too cold and rainy to go out and buy an avocado, so I pretended I was in Spain and blessed the masa madre toast with olive oil, which created a magically delightful breakfast. Even better than delish.
The fancy Weck canning jars I see. Classy.