


Peppermint Bark: A Simple Holiday Classic with a Bakery-Worthy Twist
A Perfect Treat Christmas through New Year’s Day: No-Bake and Only 4 Ingredients
Peppermint has been a symbol of refreshment and celebration for centuries. Its history dates back to ancient Egypt, where dried peppermint leaves were found in the pyramids, suggesting it was valued for its medicinal and aromatic qualities. In Europe, peppermint gained popularity during the 18th century as a remedy for indigestion and colds, eventually making its way into confections and teas; we’re sure glad it did!
Culinarily, peppermint shines brightest during the holidays. The classic candy cane, first created in the 17th century to keep children quiet during long church services (Now I got your attention, hahaha!), evolved into the iconic striped treat we know today by the early 1900s, thanks to American innovations. This combination of cooling mint and sugary sweetness became a hallmark of Christmas, evoking a sense of nostalgia and festivity.
When paired with chocolate, peppermint’s brisk, refreshing flavor balances the richness, creating a timeless combination that’s as comforting as it is celebratory—just like the peppermint bark you’re about to make! Please join us in the Mountaintop Kitchen as we joyfully make a holiday favorite: Peppermint Bark!

Peppermint Bark: A Holiday Classic with a Bakery-Worthy Twist
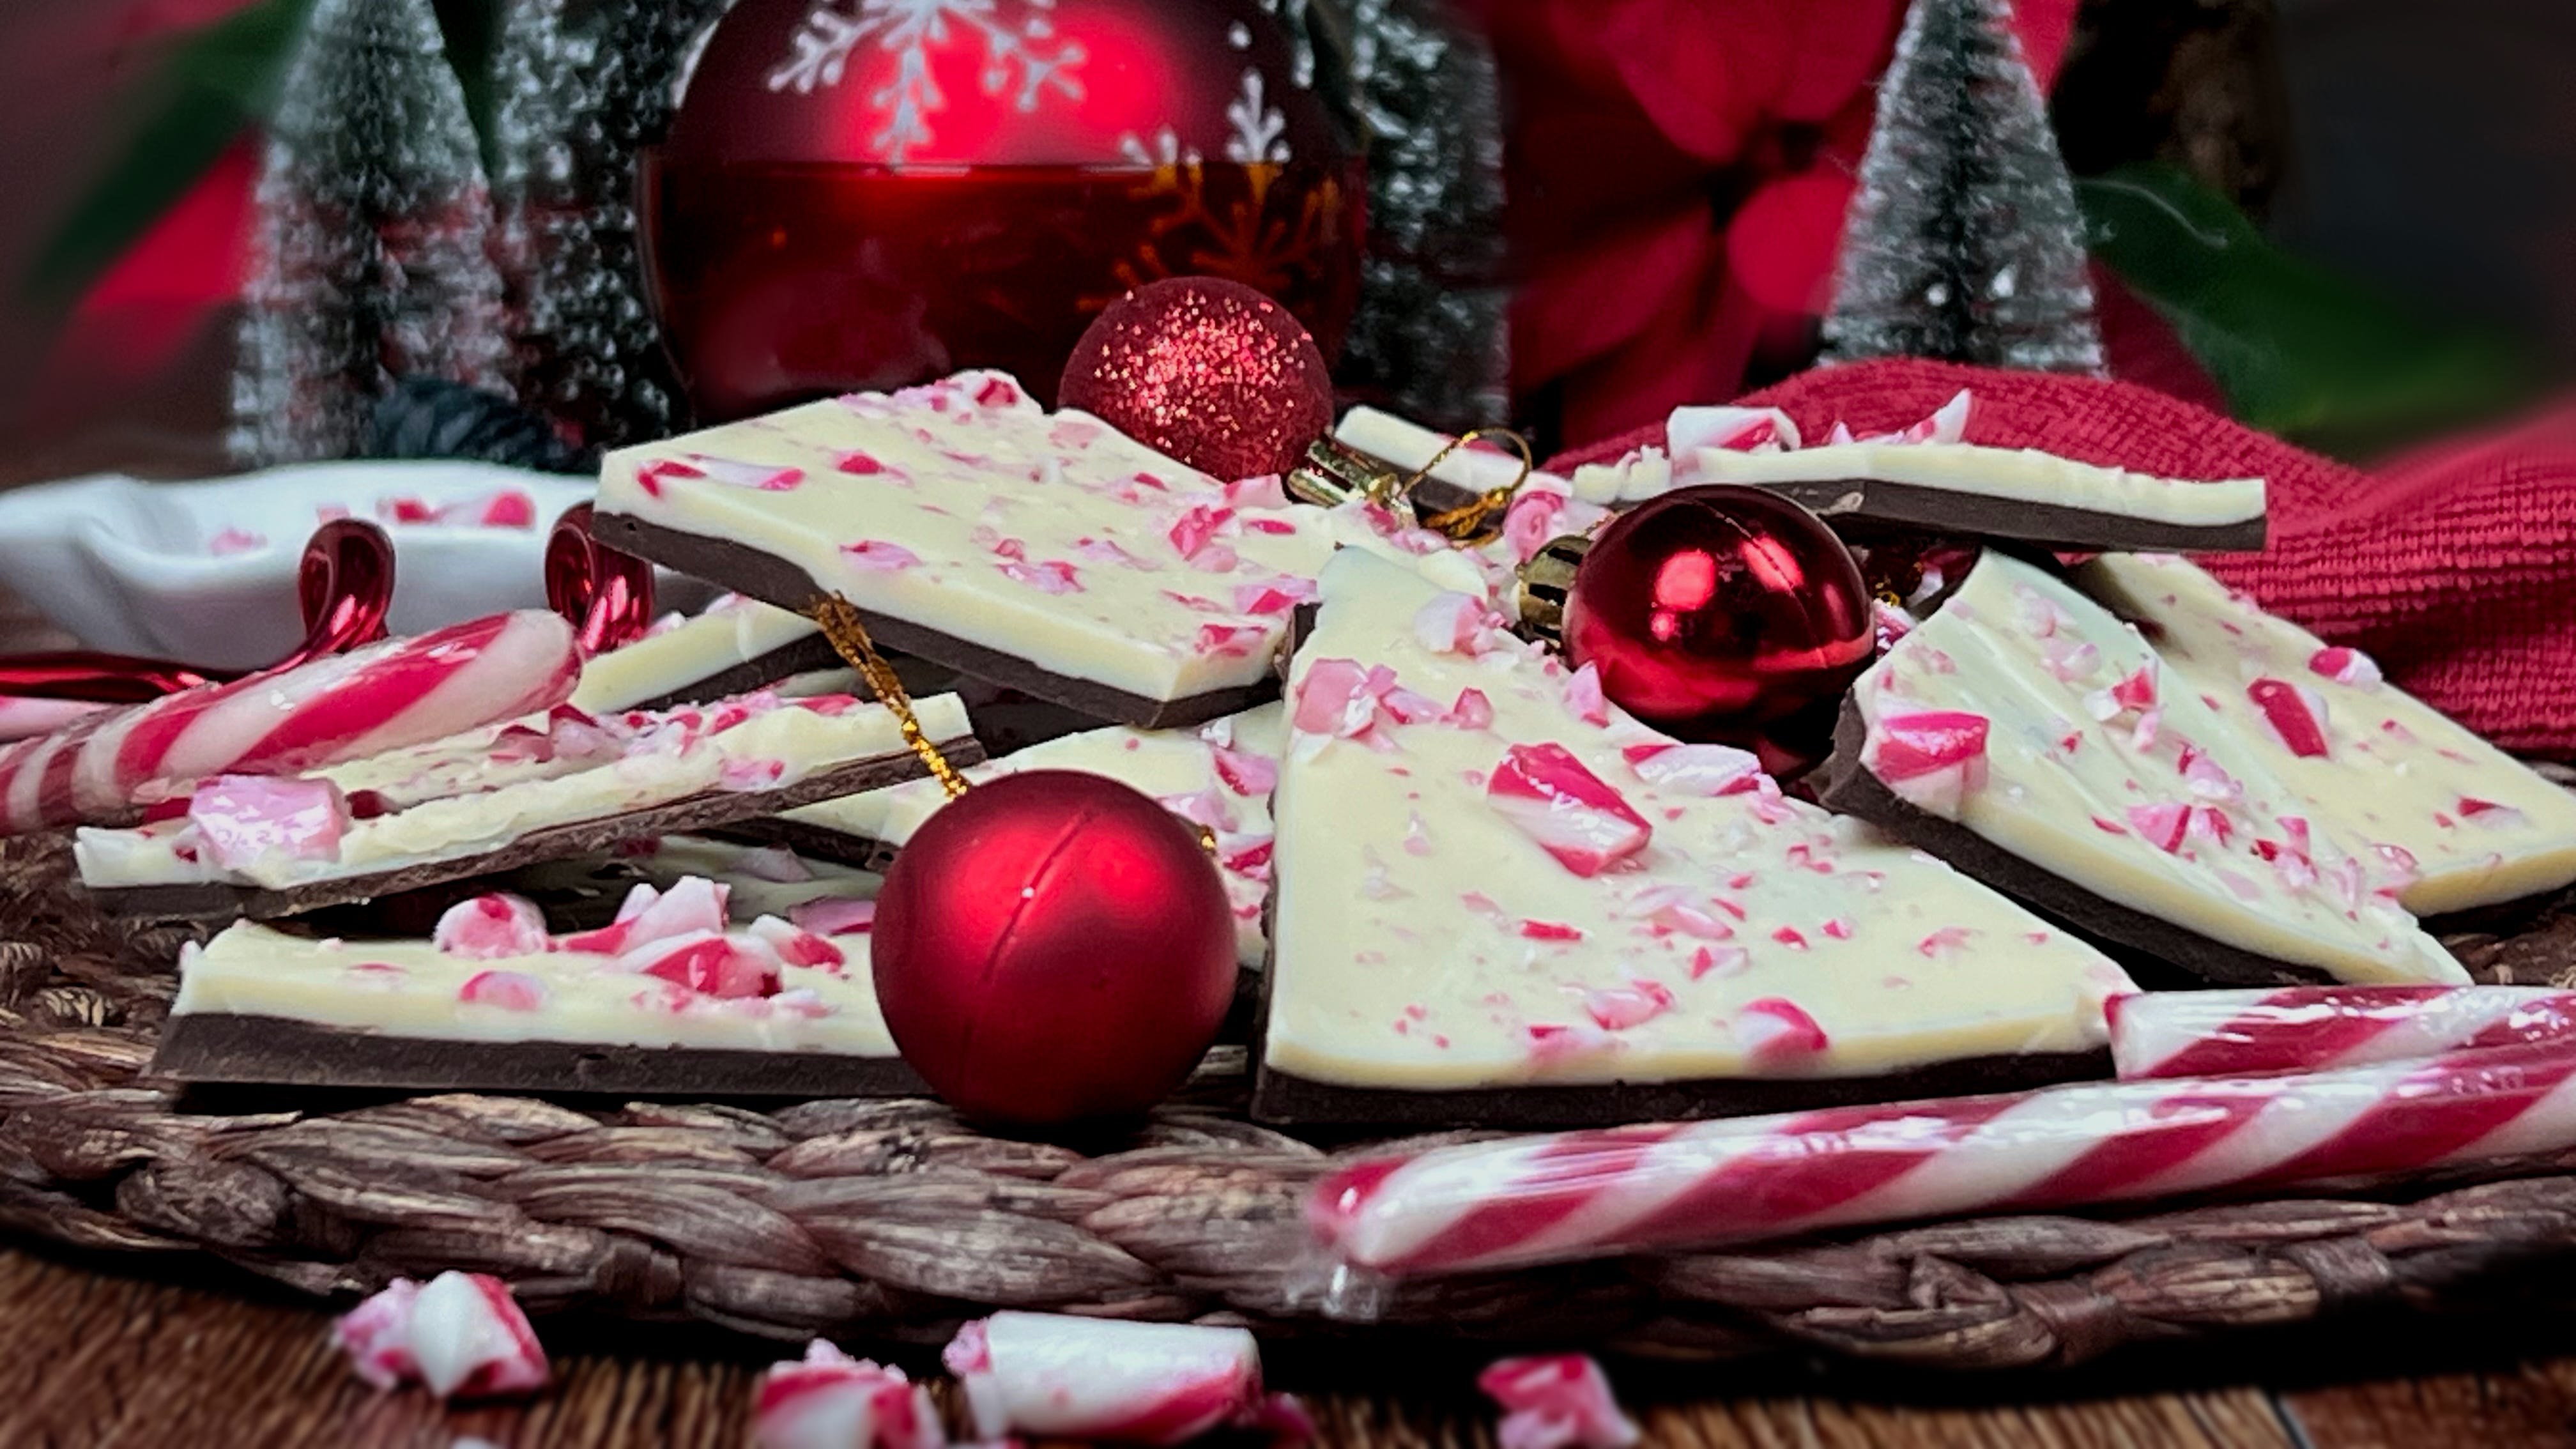
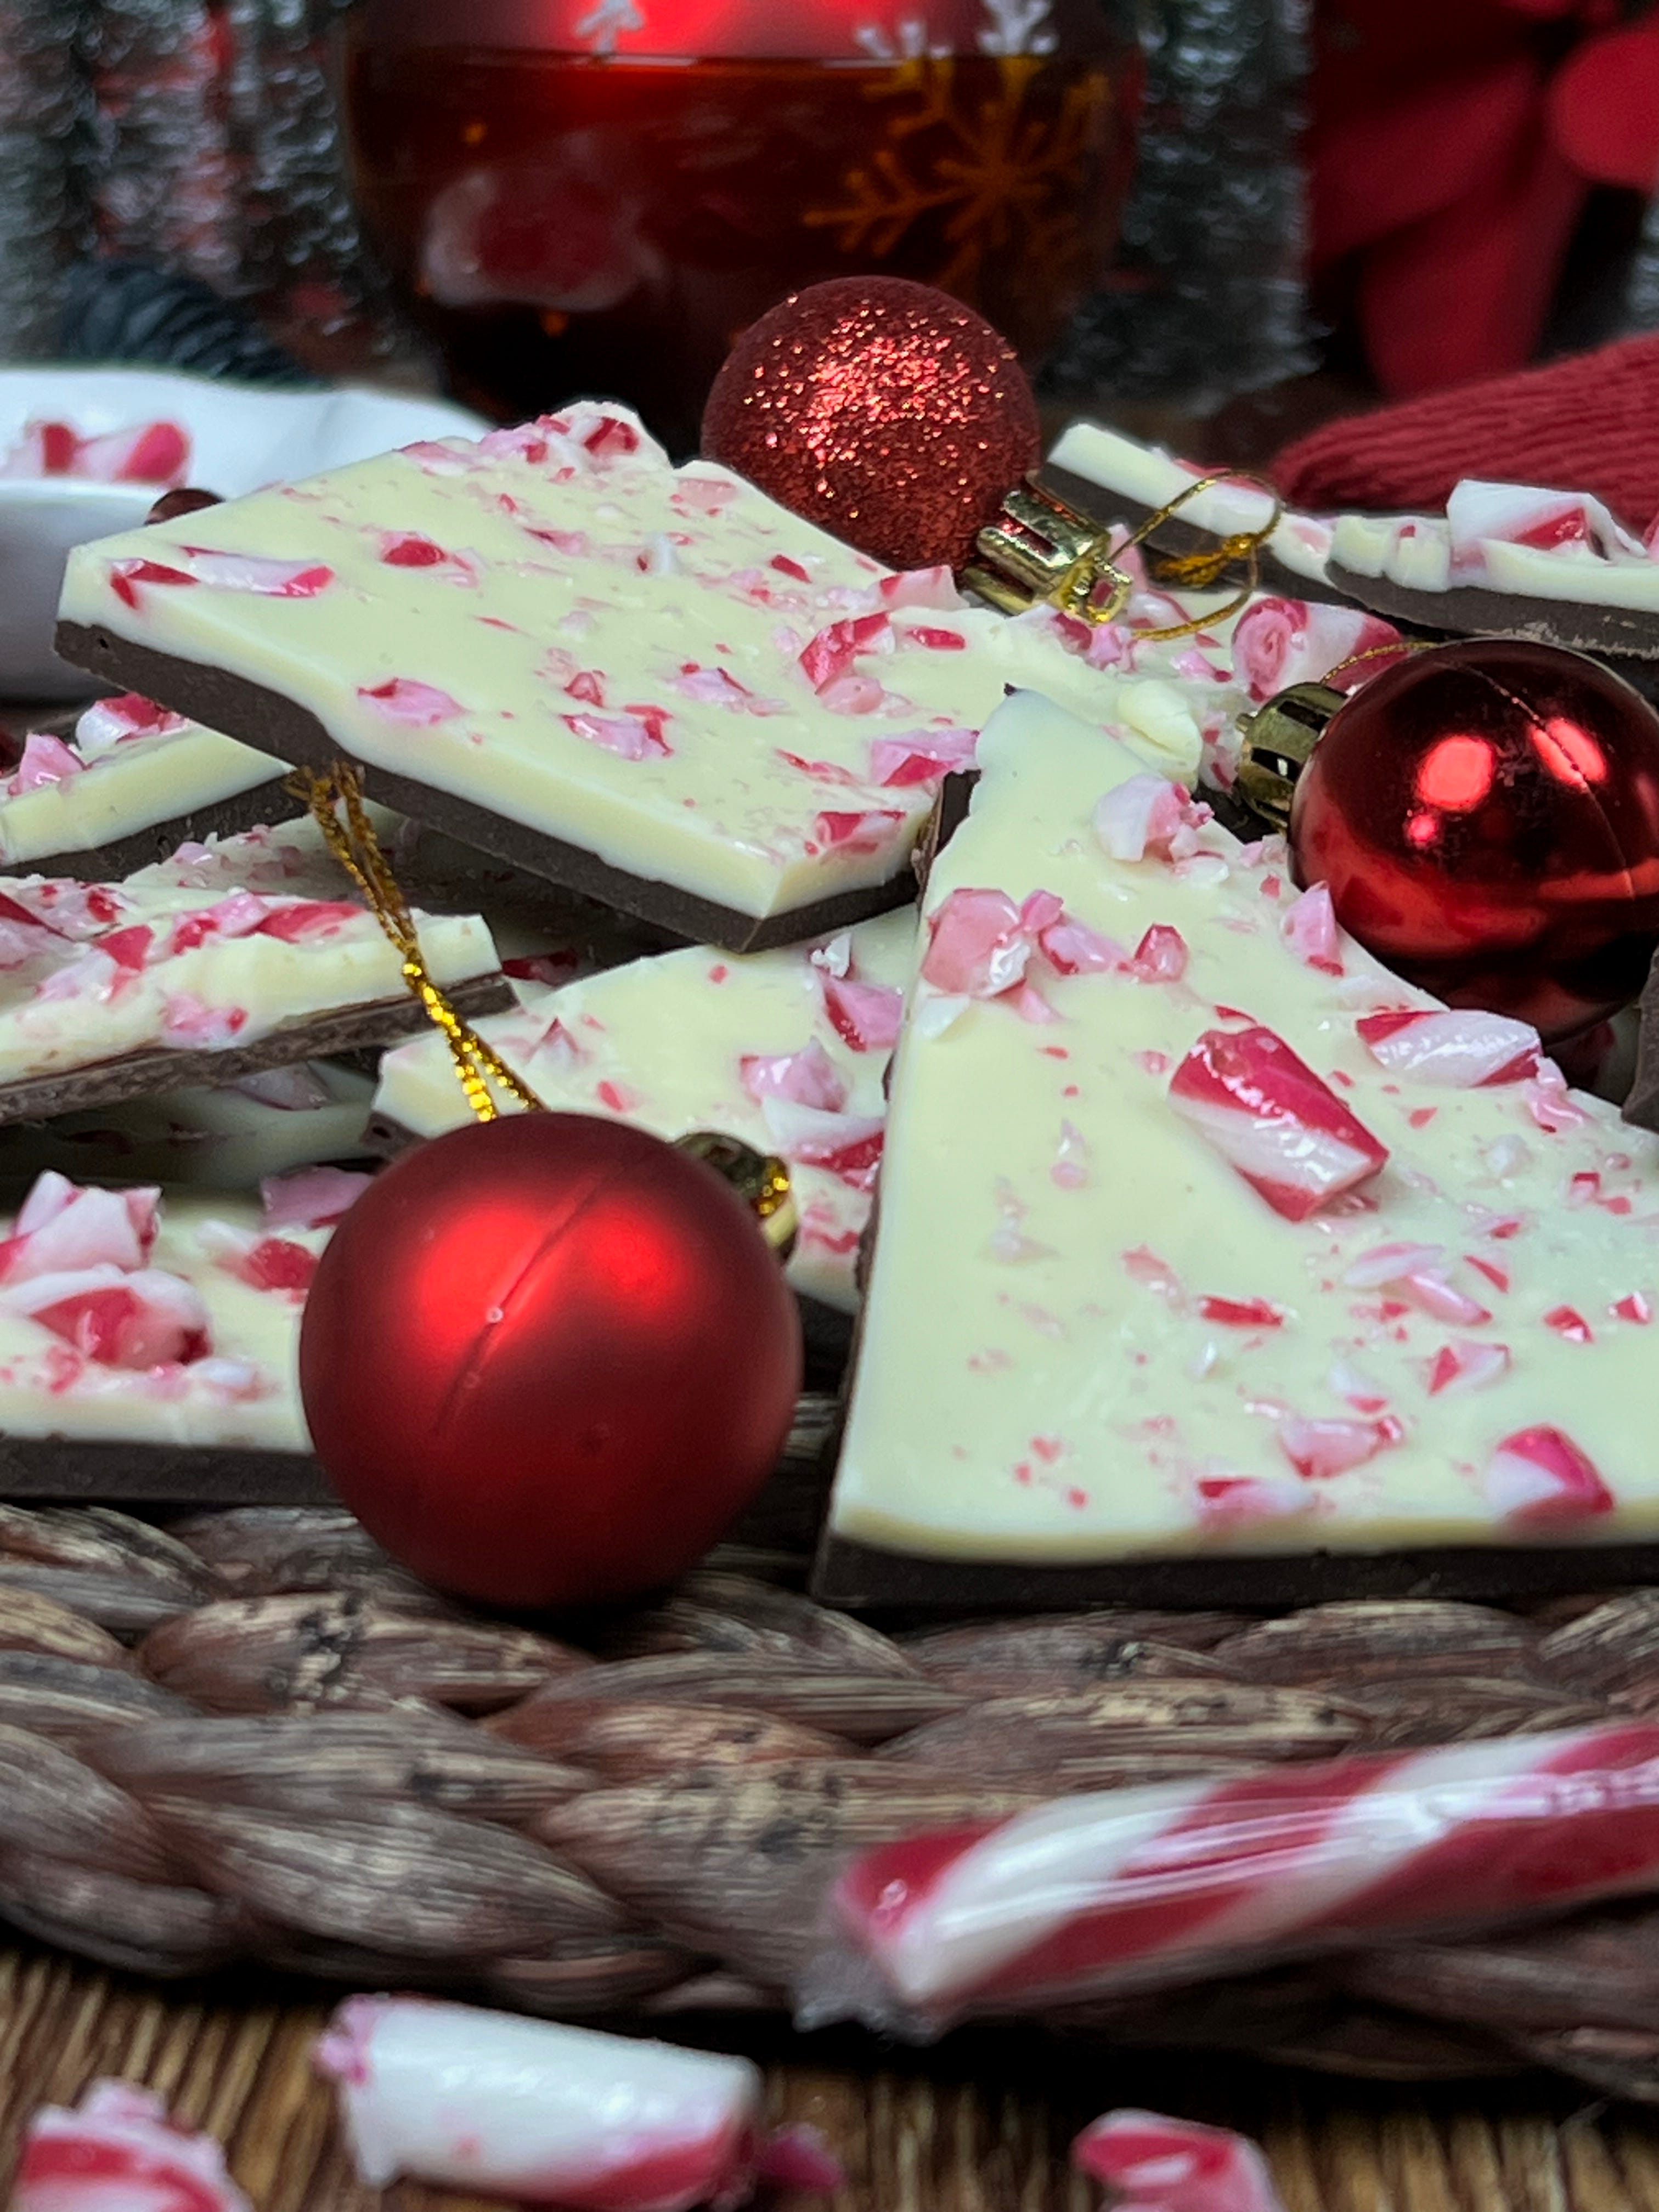
There’s something magical about the combination of rich chocolate, creamy white chocolate, and crunchy peppermint. This Peppermint Bark recipe takes a beloved holiday treat and elevates it to bakery standards—easy to make but polished enough to display in your shop window or give as an elegant edible gift. With layers of perfectly tempered chocolate and a generous sprinkle of festive candy cane pieces, this recipe is all about that balance of flavor, texture, and nostalgia. Whether you’re making it to sell, gift, or enjoy with a cup of cocoa, it’s the perfect way to sweeten up the season.
Growing up in Detroit, making peppermint treats was always a special part of the holiday season. I’d help crush candy canes with a rolling pin on the sturdy kitchen counter, feeling triumphant with every satisfying crunch. My job was to sprinkle the peppermint shards over layers of chocolate—carefully, of course, but I always made sure to sneak a taste. The scent of chocolate and mint filling the kitchen was the real magic, wrapping up the cold Midwest winter in cozy holiday cheer. We usually kept these on hand for drop in visitors between Christmas and New Year’s. Forgot that 3x removed half cousin that popped in unannounced? You’re covered! Whew!
Still need a quick treat or special gifts for your post Christmas/New Year’s guests? Don’t fret, you can whip these up in minutes. So don those aprons and let’s bake!


On Measuring Ingredients: My preferred method of measuring is weight by grams. Baking by volume rather than weight can lead to varied and unexpected results. Flour is especially problematic when measured by volume (sifted, not sifted, spooned, not spooned, fluffed or not … you get the point). Grams are always the same; they are your friend as a baker. King Arthur Baking Company’s Ingredients Weight Chart is helpful for converting recipe weights.
For the chocolate layers:
• 12 ounces (340g) dark or semi-sweet chocolate (about 70%), chopped: Provides the rich, bittersweet base layer for the bark.
• 16 ounces (454g) white chocolate bars or discs, chopped: Creates a creamy, sweet top layer that contrasts beautifully with the dark chocolate.
• 3/4 teaspoon peppermint extract, divided: Infuses both chocolate layers with a cool, refreshing peppermint flavor.
For the topping:
• 8 regular-size candy canes (about 4 ounces/113g), crushed: Adds a festive crunch and a pop of peppermint flavor, while giving the bark its signature holiday look.

Instructions
1. Prepare the candy canes:
Place the candy canes in a resealable bag and crush them using a rolling pin or mallet until you have both small chunks and fine dust. Set aside. If you prefer only chunks, sift out the dust with a sieve.
2. Prepare your pan:
Line a baking sheet with parchment paper, making sure the paper extends slightly beyond the edges for easy removal later.
3. Melt the dark chocolate:
• Using a double boiler: Place the dark chocolate in a heatproof bowl set over a saucepan of simmering water. Stir gently until melted and smooth.
• Microwave option: Heat the chocolate in 20-second bursts, stirring between intervals, until fully melted.
Stir in 1/2 teaspoon of peppermint extract.
4. Spread the dark chocolate:
Pour the melted dark chocolate onto the prepared baking sheet, spreading it evenly into a rectangle about 1/4” (6mm) thick. Place the pan in the fridge to set, about 20 minutes. Be careful to not leave it in the fridge longer as it may not adhere well to the white chocolate layer if it sets too long.
5. Melt the white chocolate:
• Follow the same double boiler or microwave process, being extra careful not to overheat the white chocolate (it burns easily). See tip below if using white chocolate chips in place of bars.
Stir in 1/4 teaspoon of peppermint extract.
6. Spread the white chocolate:
Once the dark chocolate layer is firm (but not completely set), pour the melted white chocolate on top, spreading it evenly over the dark chocolate.
7. Add the peppermint topping:
While the white chocolate is still soft, sprinkle the crushed candy canes evenly over the top, pressing lightly to adhere.
8. Set and slice:
Let the bark set at room temperature for 1-2 hours or in the fridge for about 30 minutes, until completely firm. Once set, use your hands to break it into irregular pieces. If you prefer straighter edges, use a flat blade to cut up the bark.

Tips for Success
Choose quality chocolate: Bars or discs melt more smoothly than chips, which often have stabilizers.
Even layers: Use an offset spatula for spreading each layer evenly.
Candy cane dust: Sift out the finest bits of crushed candy cane for a cleaner look if desired.
Avoid chocolate bloom: Let the bark set in a cool, dry place rather than a warm kitchen to prevent white streaks from forming.
Using white chocolate chips: Chips are more heat-stable and may not melt as smoothly. Add 1 teaspoon of neutral oil (like coconut or vegetable oil) to help achieve a silky texture.
Customize it: Swap the candy canes for crushed peppermint candies or even sprinkle on festive sprinkles for a colorful twist!
Enjoy this festive, minty, chocolatey delight—it’s a holiday classic that never disappoints!

Equipment (Disclosure: Items below include affiliate links with Amazon USA. You pay the regular price, and I get a small commission.) I only recommend products that I own myself and know to be excellent quality. I often get asked on social media sites about my kitchen tools, so here are most of them used to make this recipe.
USA cookie sheet pans (Get the best you can afford; much worth it! This 3-piece set won’t disappoint: half sheet pan, 13”x18”/33x45 cm recommended)
Parchment paper (Costco has a great option.)
Heatproof Mixing bowls (I like this oven-proof glass set of 10 for mixing and portioning out ingredients.)
Induction saucepan (Use for the double boiler method)
Induction cooktop (An optional appliance for when you need to work separate from the stovetop.)
Silicone spatula set (These are great at high temperatures.)
Rolling pin or mallet (to crush candy canes)
Fine-mesh sieves (optional, for sifting out candy cane dust)
Digital Kitchen scale (Ingredients should be weighed rather than relying on volume; this is optional, but handy.)
Storage
Store peppermint bark in an airtight container at room temperature for up to 2 weeks or in the fridge for up to 1 month. For longer storage, freeze in a sealed container for up to 3 months. Thaw in the fridge overnight before serving.
Nutritional Information (per 2-ounce/56g serving; approx. 16 servings)
• Calories: 260
• Total Fat: 16g
• Saturated Fat: 10g
• Cholesterol: 5mg
• Sodium: 30mg
• Total Carbohydrate: 29g
• Dietary Fiber: 2g
• Sugars: 25g
• Protein: 2g
Thanks for stopping by the Mountaintop Kitchen today.
Stone — The Mountaintop Baker 👨🏼🍳
