


Fun Easter Chocolate Cupcakes with Nest and Egg Toppers
Grab the kids and quickly whip up these treats for a bit of Easter fun!

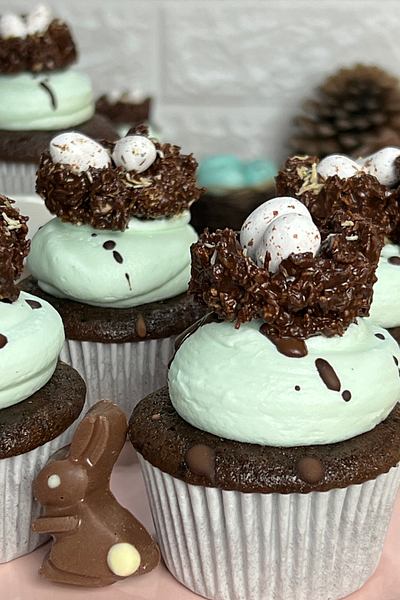
Spring is in the air here at Mountaintop Kitchen, and with it comes the irresistible urge to bake something whimsical, chocolatey, and full of joy. Whether you’re celebrating Easter, welcoming the changing seasons, or just need a playful baking project, these Fun Easter Chocolate Cupcakes with Nest and Egg Toppers are a delight from start to finish.

Inspired by the nests we’d spot in the trees outside the Mountaintop Kitchen’s windowed view of the Sierra Madre Occidental mountains each April, these cupcakes are equal parts seasonal nostalgia and festive times. The base is a rich, tender chocolate cake—dark and velvety thanks to natural cocoa and just a touch of espresso powder to deepen the flavor. The real showstopper, though, is the topping: a crunchy, chocolate-coated nest made from shredded wheat, molded lovingly atop each cupcake and filled with candy-coated mini eggs. Don’t worry, they won’t hatch unless you bite into them.
Before the Bunny: The Story of Ēostre and the Pagan Roots of Spring
Long before pastel eggs and chocolate bunnies took over our tables, spring was already a time of deep, joyful celebration. Across Europe, ancient peoples marked the spring equinox—that perfect moment when day and night are equal—with rituals that honored light’s return, the fertility of the earth, and the mysteries of rebirth.
One of the most enchanting figures from this time is Ēostre (pronounced AY-oh-stra), the pagan goddess of dawn, fertility, and spring. According to early Germanic folklore, Ēostre would sweep across the land as winter retreated, waking flowers from their sleep, encouraging animals to mate, and filling the world with color and life once again.
You might recognize her name—it’s the root of the word “Easter.” That’s right: before it became a Christian holy day, Easter was a seasonal festival rooted in the rhythms of nature and the worship of Ēostre.
And yes, she was closely associated with eggs (symbols of new life) and hares—mysterious, moonlit creatures known for their springtime energy. Some versions of the legend say that Ēostre once transformed a bird into a rabbit who laid colored eggs for children. Sound familiar?
While the historical record is thin—much of what we know comes from later accounts like the writings of the Venerable Bede—the spirit of these early spring observances still lives on. Today, when we dye eggs, nibble sweet treats shaped like bunnies, or simply step outside to admire the blooming trees, we’re part of something ancient. Something beautiful.
At Mountaintop Kitchen, I like to honor that history with bakes that are both delicious and symbolic. These Fun Easter Chocolate Cupcakes with Nest and Eggs feel like a perfect tribute: rich, chocolatey earth beneath a nest of new beginnings.
So as you bake, remember: you’re not just making dessert—you’re taking part in a celebration as old as the seasons themselves.
Would you like this adapted into a voiceover script or carousel post for Instagram?

Nota: Puedes descargar la receta completa en español al final de la sección de instrucciones a continuación. It’s a bake that invites creativity. I like to crush the shredded wheat with my hands, mix it into a silky blend of melted chocolate, corn syrup, and butter, and then shape it right on top of a sheet of parchment paper or in a mini cupcake tin. The nests firm up just enough to hold their shape, and kids (or the kid in you) will love placing the candy eggs into each one.
These cupcakes are a hit at spring potlucks, Easter brunches, or just as a treat for a sunny Sunday afternoon. Plus, they’re easy enough to make with little helpers—perfect for starting your own family baking traditions.
So preheat your oven, gather your nest-building tools, and let’s bring a little joy to the kitchen this spring. From our mountain to yours—happy baking.

On Measuring Ingredients: My preferred method of measuring is weight by grams. Baking by volume rather than weight can lead to varied and unexpected results. Flour is especially problematic when measured by volume (sifted, not sifted, spooned, not spooned, fluffed or not … you get the point). Grams are always the same; they are your friend as a baker. King Arthur Baking Company’s Ingredients Weight Chart is helpful for converting recipe weights.
On Altitude Adjustments: Before measuring ingredients, preheating your oven, or setting your timer; it’s important to consider any necessary adjustments for baking at higher altitudes, which is generally considered to be 3,500ft and above. Most recipes are written for sea level up to 3,500ft. Take at look at our baking at High-Altitude Baking Adjustments page for guidance.

Recipe
Fun Easter Chocolate Cupcakes with Nest and Egg Toppers
For the Cupcakes:
¾ cup (94g) all-purpose flour
½ cup (41g) unsweetened natural cocoa powder
1 teaspoon espresso powder or instant espresso (optional)
¾ teaspoon baking powder
½ teaspoon baking soda
¼ teaspoon fine sea salt
2 large eggs, at room temperature (100g)
½ cup (100g) granulated sugar
½ cup (100g) packed light brown sugar
⅓ cup (80ml) vegetable or canola oil
2 teaspoons (10ml) vanilla extract
½ cup (120ml) buttermilk, at room temperature
For the Chocolate Nest Topping:
Shredded wheat squares (about 60g), crushed
3½ tablespoons (50g) unsalted butter
2½ tablespoons (50g) light corn syrup or golden syrup
1¼ cups (200g) semi-sweet chocolate chips
About 36 mini chocolate eggs (3 per cupcake)
For the Buttercream Frosting:
This recipe makes just enough to generously ice 12 regular cupcakes. Double it to fill, crumb-coat, and finish a 4-layer, 20cm (8-inch) cake.
285g (10 oz) unsalted butter, softened
¼ teaspoon sea salt
450g (3¾ cups) icing sugar (confectioners’ sugar), sifted
¼ teaspoon vanilla extract
1½ tablespoons (22ml) whole milk
Food coloring of your choice

Note: Click “Watch on YouTube” for the best viewing experience, or just click here.
For the Cupcakes:
Preheat the oven to 350°F (177°C). For convection, use 325°F (163°C). Line a 12-cup muffin tin with paper liners.
Make the cupcake batter:
In a medium bowl, whisk together the flour, cocoa powder, espresso powder, baking powder, baking soda, and salt.
In a large bowl or stand mixer, beat the eggs, granulated sugar, brown sugar, oil, and vanilla until smooth and light, about 2 minutes. Stir in the buttermilk.
Add dry ingredients in two additions, mixing just until combined.Bake:
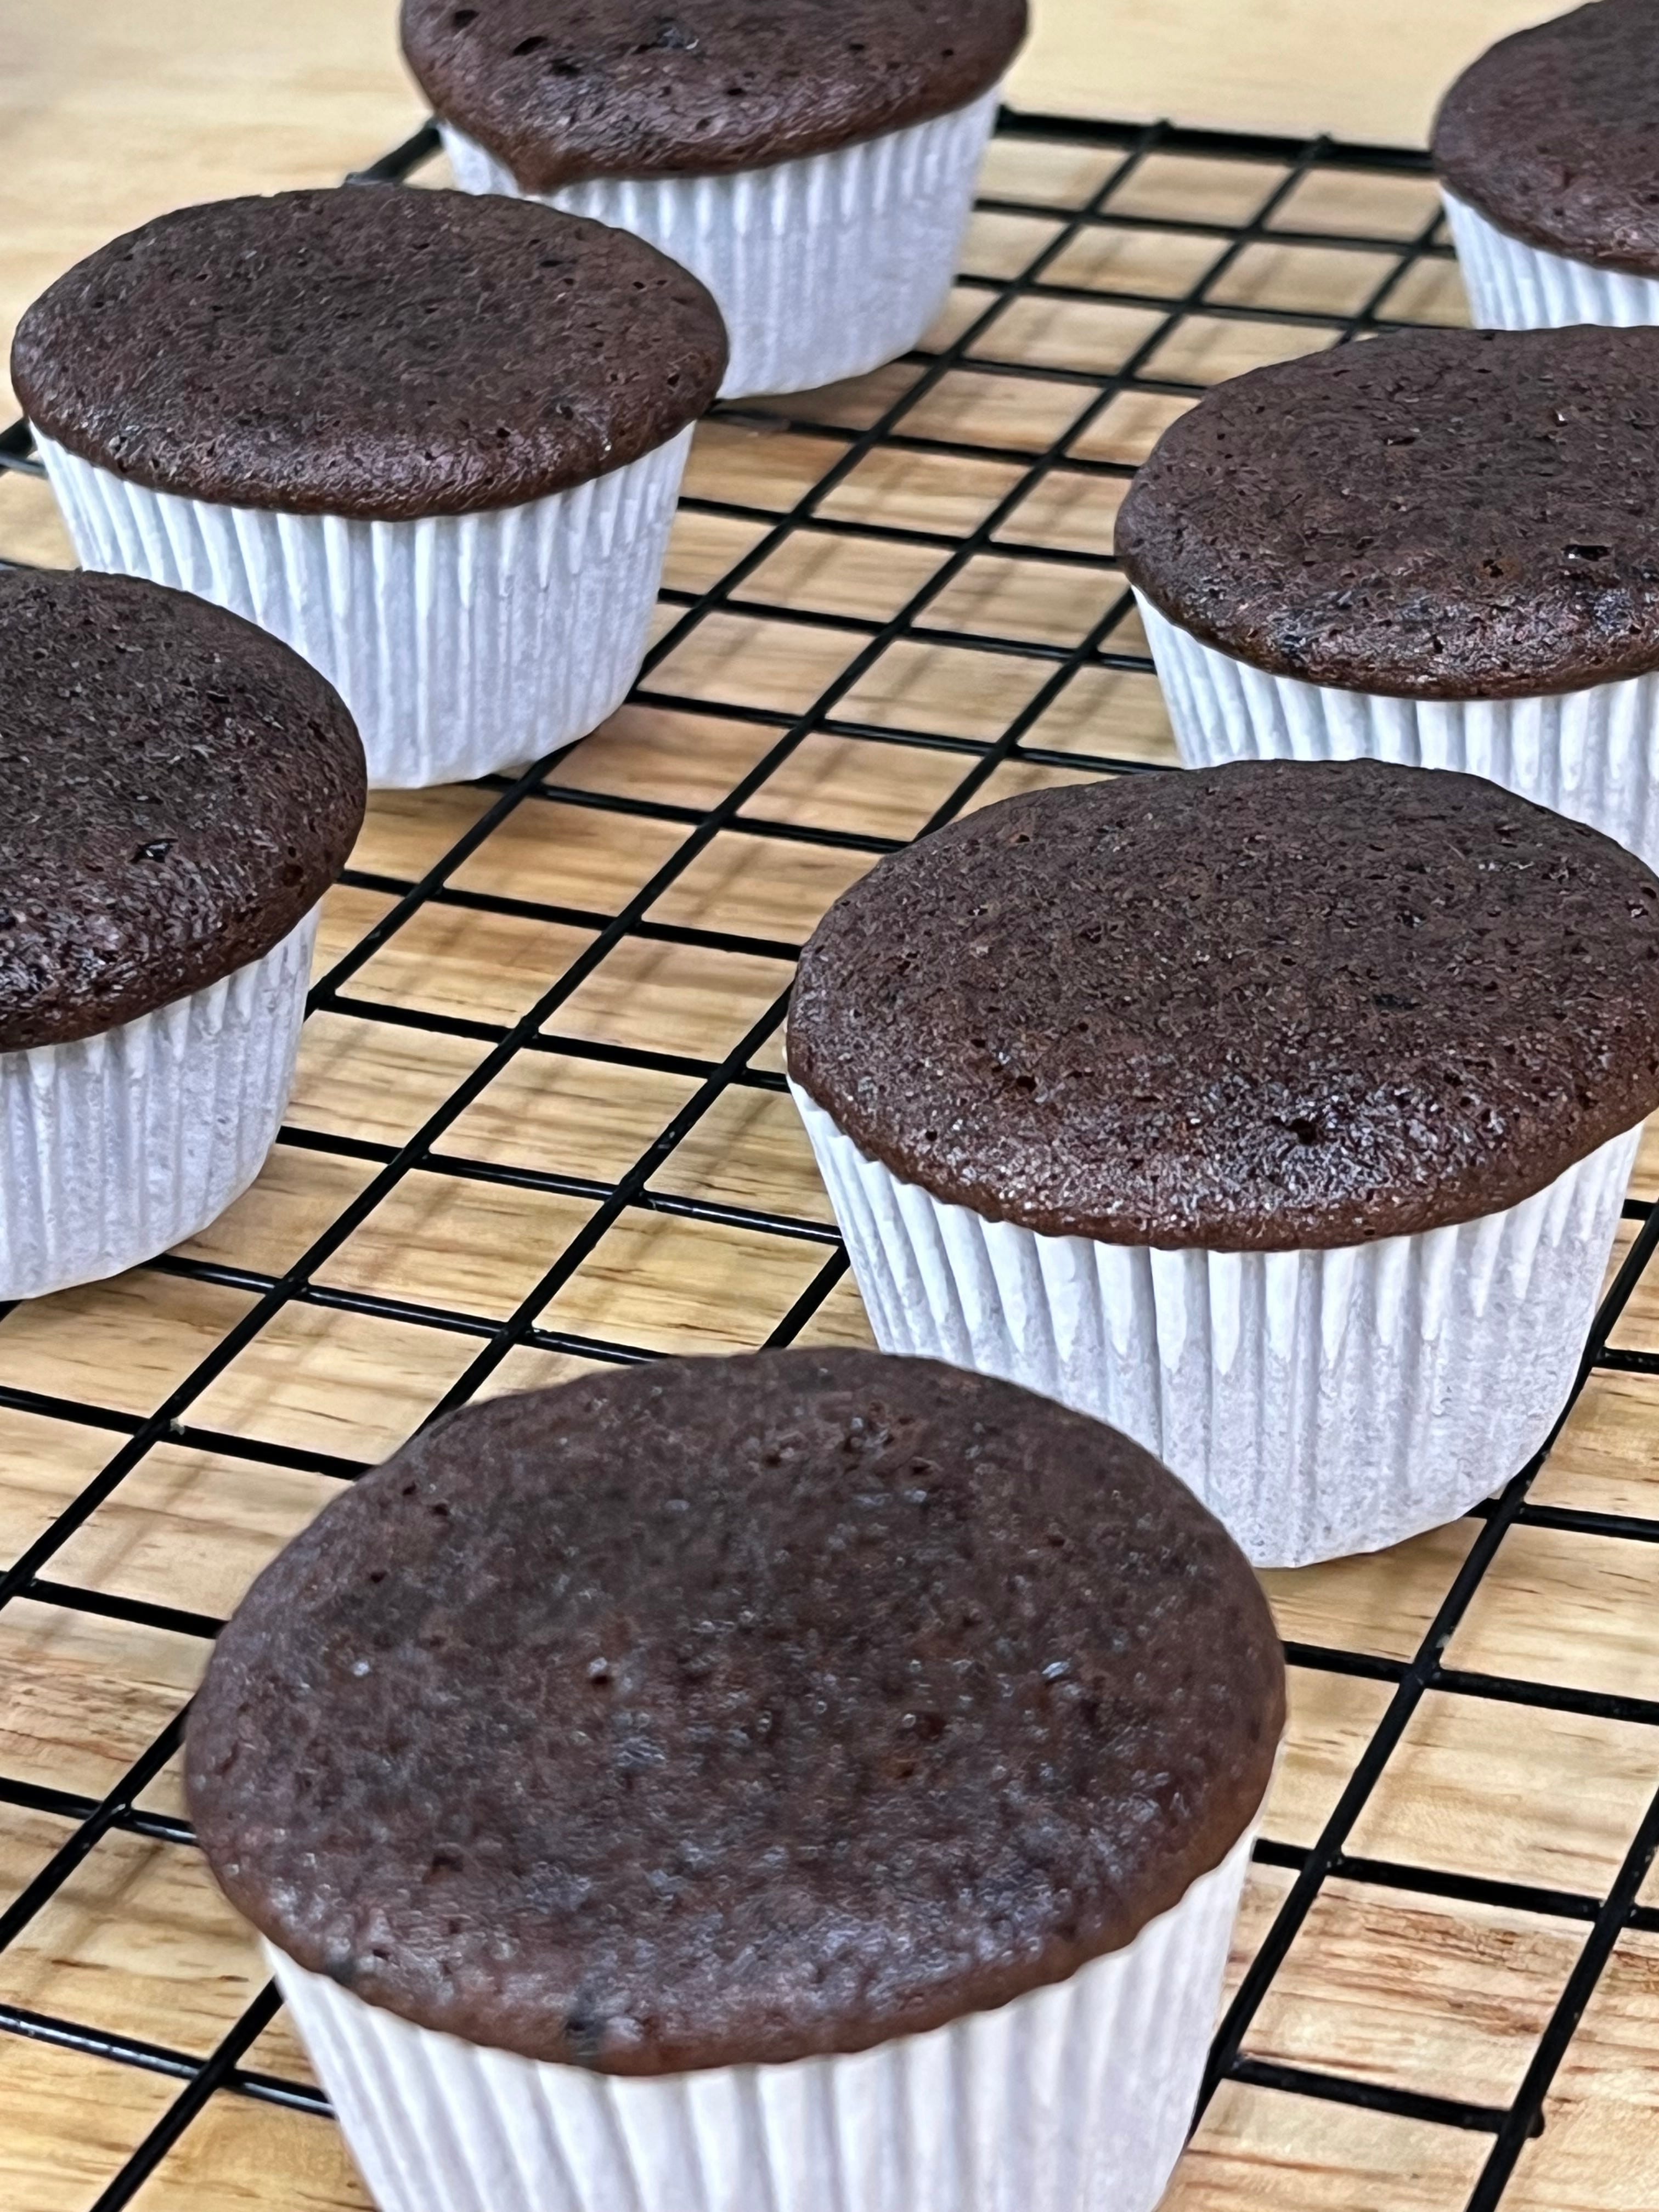
Divide the batter evenly among the prepared cups (fill about ⅔ full).
Bake for 18 to 22 minutes (or 16–18 minutes for convection), until a toothpick inserted into the center comes out clean.
Let cool in pan 5 minutes, then transfer to a rack to cool completely.Make the chocolate nests:
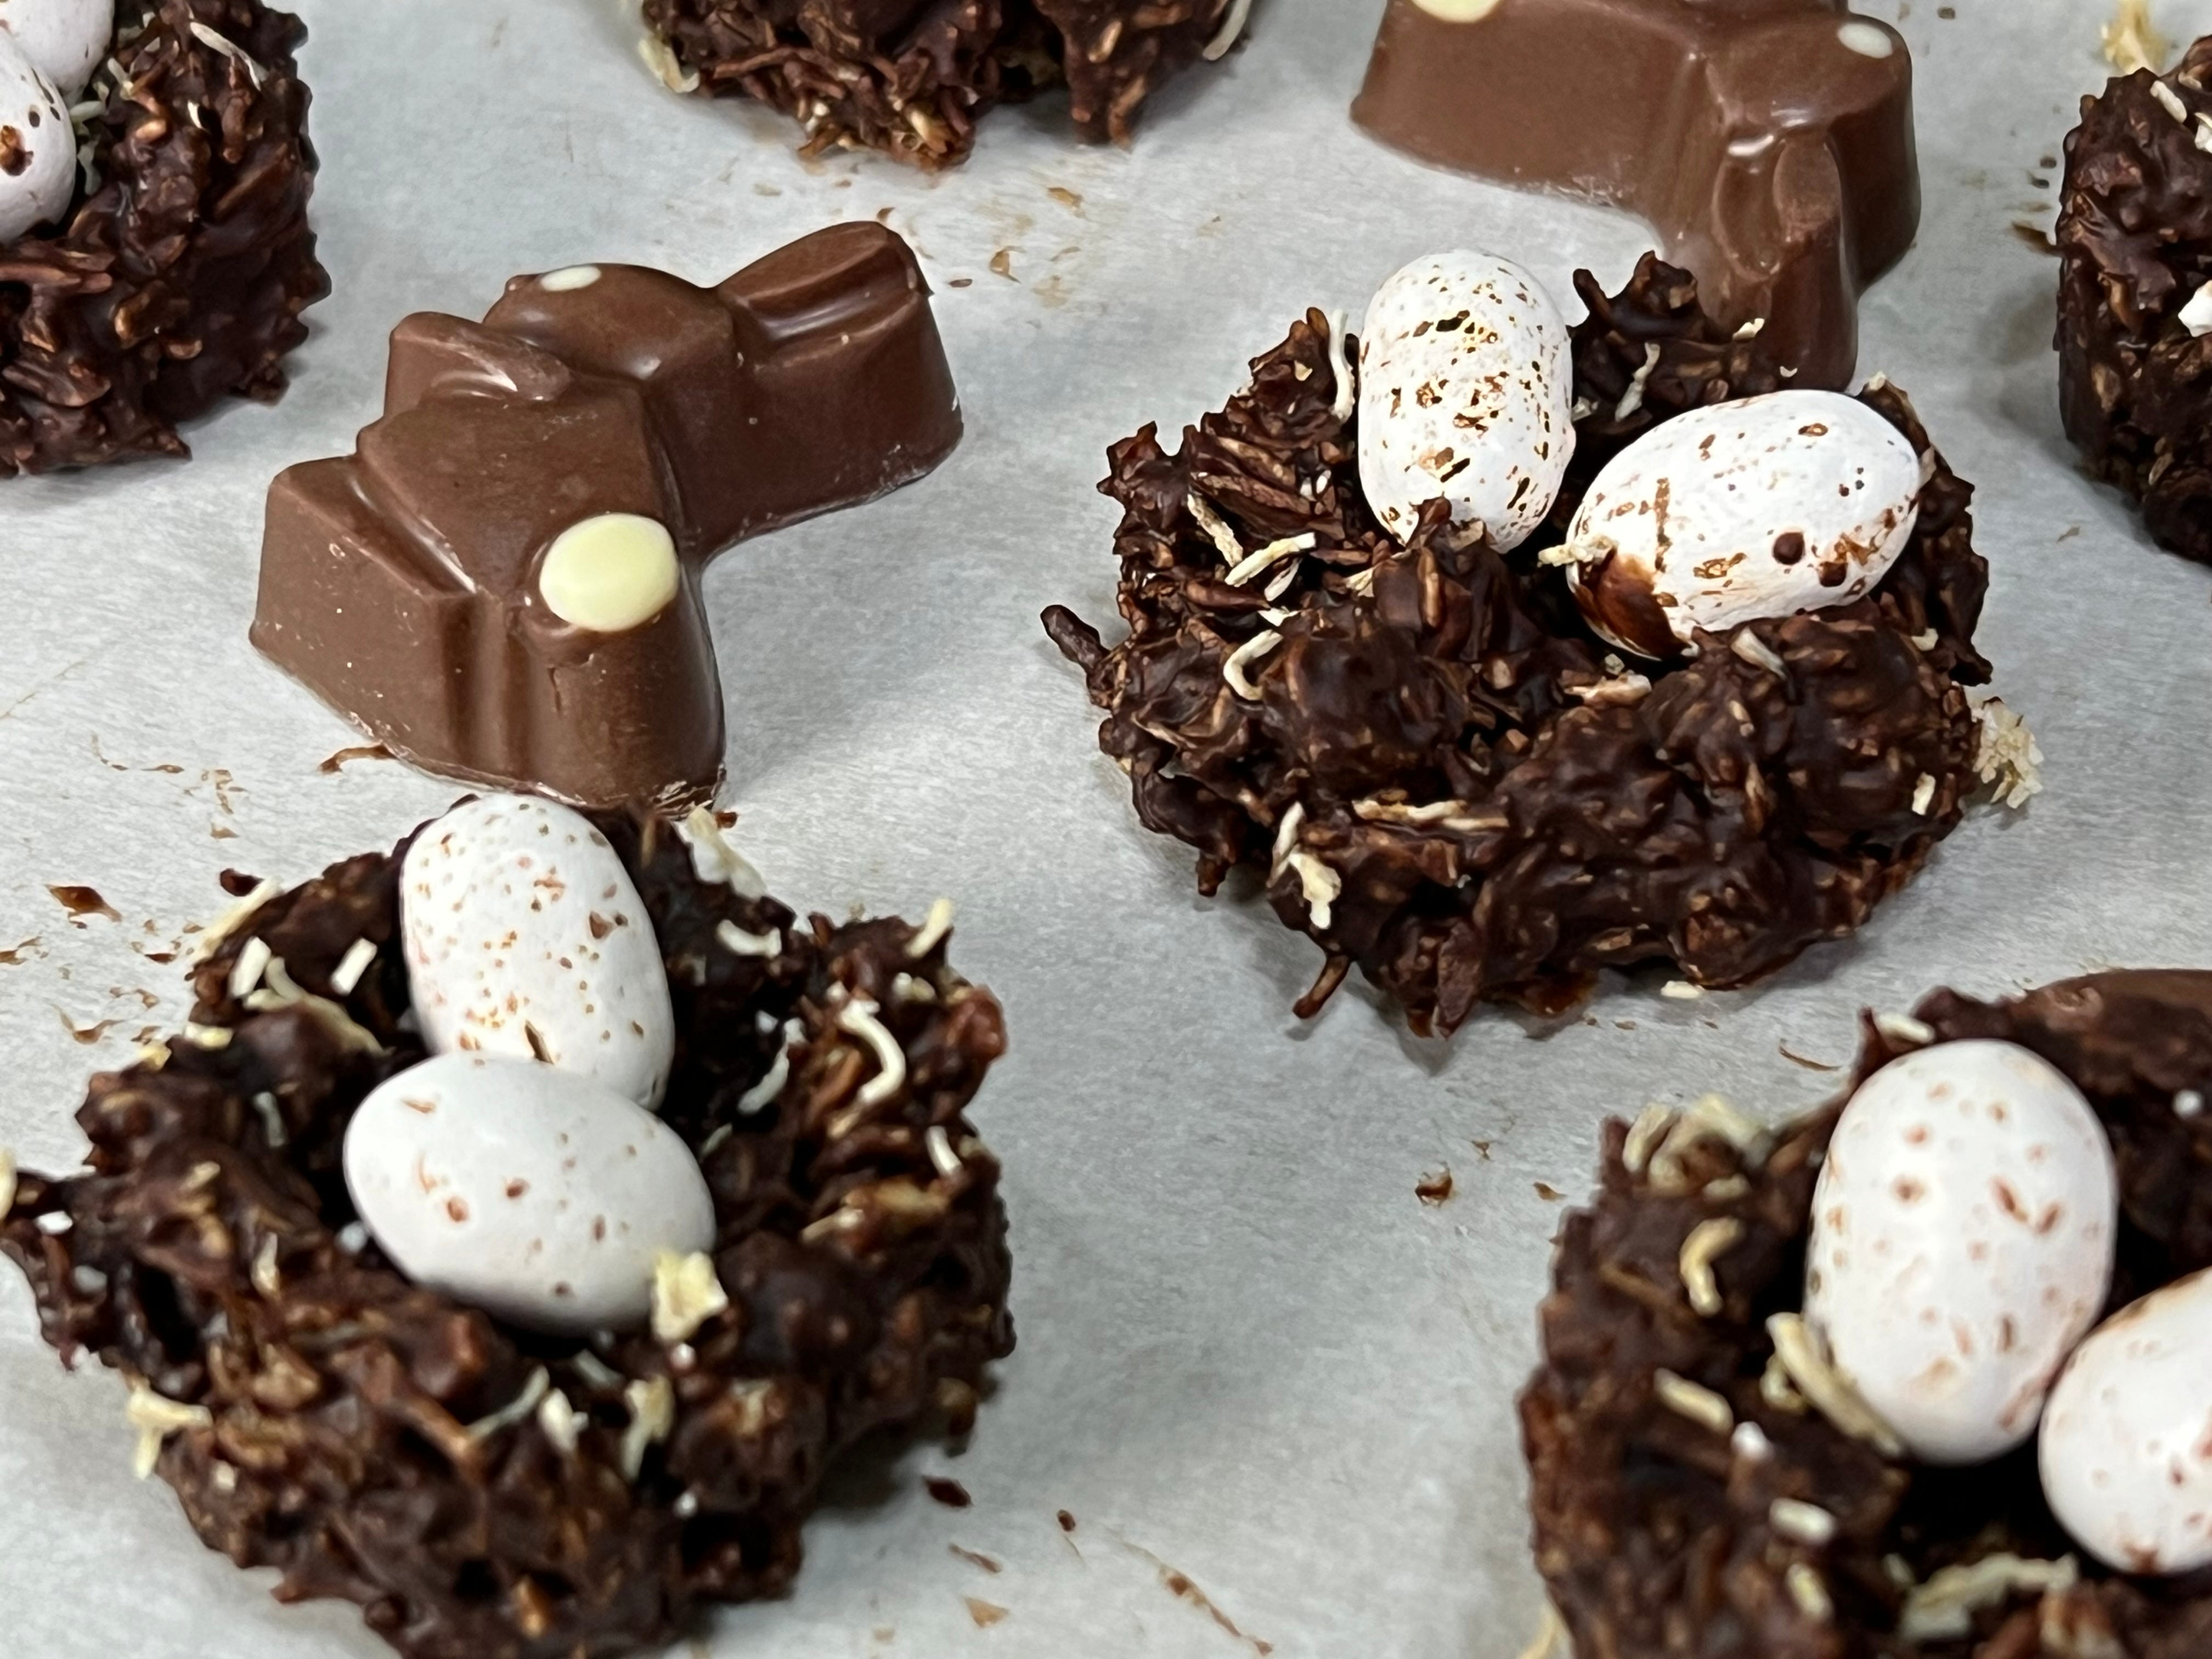
In a medium saucepan over low heat, melt the butter, corn syrup, and chocolate chips, stirring until smooth.
Remove from heat and stir in crushed shredded wheat until fully coated.Assemble the nests:
Spoon a generous tablespoon of the nest mixture onto each cooled cupcake. Shape into a nest with a small well in the center.
Press 2 to 3 mini chocolate eggs into each nest before the topping sets.
For the Buttercream Frosting:
In a stand mixer fitted with the paddle attachment (or using a hand mixer), beat the softened butter and salt on medium speed until light and fluffy, about 3 minutes.
Add the sifted icing sugar in three additions, beating slowly at first to avoid clouds of sugar. Increase speed to medium-high after each addition, scraping the sides of the bowl as needed.
Add the vanilla extract and milk, then beat again until silky-smooth and fluffy—about 2 to 3 minutes more.
Add some food colorings of your choice. Start with with 1 drop and add more as needed to get the intensity of desired color.
Use immediately to pipe or spread onto cooled cupcakes. If not using right away, cover and store at room temperature for up to 24 hours, or refrigerate for longer (bring to room temperature and rewhip before using).
Storage
Store cupcakes in an airtight container at room temperature for up to 2 days, or refrigerate up to 5 days.
For best texture, allow refrigerated cupcakes to come to room temperature before serving.


Equipment (Disclosure: Items below include affiliate links with Amazon USA. You pay the regular price, and I get a small commission.) I only recommend products that I own myself and know to be excellent quality. I often get asked on social media sites about my kitchen tools, so here are most of them used to make this recipe.
Mixing bowls (I like this oven-proof glass set of 10 for mixing and portioning out ingredients.)
Stand mixer (An electric hand mixer can also be used.)
Cordless electric hand mixer (This is a handy mixer for these smaller bakes.)
Kitchen scale (Ingredients should be weighed rather than relying on volume.)
Oven thermometer (All ovens need calibration, an in-oven thermometer is essential.)
Silicon oven mitts (I’ve burned my hands too many times with cloth mitts.)
Piping bags (I like the control that these medium-sized piping bags provide.)
Round piping tip set (This is a nice set for many applications. We just cut the tips of our bag this time, but piping tips are recommended for more precision.)
Whisk (This is a standard for combining dry ingredients.)
Silicone spatula set (These are great for loading your piping bag with frosting and other tasks.)
Wire cooling rack (Every kitchen needs at least two.)
Thanks for popping into the Mountaintop Kitchen today!