Easy Jalapeño and Cheddar Artisan Sourdough Bread: Batard & Boule
Artisan sourdough bread is a delicious blend of tradition, time, and tangy perfection that brings the art of baking to life with every bite.
The Mountaintop Kitchen has been on the move, literally. During the month of August, we moved up another 700 feet to the very tippy top of the mountain. We’ve missed all of you dearly but are happy to be in our new and expanded kitchen space. Here we will be able to offer our subscribers even more recipes, tips, and tricks with all this room to stretch out and just bake and cook to our hearts’ content. So today we pulled out our cherished cast iron and baked up some yummy Jalapeño and Cheddar Artisan Sourdough Bread. No more dilly dallying; let’s bake!
There’s something magical about artisan sourdough bread. From its chewy crust to its tangy, flavorful crumb, each loaf tells a story—one shaped by time, patience, and a lively little community of wild yeast. Unlike your typical bread, sourdough is a true artisan craft. With just flour, water, and salt, you can create something spectacular, thanks to the science (and a bit of magic) that happens when natural fermentation takes place.
Sourdough’s roots go back thousands of years, long before commercial yeast was a thing. Bakers, armed only with their senses and the whims of their environment, carefully nurtured their starters to make every loaf unique. It’s a dance with nature—sometimes unpredictable, but always rewarding.
But the best part? No two loaves are ever quite the same. Whether you’re making a rustic boule or an elegantly long batard, artisan sourdough invites you to embrace the imperfections. And let’s not forget the joy of hearing that crackle as your fresh bread cools—it’s the sound of success, no matter how it turns out!
Ready to dive in? Tie on your apron, and let’s get kneading! Practice makes perfect, and the Mountaintop Kitchen will share all its bread-baking methods with you! So let’s get started!
The new location of the Mountaintop Kitchen is at an elevation of 7,000+ ft.; when using sourdough starter as a leavening agent at this altitude rather than commercial yeast, we have found little need to make recipe adjustments (time, temperature, ingredient measurements, etc.). However, if yeast is substituted for sourdough starter, adjustment recommendations are available from King Arthur Baking Company.
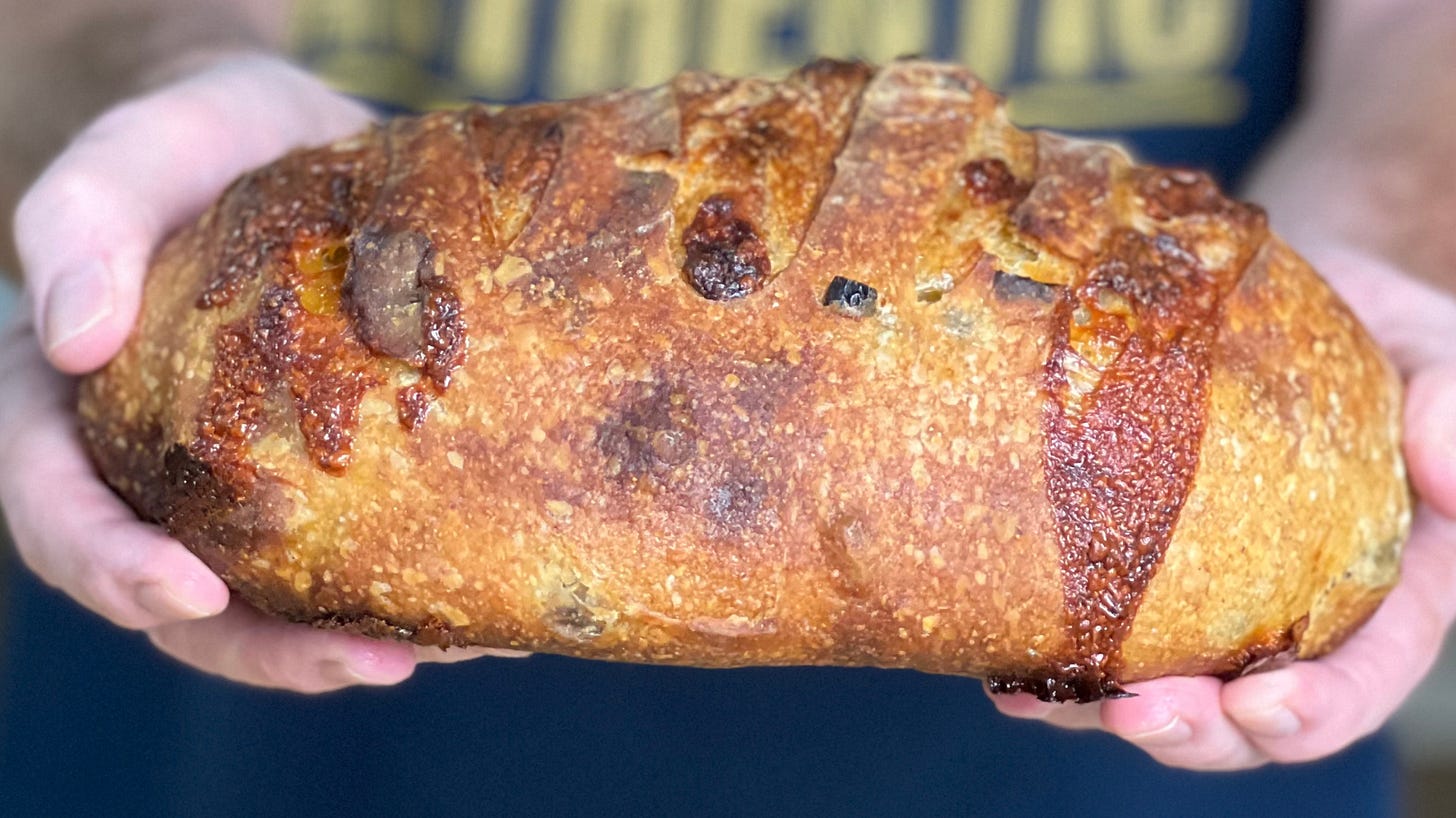
Jalapeño Cheddar Sourdough Bread
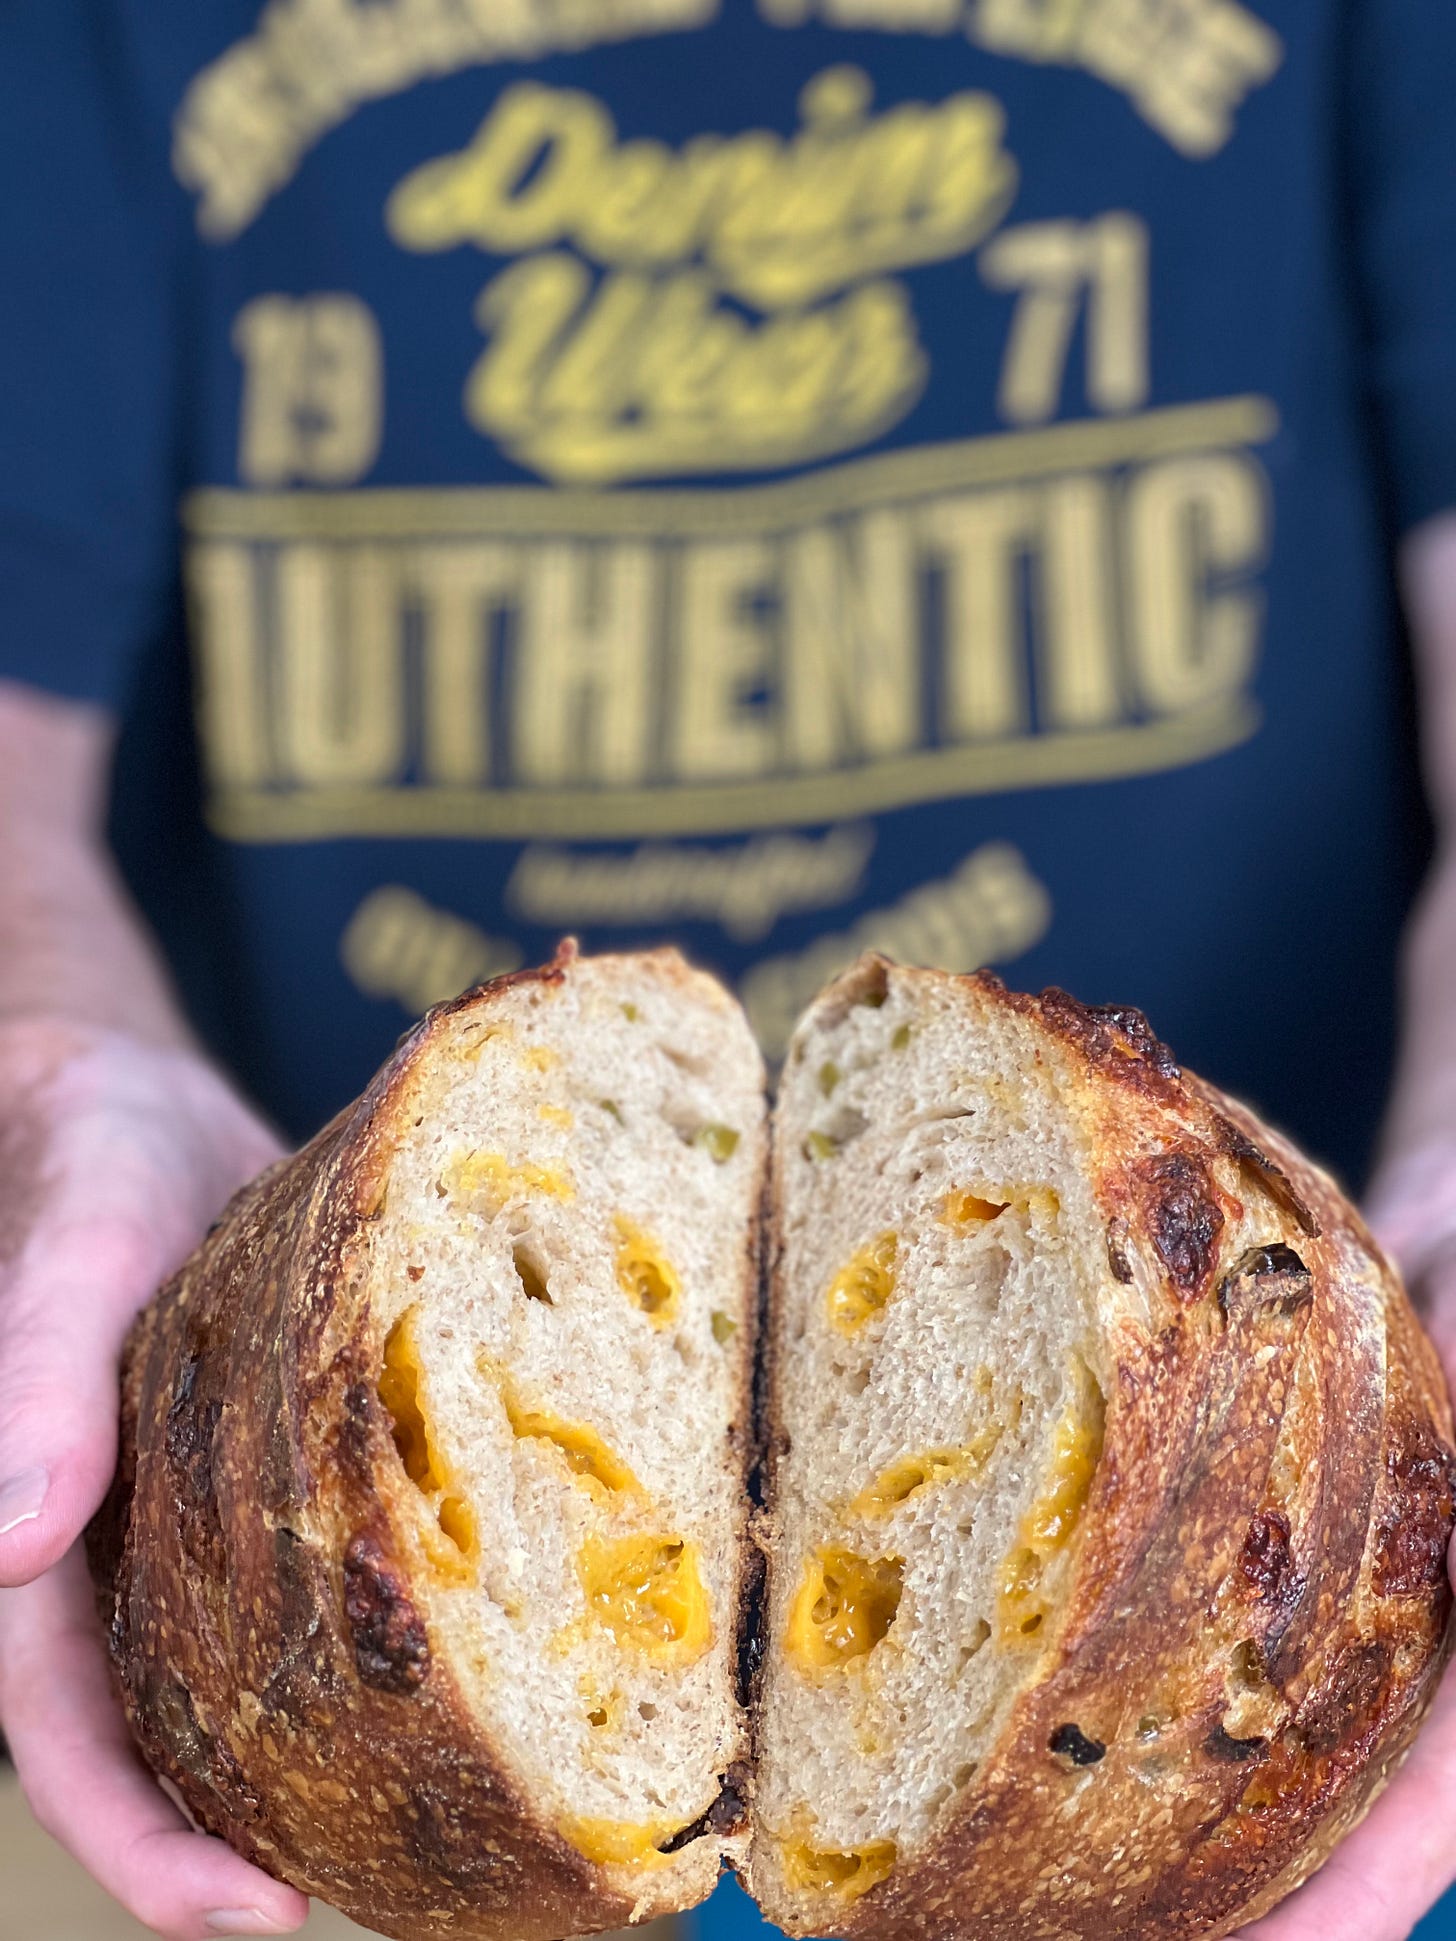
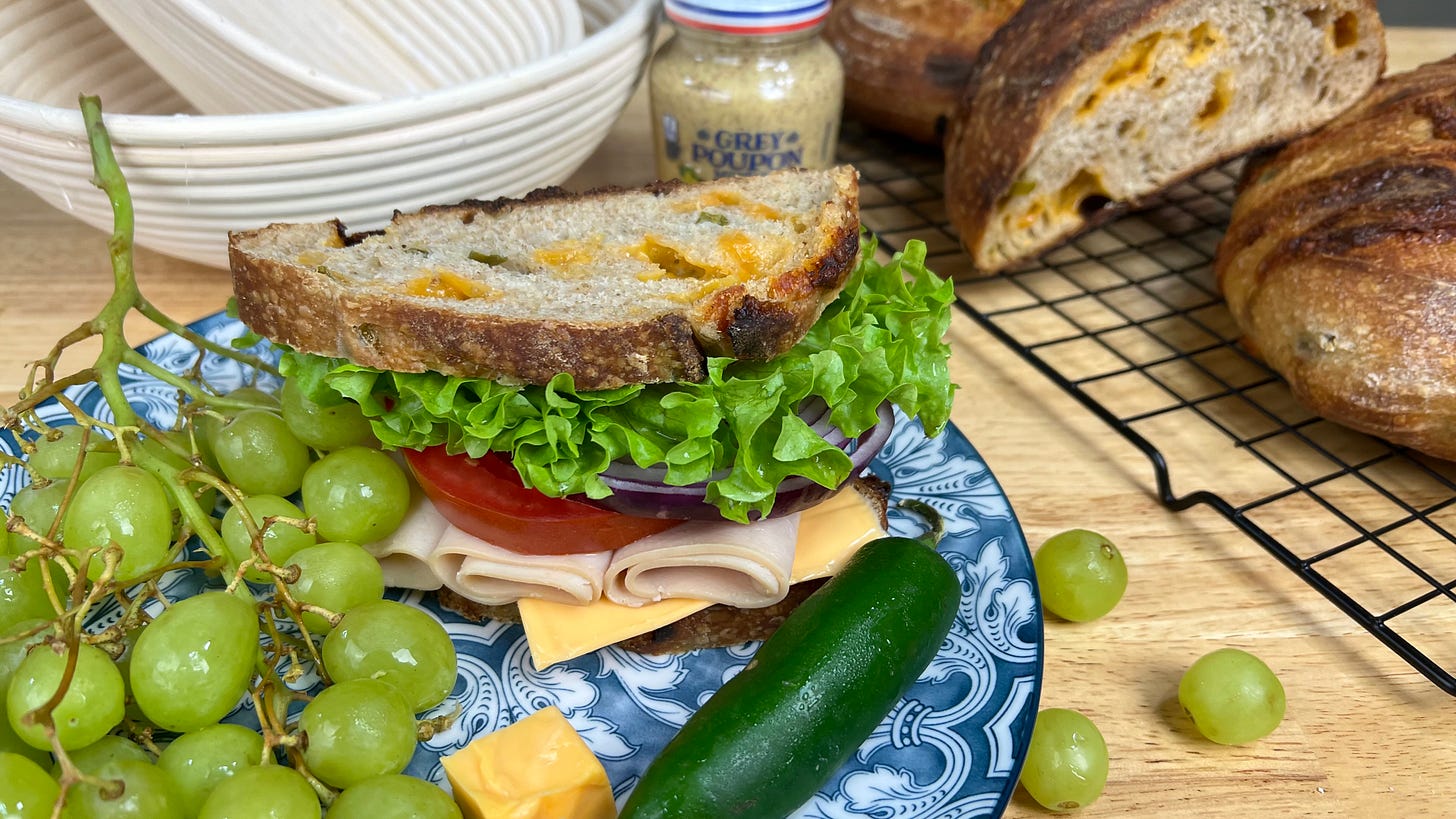
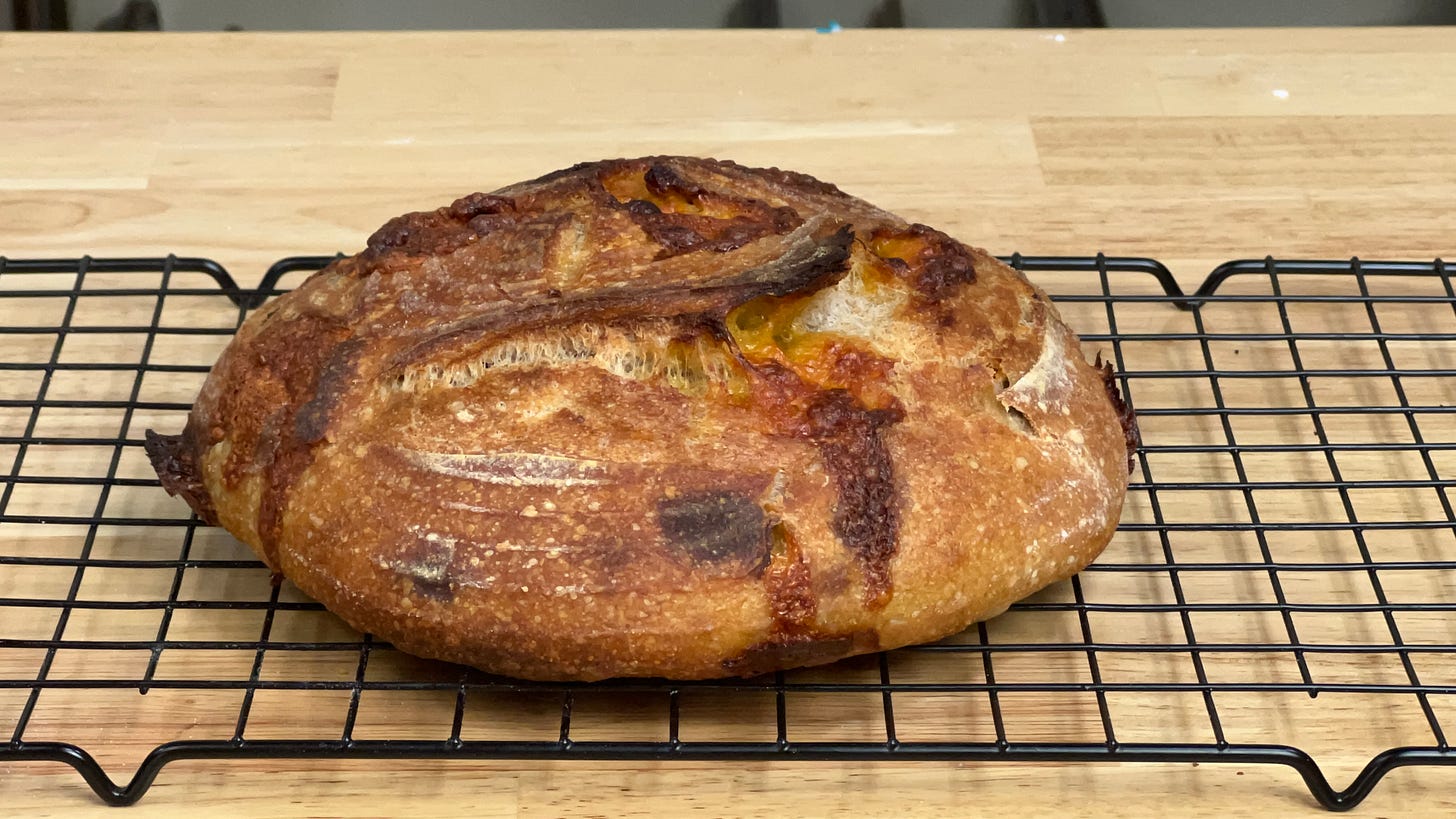
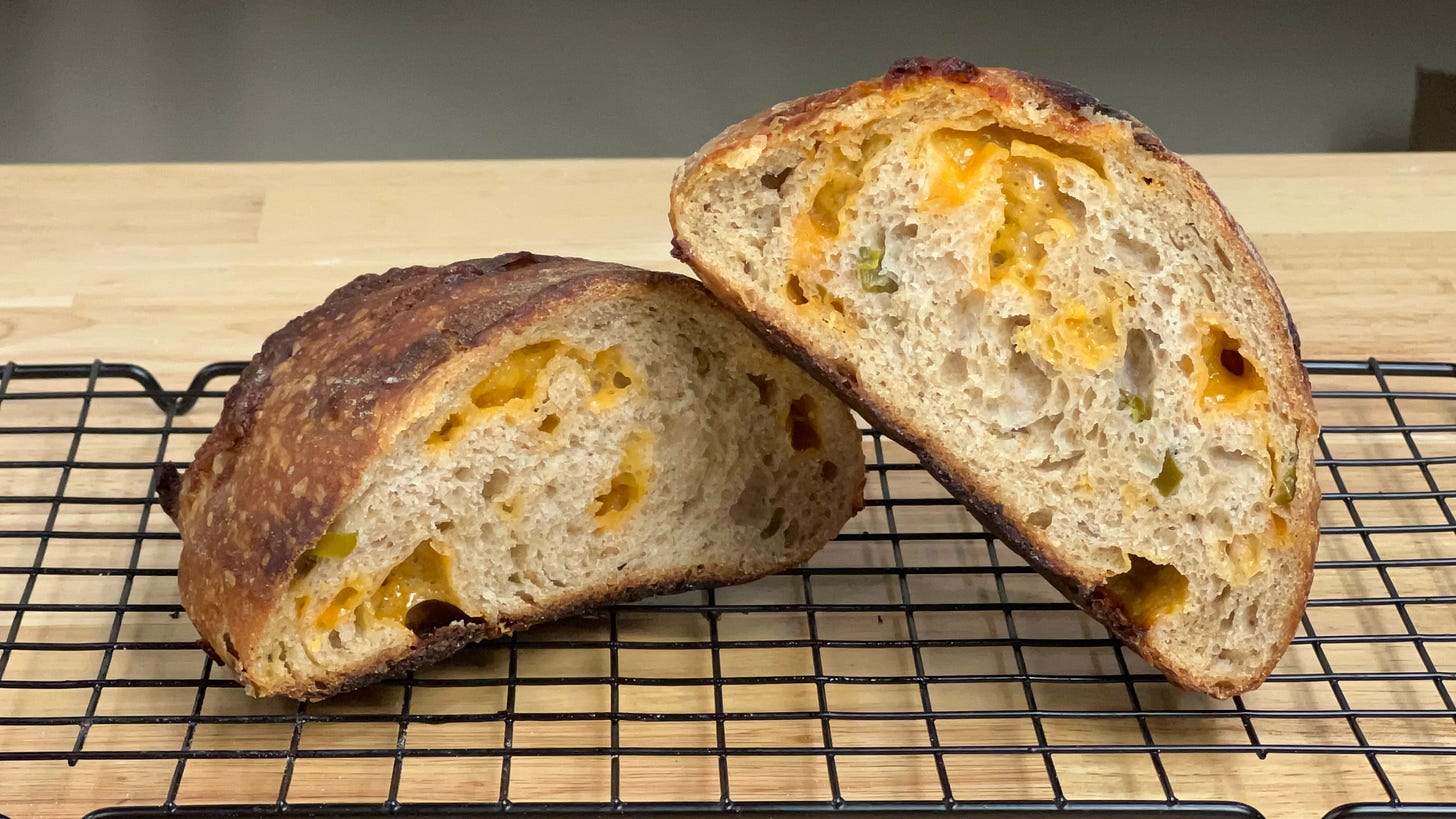
This recipe yields two flavorful loaves—one batard (oval) and one boule (round)—each with a delightful kick from jalapeños and the richness of sharp (or mild) cheddar. Perfect for those who love a bit of spice in their bread!
Levain:
36g medium-protein bread flour or all-purpose flour
36g whole wheat flour
72g water
7g ripe sourdough starter
Main Dough:
593g medium-protein bread flour or all-purpose flour
132g whole wheat flour
42g whole rye flour
210g sharp (or mild) cheddar cheese, shredded or cubed
67g jalapeño, finely diced (1–3 peppers depending on size)
34g honey
558g water, divided (516g/42g)
15g salt
149g levain (from above)
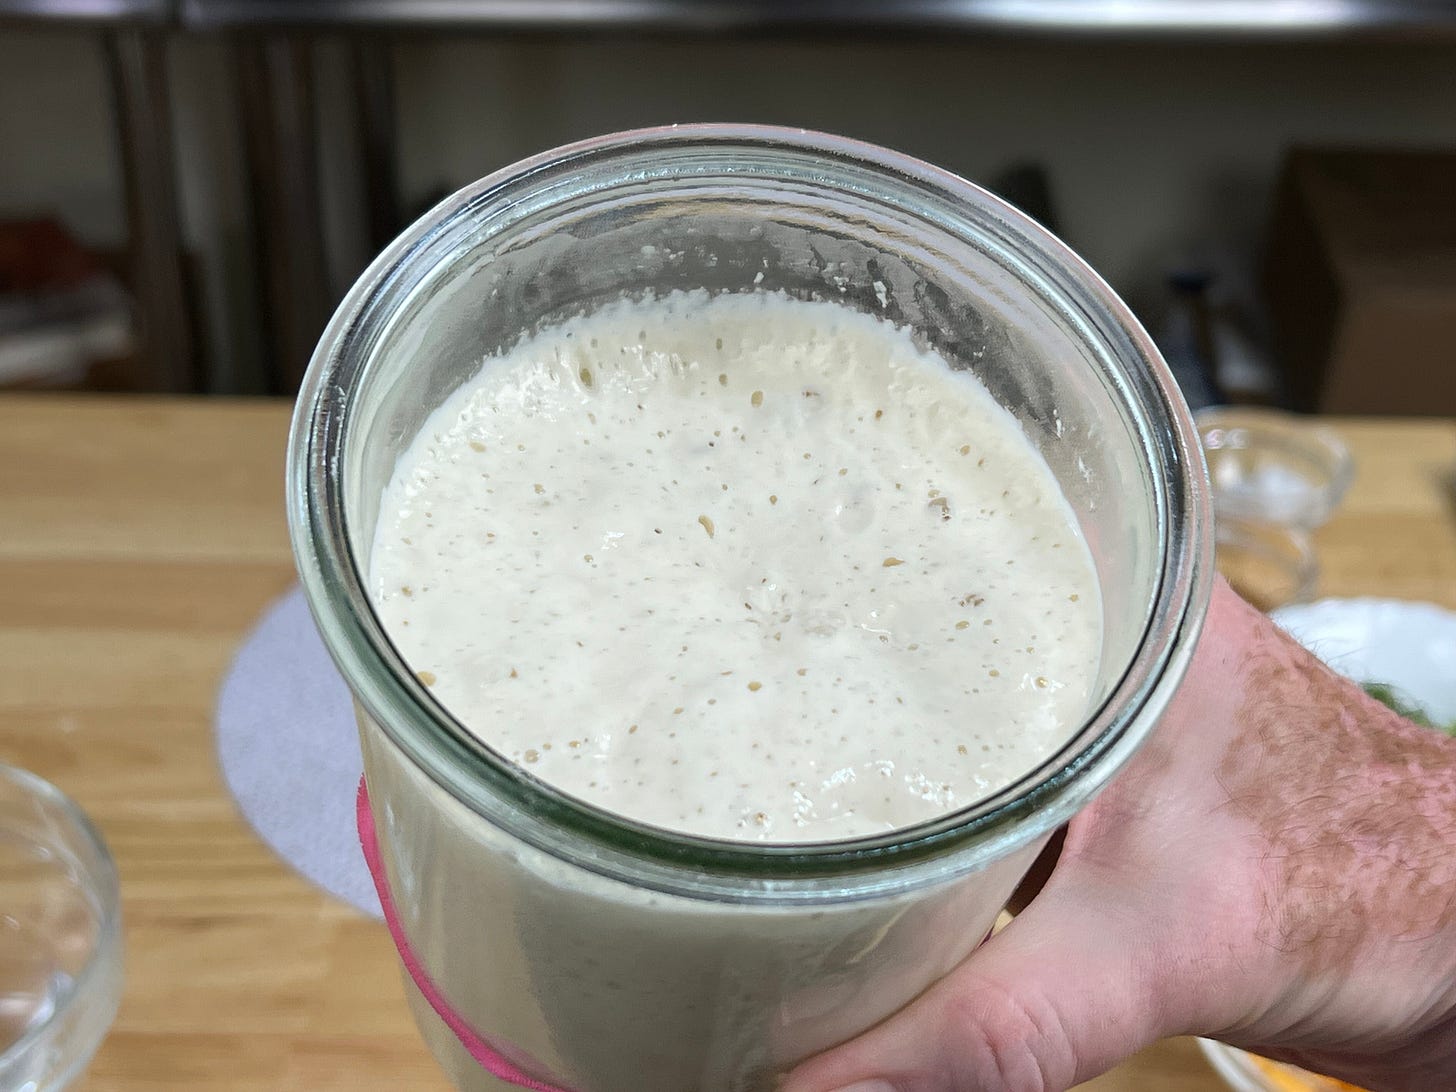
1. Prepare the Levain: Levain is a preferment made from a mixture of flour, water, and mature sourdough starter, used to boost fermentation, enhance flavor, and improve the texture of the final bread. The night before you plan to mix your dough, combine the levain ingredients in a small bowl. Mix 36g bread (or all-purpose) flour, 36g whole wheat flour, 72g water, and 7g of your ripe sourdough starter until well blended. Cover and let it rest at room temperature for 8 to 12 hours, until bubbly and doubled in size.
Note: If your kitchen is on the cold side, you can proof both your levain and later your dough by placing it in the oven with only the light bulb turned on. This should yield a temperature of 75-80F.
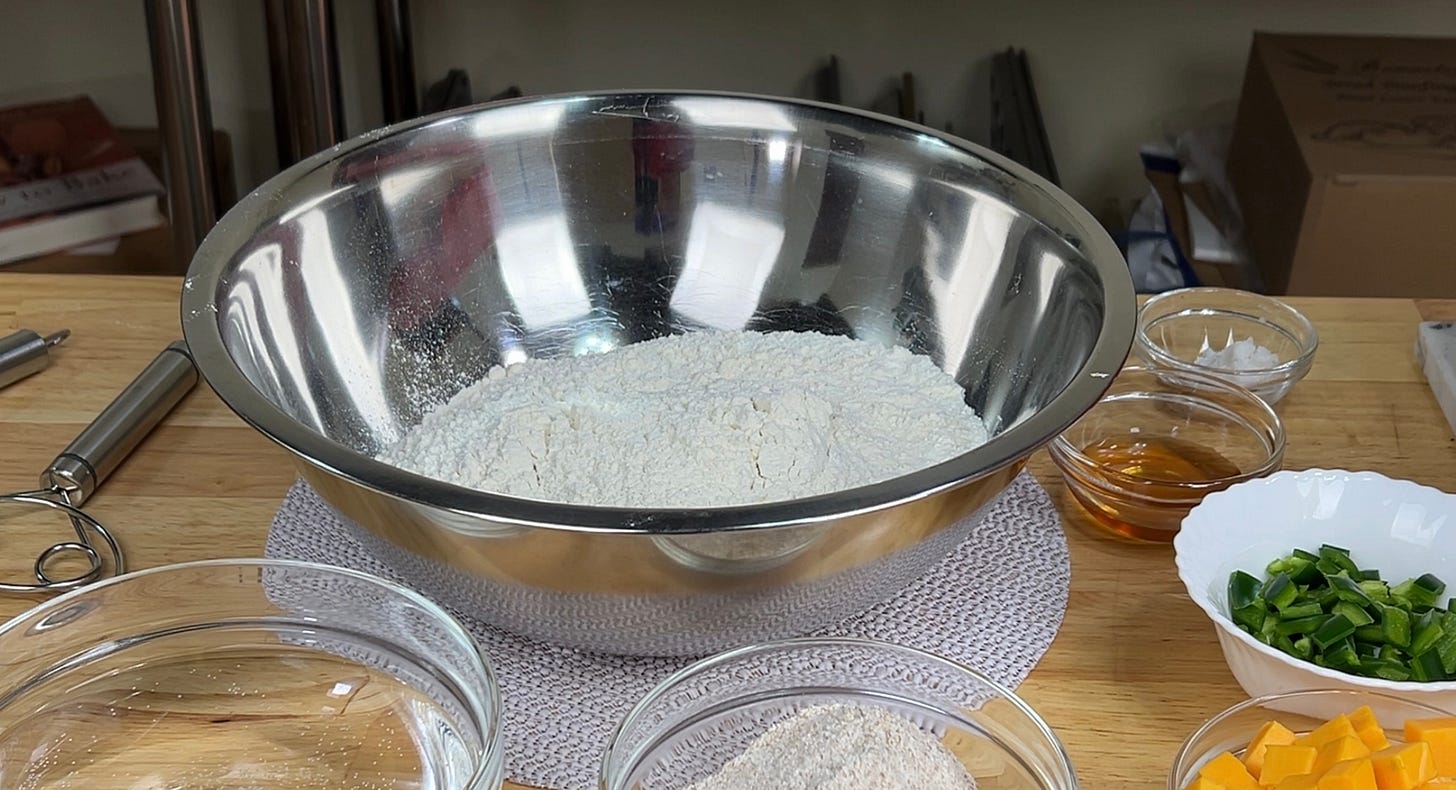
2. Autolyse the Dough: Autolyse is a simple technique in bread-making where flour and water are mixed and left to rest, allowing the dough to hydrate and develop gluten naturally for improved texture and easier kneading. In a large mixing bowl, combine 593g of bread or all-purpose flour, 132g whole wheat flour, and 42g rye flour (or more whole wheat flour). Add 516g of water and mix until the flour is fully hydrated. Cover the bowl and let the dough rest (autolyse) for 30 minutes. This rest period allows the flour to fully absorb the water, making the dough easier to handle.
3. Mix the Dough: We like to mix by hand for about 4 minutes (see video below). Add the levain, 34g honey, and 15g salt to the autolysed dough. If using a stand mixer, begin mixing on low speed, gradually adding the as much of the remaining 42g of water until the dough is cohesive and smooth. Increase the mixing speed to medium, and continue to knead for 5 to 7 minutes, until the dough becomes elastic and starts to pull away from the sides of the bowl. Finally, incorporate the shredded cheddar and diced jalapeños, mixing on low speed until evenly distributed.
4. Bulk Fermentation: Bulk fermentation is the first rise in bread-making where the dough ferments as a whole, allowing the yeast or starter to develop flavor, structure, and gas for a well-risen loaf. Transfer the dough to a clean bowl. Cover it with a damp towel or plastic wrap, and let it ferment at room temperature (74-77F) for 3.5 to 4.5 hours. During the first 2 hours, perform a series of stretch and folds every 30 minutes—this strengthens the dough and helps build structure. The dough should become more elastic and airy with each fold. Introduce the inclusions, cheddar cheese and diced jalapeño peppers during the first set of stretch and folds.
Note: If your kitchen is on the cold side, you can proof/ferment your dough by placing it in the oven with only the light bulb turned on. This should yield a temperature of 75-80F. Be sure not to turn the oven on during this period.
First Stretch and Fold (add inclusions)
After 30 minutes, complete 2 more sets of stretch and folds then let the dough rest for the remainder of the bulk fermentation process (about 2 more hours).
5. Pre-Shape and Bench Rest: Pre-shape and bench rest involve gently shaping the dough into loose rounds or logs, then allowing it to rest briefly, helping the gluten relax and making the final shaping process easier and more precise. After bulk fermentation, turn the dough out onto a lightly floured surface. Divide it into two equal pieces (about 850g each). Gently pre-shape each piece into a round and the ball using your hand and a bench scrapper to create some tension in the dough. Cover the dough and let it rest for approximately 30 minutes.
6. Final Shaping: Final shaping is the process of forming the dough into its desired shape, such as a boule or batard, creating surface tension that helps the loaf hold its structure during proofing and baking.
For the Batard: Lightly flour the work surface and the top of the ball of dough. Flip the ball over so that the floured top is facing down; this is also called the presentation side of the dough. Flatten the log into a rectangle. Fold the bottom third of the dough up, then the top third down over it (like folding a letter). Roll the dough from top to bottom to form a tight log, and seal the seam with the heel of your hand. Place the batard seam-side up in a floured (rice flour in our case) proofing basket or oval-shaped bowl.
For the Boule: Lightly flour the work surface and the top of the ball of dough. Flip the ball over so that the floured top is facing down; this is also called the presentation side of the dough. Shape the round by gently stretching the edges and tucking them under to form a tight ball. Place the shaped boule seam-side up in a floured proofing basket or bowl. At Mountaintop Kitchen, we use white rice flour as it’s less gummy and easy to brush off before baking.
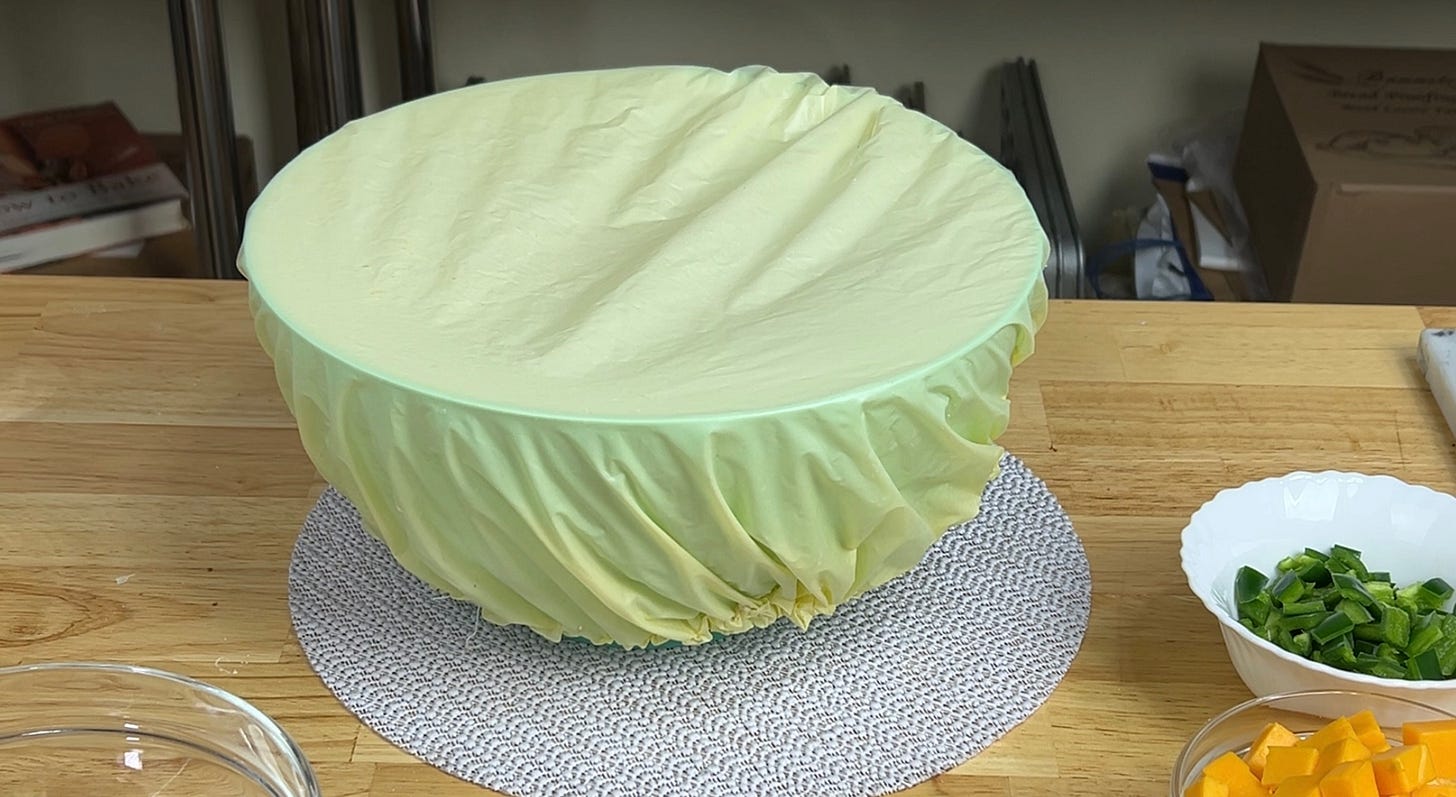
7. Final Proof: Final proof is the last rise before baking, where the shaped dough rests and expands, allowing it to develop flavor and reach its full volume for a well-risen, airy loaf. Cover the proofing baskets with plastic wrap or a damp cloth. Let the dough proof at room temperature for 1.5 to 2 hours, or refrigerate overnight for a slower, more flavorful fermentation. At Mountaintop Kitchen, the preference is to slow-proof overnight in the refrigerator for about 16-24 hours or longer. The longer the dough is cold-proofed, the intensity of the sourdough flavor increases.
8. Preheat the Oven: The next day (if proofed overnight), while the dough is still cold-proofing, place a Dutch oven or a baking stone in your oven and preheat to 450°F. Allow the oven to heat thoroughly for 30-45 minutes before baking. A Lodge Double Dutch Cast Iron Oven was used for this recipe. We use the lid as the base pan and the bottom as the lid.
9. Score and Bake: Scoring is the process of making shallow cuts on the surface of the dough before baking, allowing controlled expansion in the oven and adding a decorative touch to the finished loaf. Remove one of the proofing baskets from the refrigerator and gently turn the dough out onto a piece of parchment paper. Score the top of the loaf with a sharp knife or razor blade. Assuming you have only 1 dutch oven, repeat the process for the second loaf.
For the Batard: Try a single slash down the center or a series of angled slashes. A layer of cornmeal in the cast iron and/or a silicon mat can help to render a less baked bottom crust. I like a very dark and super crunchy bottom crust; it’s a matter of personal preference.
For the Boule: A box cut and a simple “X” or cross works well.
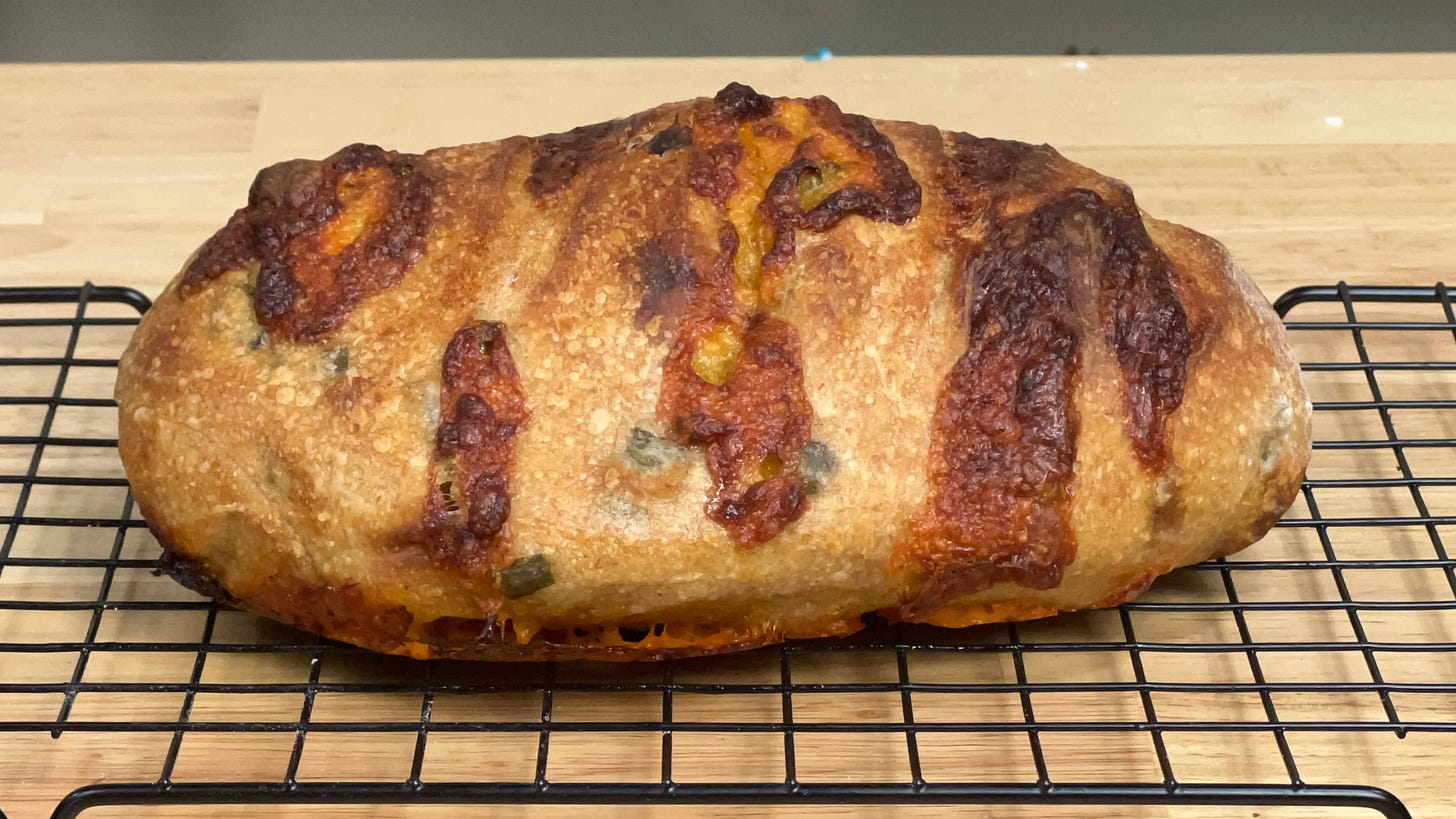
Carefully transfer the dough into the preheated Dutch oven (if using) or directly onto the baking stone. If using a Dutch oven, cover it with the lid. Bake the loaves for 20 minutes, then remove the lid (if using). Continue baking for another 30 to 35 minutes, until the crust is deep golden brown and the internal temperature of the bread reaches around 202-204°F.
10. Cool: Remove the bread from the oven and transfer to a cooling rack. Let the loaves cool completely (about 2 hours) before slicing—this helps to fully set the crumb.
Enjoy the delicious combination of sharp cheddar and spicy jalapeños in every bite!
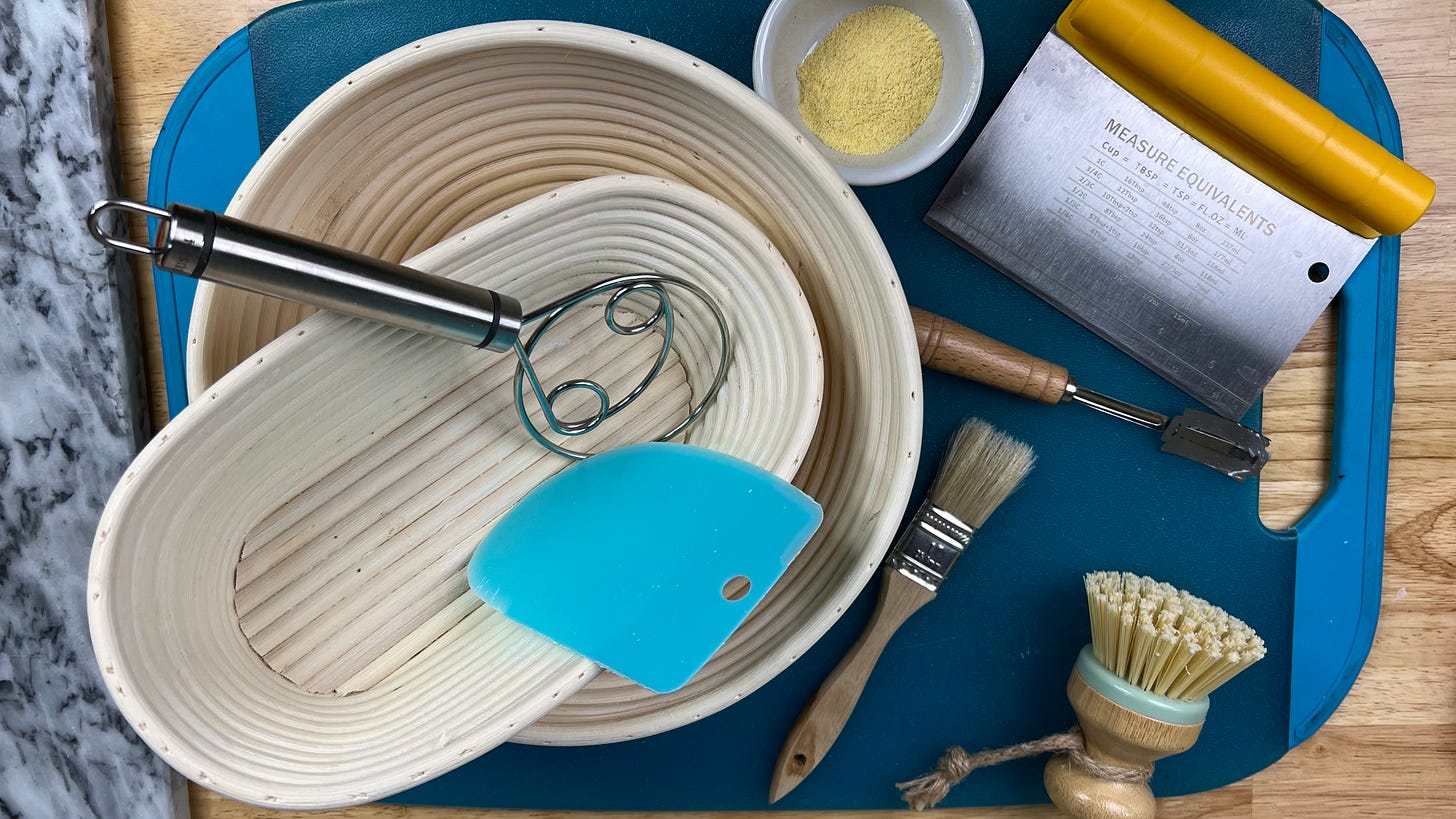
Equipment (Disclosure: Items below include affiliate links with Amazon USA. You pay the regular price, and I get a small commission.) I only recommend products that I own myself and know to be excellent quality. I often get asked on social media sites about my kitchen tools, so here are most of them used to make this recipe.
Proofing basket kit with extras (This kit includes both batard and boule proofing baskets with liners, a lame for scoring, a bench scraper, a dough scraper, a Danish dough whisk, a food thermometer, and more.)
Dutch oven (We love cast iron for baking artisan bread, but any Dutch oven or combo cooker will do.)
Round 8x8 silicon baking mats (A silicon mat helps to keep the bottom of the bread from burning when using a cast iron dutch oven or combo cooker.) Tip: You can also place a generous layer of cornmeal below the parchment paper.
Mixing bowls (I like this oven-proof glass set of 10 for mixing and portioning out ingredients.)
Stand mixer (This dough can be mixed by hand as we did, but a stand mixer ensures consistency, especially when incorporating any butter, if used.)
Glass jar with lid (The straight sides are perfect for sourdough starter.)
Kitchen scale (Ingredients should be weighed rather than relying on volume.)
Oven thermometer (All ovens need calibration, an in-oven thermometer is essential.)
Silicon oven mitts (I’ve burned my hands too many times with cloth mitts.)
Thank you! — Frank, Mountaintop Kitchen




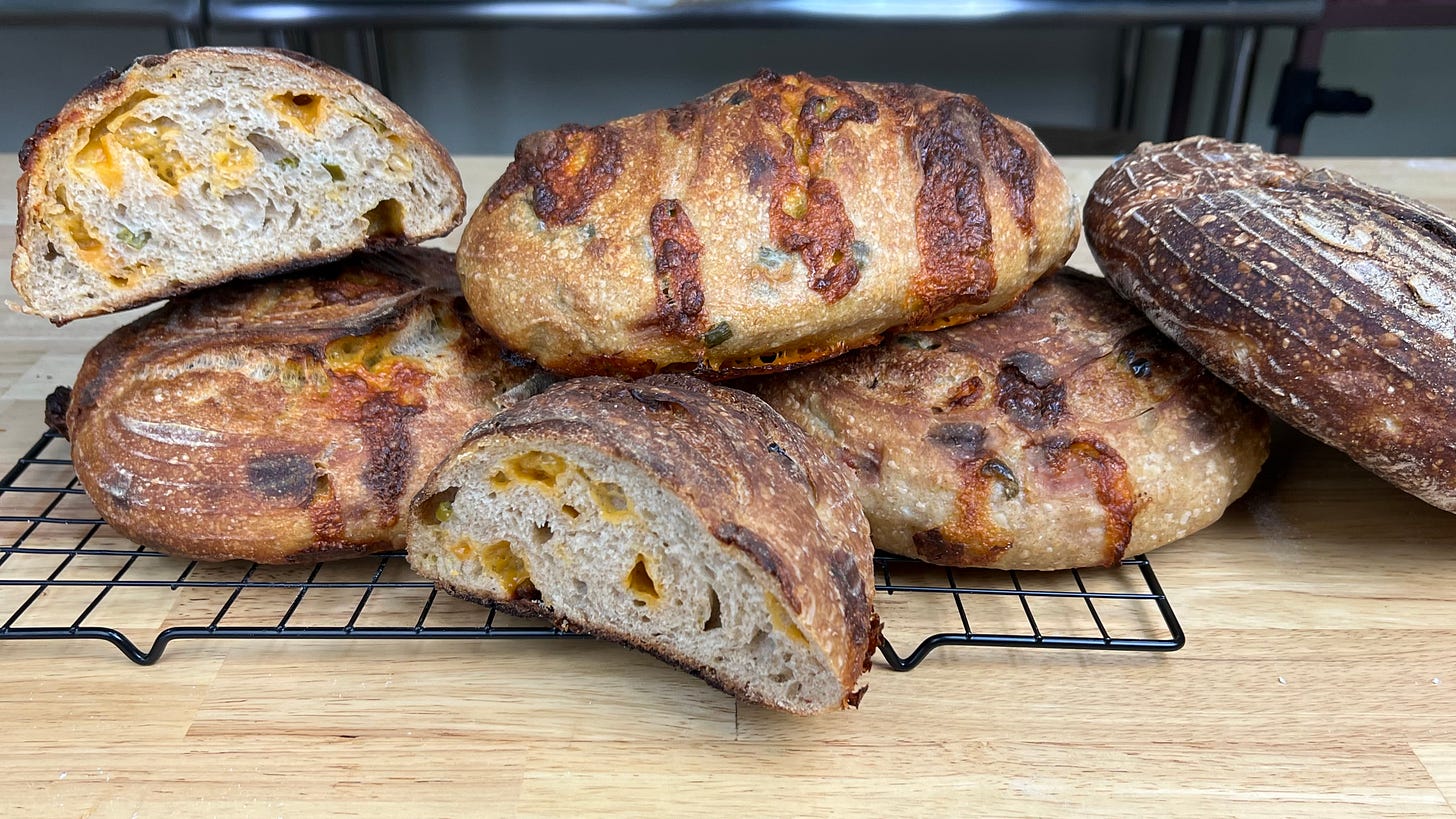


Which is better: the batard or the boule?