


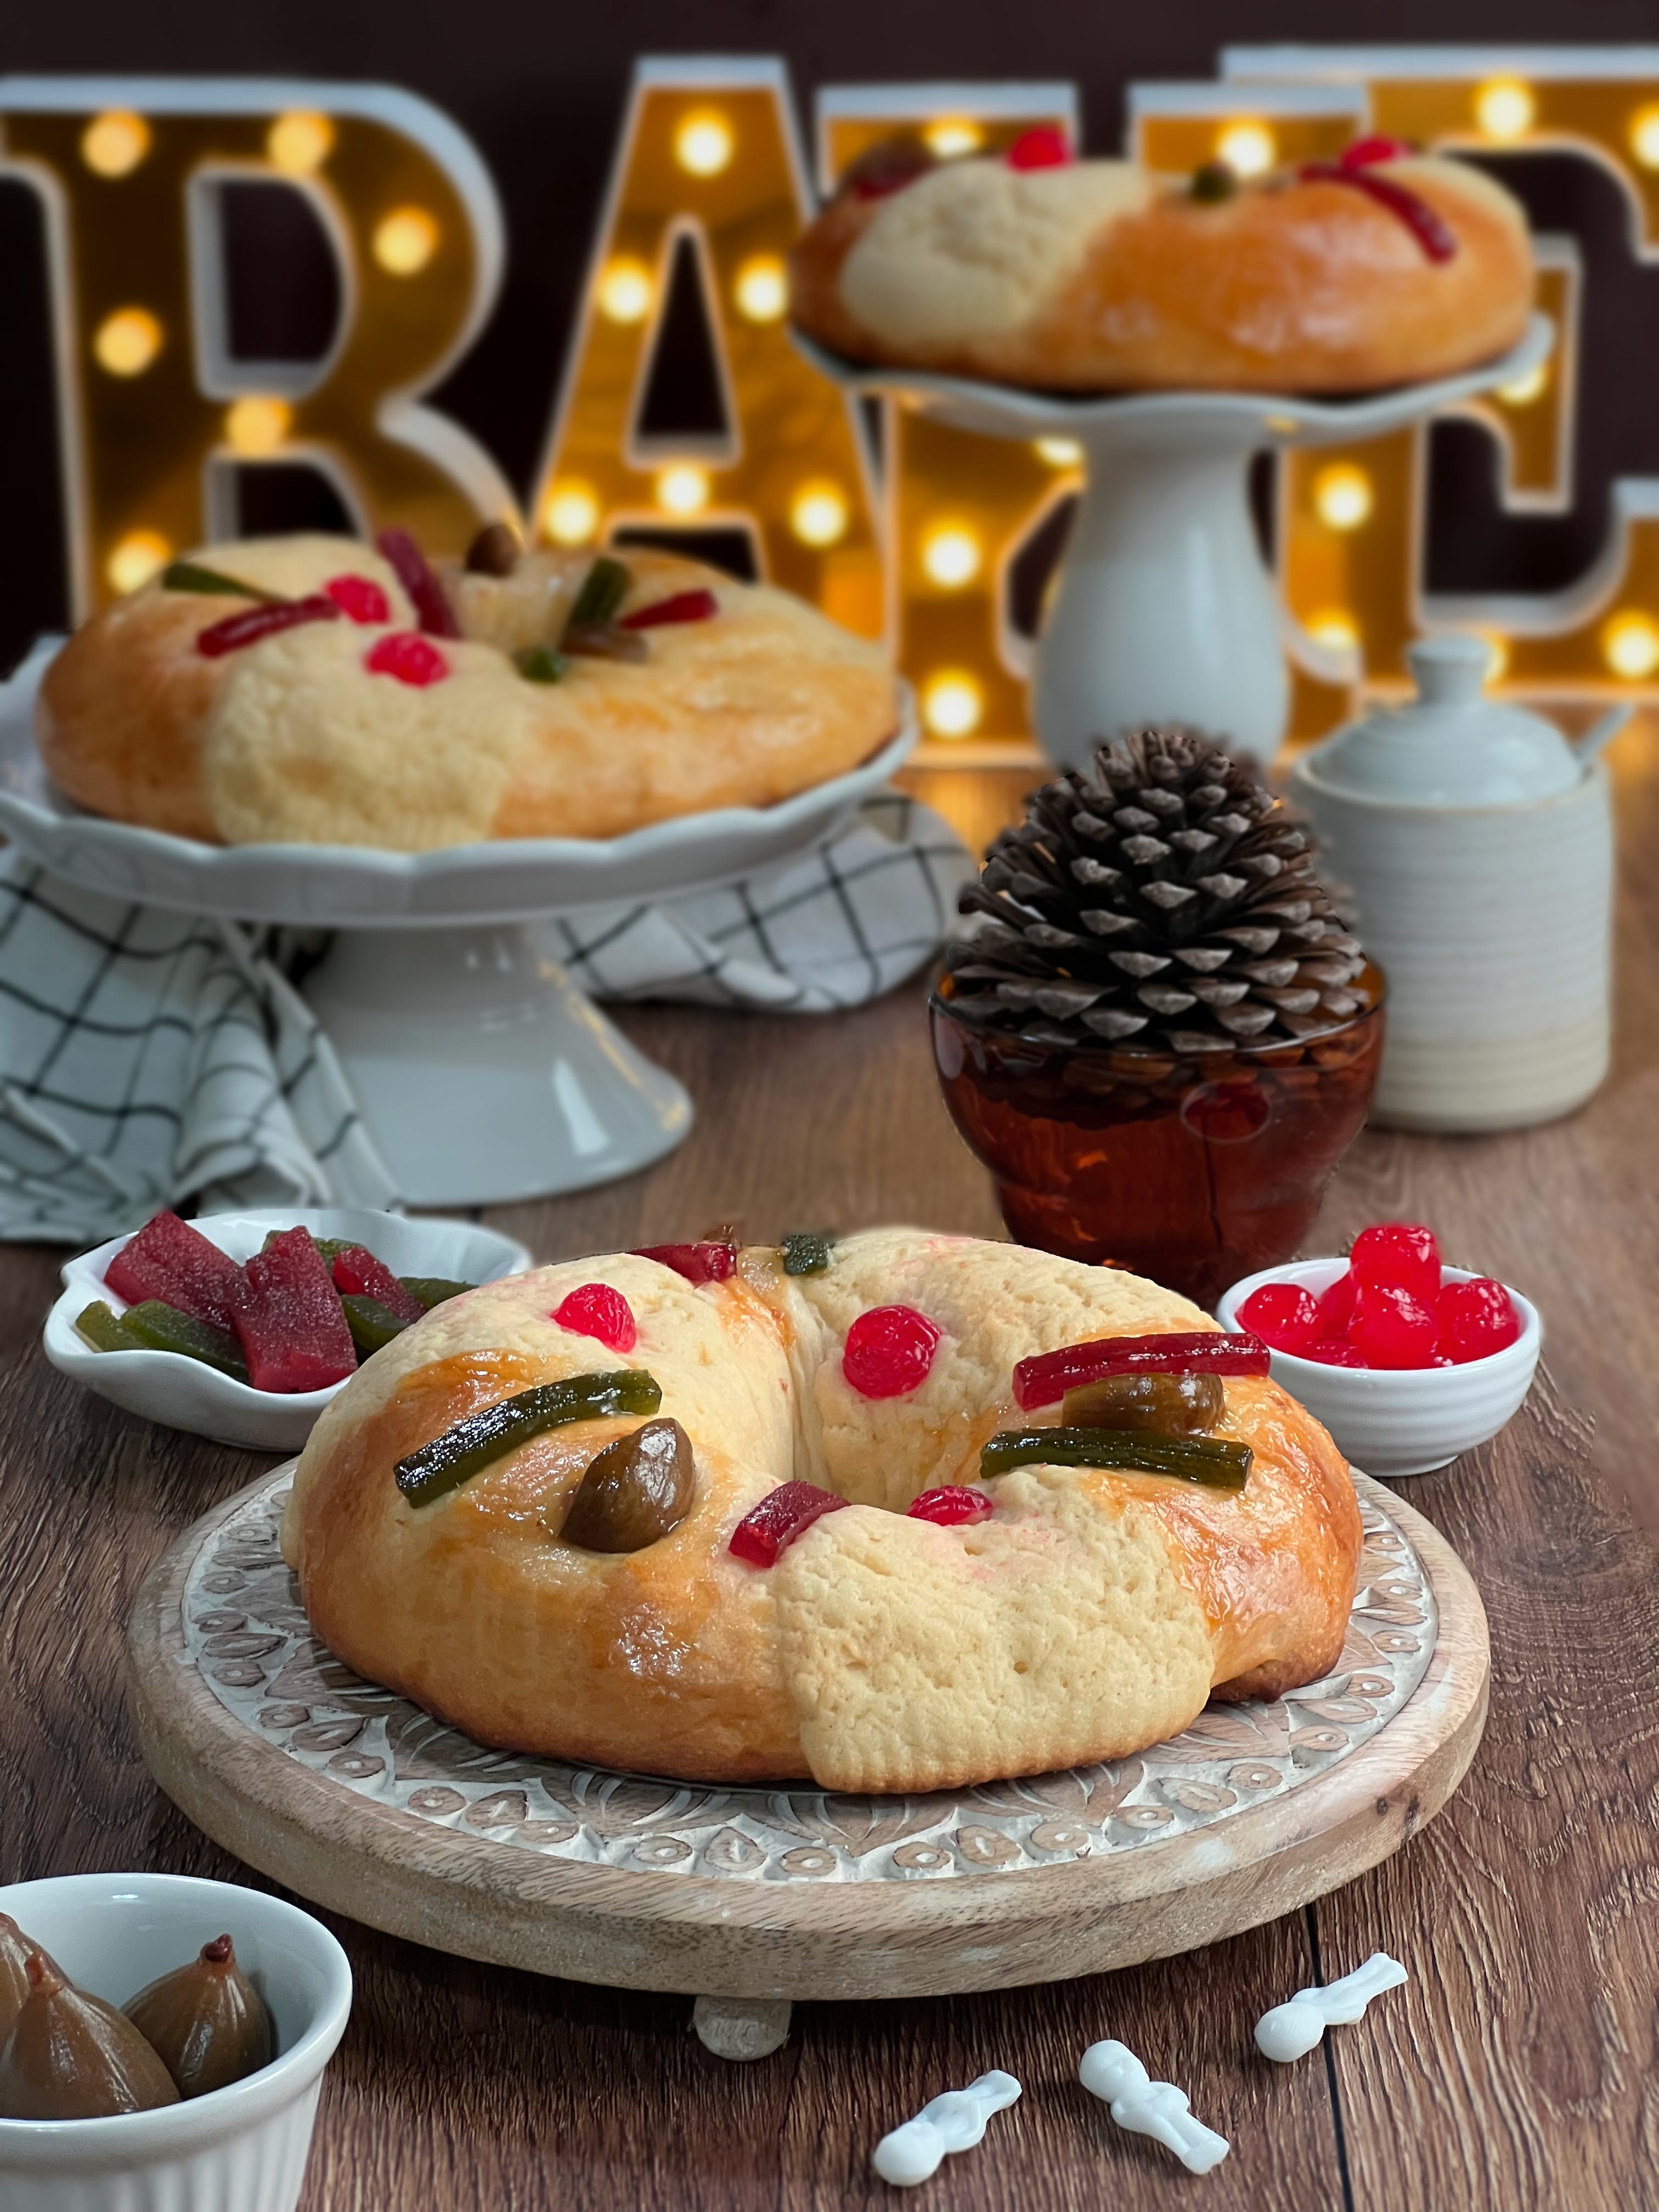
Rosca de Reyes: Three Kings Cake, A Festive Mexican Tradition (Video Tutorial)
Make this rosca on Three Kings Day or any day at all; it’s that good!

Rosca de Reyes (King’s Cake) Recipe – Makes 6 Small Roscas
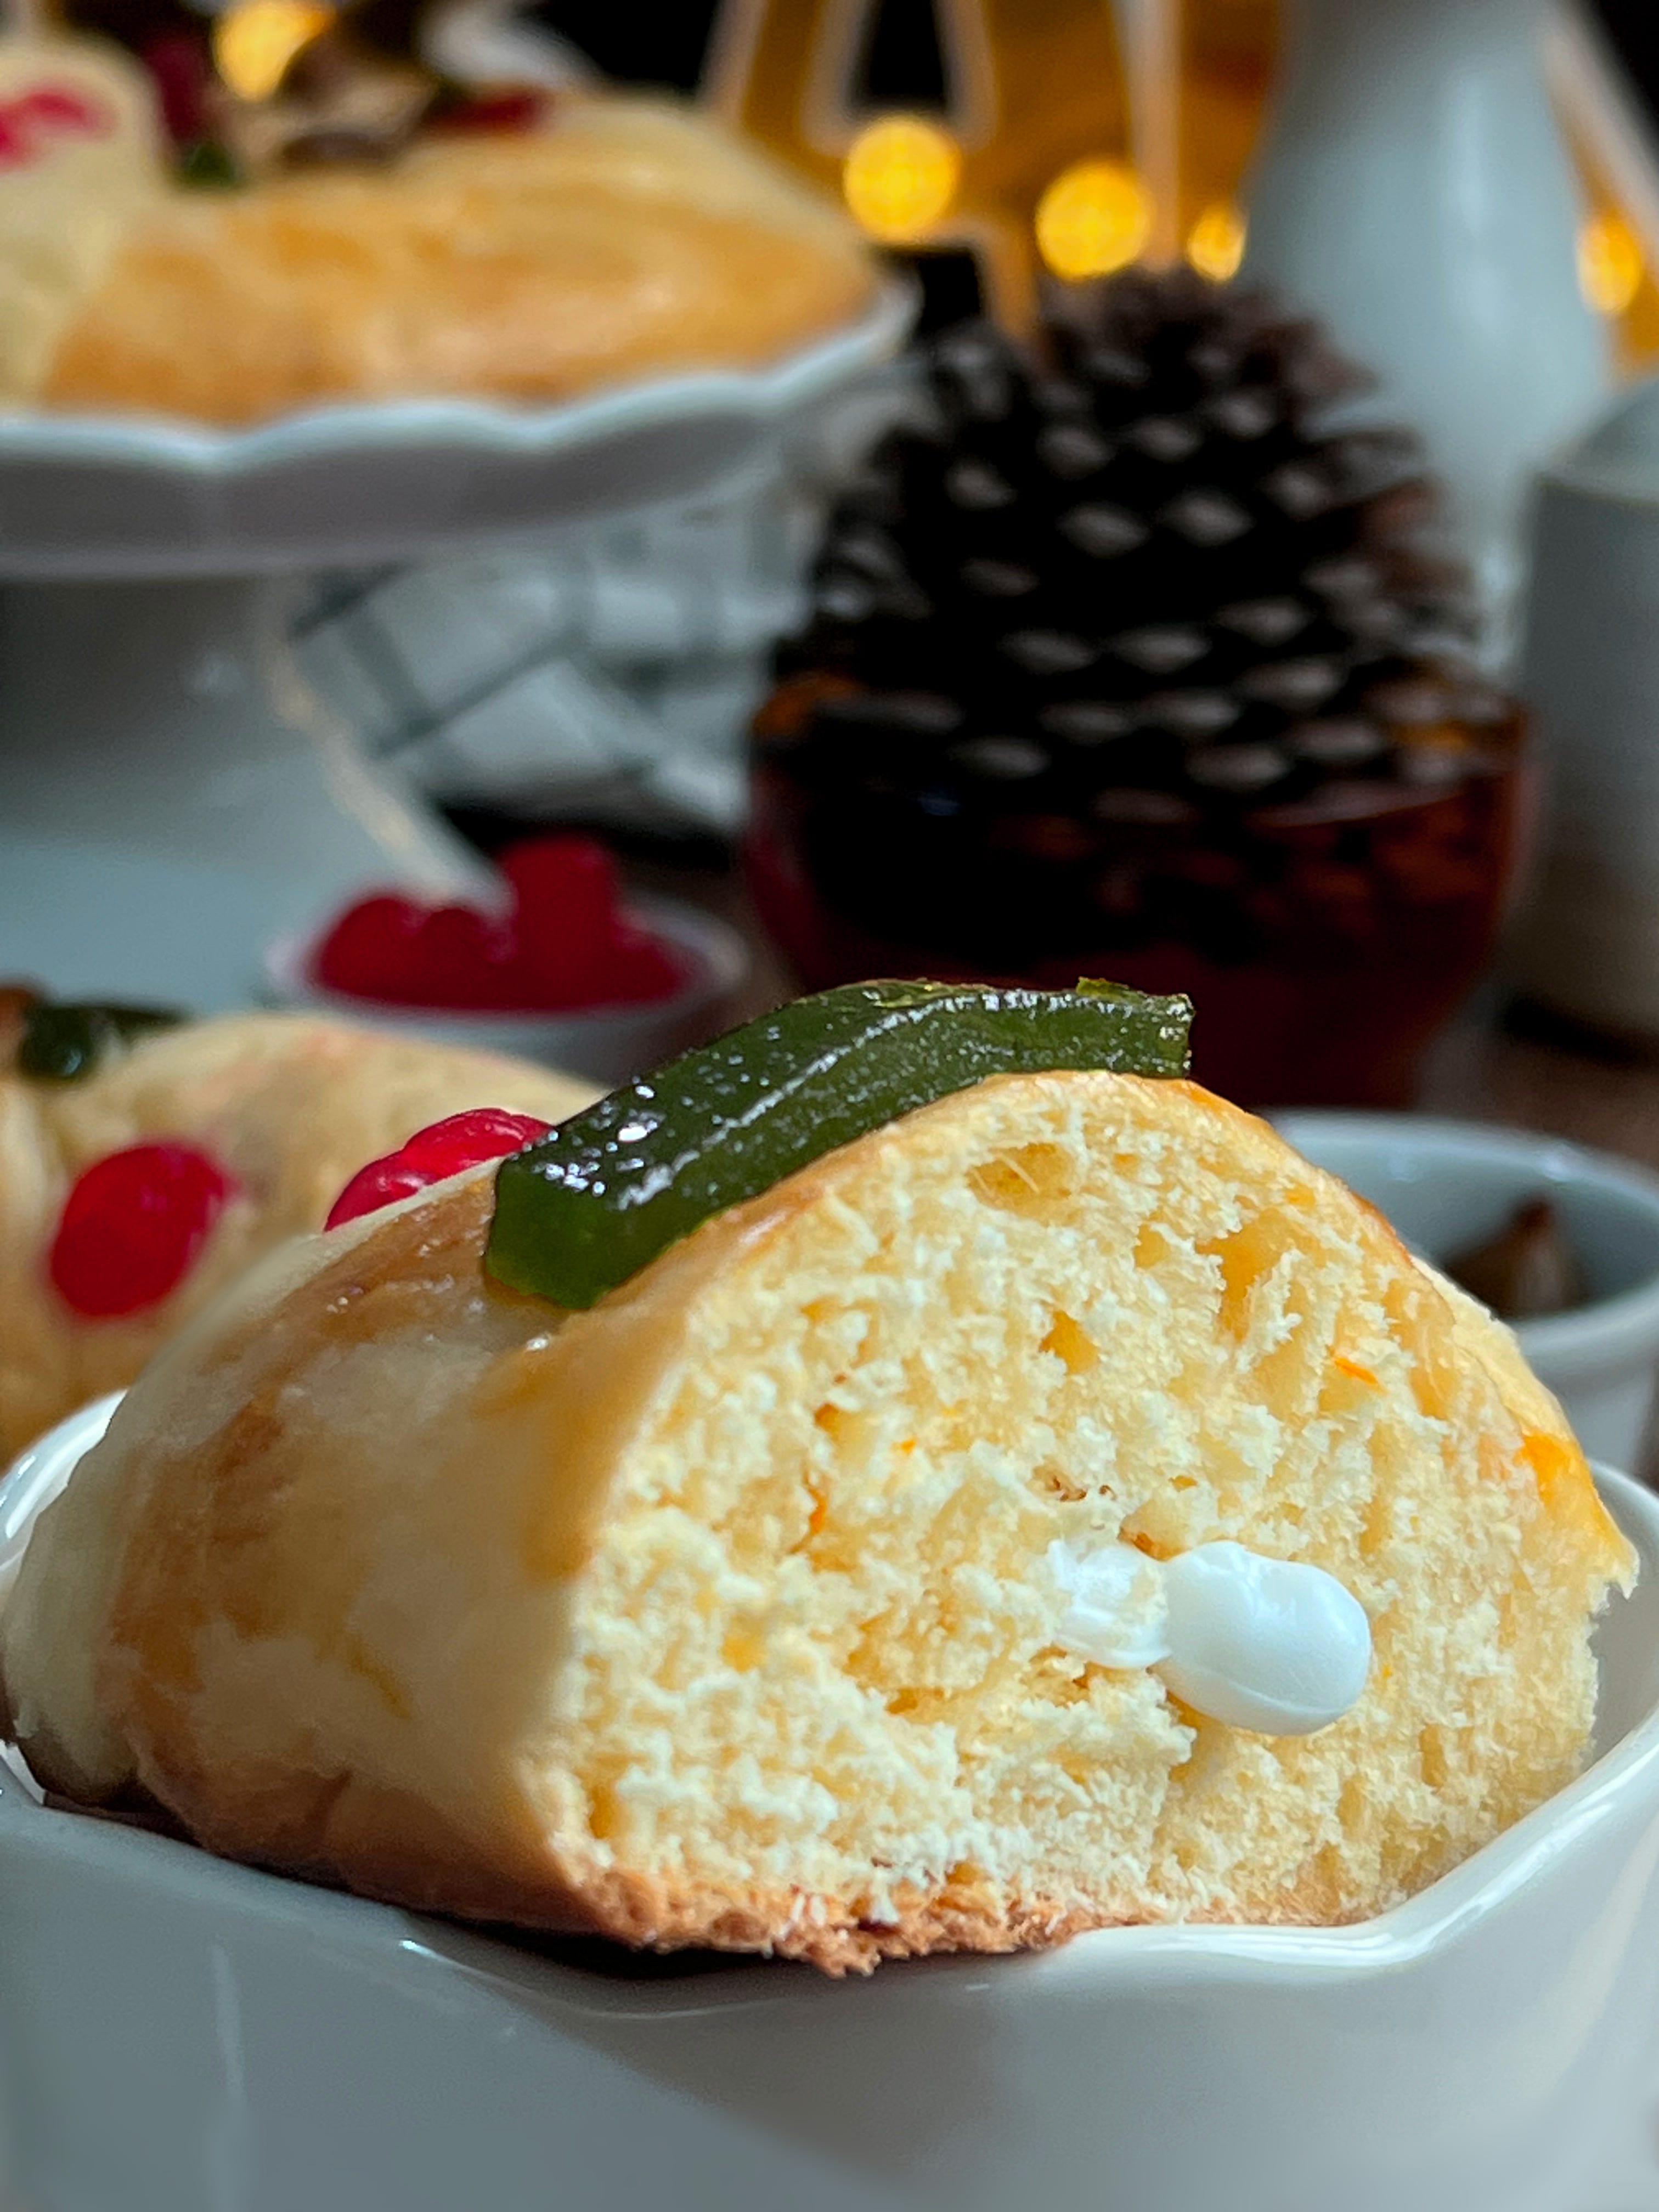
This Mountaintop Kitchen recipe yields six festive Roscas with a tender crumb and sweet topping. Each Rosca is rolled and folded for a rich, layered texture, and shaped to hide small plastic ”muñecos,” making every slice a delightful surprise.
See video tutorial below.

Celebrate Epiphany with a Homemade Rosca de Reyes!
Living in Mexico has opened my eyes—and my oven—to some of the most beautiful baking traditions in the world. One of my absolute favorites? Rosca de Reyes! This vibrant, crown-shaped bread is more than just a dessert; it’s a celebration of flavor, family, and fun, all wrapped up in a doughy masterpiece.
Here’s the deal: every January 6th or the evening before, families across Mexico gather to share a Rosca. Topped with colorful decorations and often hiding tiny plastic muñecos (little figurines) inside, the Rosca brings people together in the most delightful way. Whoever finds the muñeco in their slice gets the honor of hosting the next big celebration: Día de la Candelaria on February 2nd. (Spoiler: more food: tamales!)
But here’s why I’m especially excited to share this recipe with you: you can make your very own Rosca de Reyes at home! Whether you’re a seasoned baker or just dipping your toes into the world of sweet breads, crafting this dessert is not only doable, it’s a joy. From the fragrant orange zest in the dough to the sparkling toppings that transform it into an edible crown, every step feels festive.
So, roll up your sleeves and let’s bake something truly special. Not only will you wow your friends and family, but you’ll also be part of a centuries-old tradition that’s as delicious as it is meaningful. Ready to bake your way into the New Year? So don those aprons, and Let’s get started!

On Measuring Ingredients: My preferred method of measuring is weight by grams. Baking by volume rather than weight can lead to varied and unexpected results. Flour is especially problematic when measured by volume (sifted, not sifted, spooned, not spooned, fluffed or not … you get the point). Grams are always the same; they are your friend as a baker. King Arthur Baking Company’s Ingredients Weight Chart is helpful for converting recipe weights.
On Altitude Adjustments: Before measuring ingredients, preheating your oven, or setting your timer; it’s important to consider any necessary adjustments for baking at higher altitudes, which is generally considered to be 3,500ft and above. Most recipes are written for sea level up to 3,500ft. Take at look at our baking at High-Altitude Baking Adjustments page for guidance.
Pre-ferment
• 20 g instant yeast (2 tbsp): Helps the dough rise quickly and develop flavor.
• 1 tbsp sugar (12 g): Feeds the yeast for fermentation.
• 3 tbsp flour (25 g): Acts as a structure for the yeast to grow.
• 50 ml warm water (1/4 cup, 110°F/43°C): Activates the yeast.
Rosca Dough
• 200 ml milk, room temp (3/4 cup): Provides moisture and softness.
• 5 large eggs, room temp (250 g): Adds richness and structure.
• 288 g sugar (1 1/3 cups): Sweetens and tenderizes the dough.
• 30 ml vanilla extract (2 tbsp): Adds aroma and depth.
• Zest of 2 oranges (1 tbsp): Infuses citrus fragrance.
• 975 g all-purpose flour (8 cups): The foundation of the dough’s structure.
• 12 g salt (2 tsp): Balances sweetness and enhances flavor.
• 250 g unsalted butter, room temp (1 cup): Adds richness and creates a soft texture.
Pasta Topping
• 200 g unsalted butter, room temp (7/8 cup): Creates a crumbly, rich topping.
• 75 ml milk, room temp (1/3 cup): Moistens the topping mixture.
• 150 g confectioner’s sugar (1 1/4 cups): Sweetens the topping.
• 2 large eggs, room temp (100 g): Binds the topping.
• 1/2 tsp clear vanilla flavoring: Adds a delicate flavor.
• 300 g all-purpose flour (2 1/2 cups): Provides structure for the topping.
• 20 g powdered milk (2 tbsp): Adds richness and flavor.
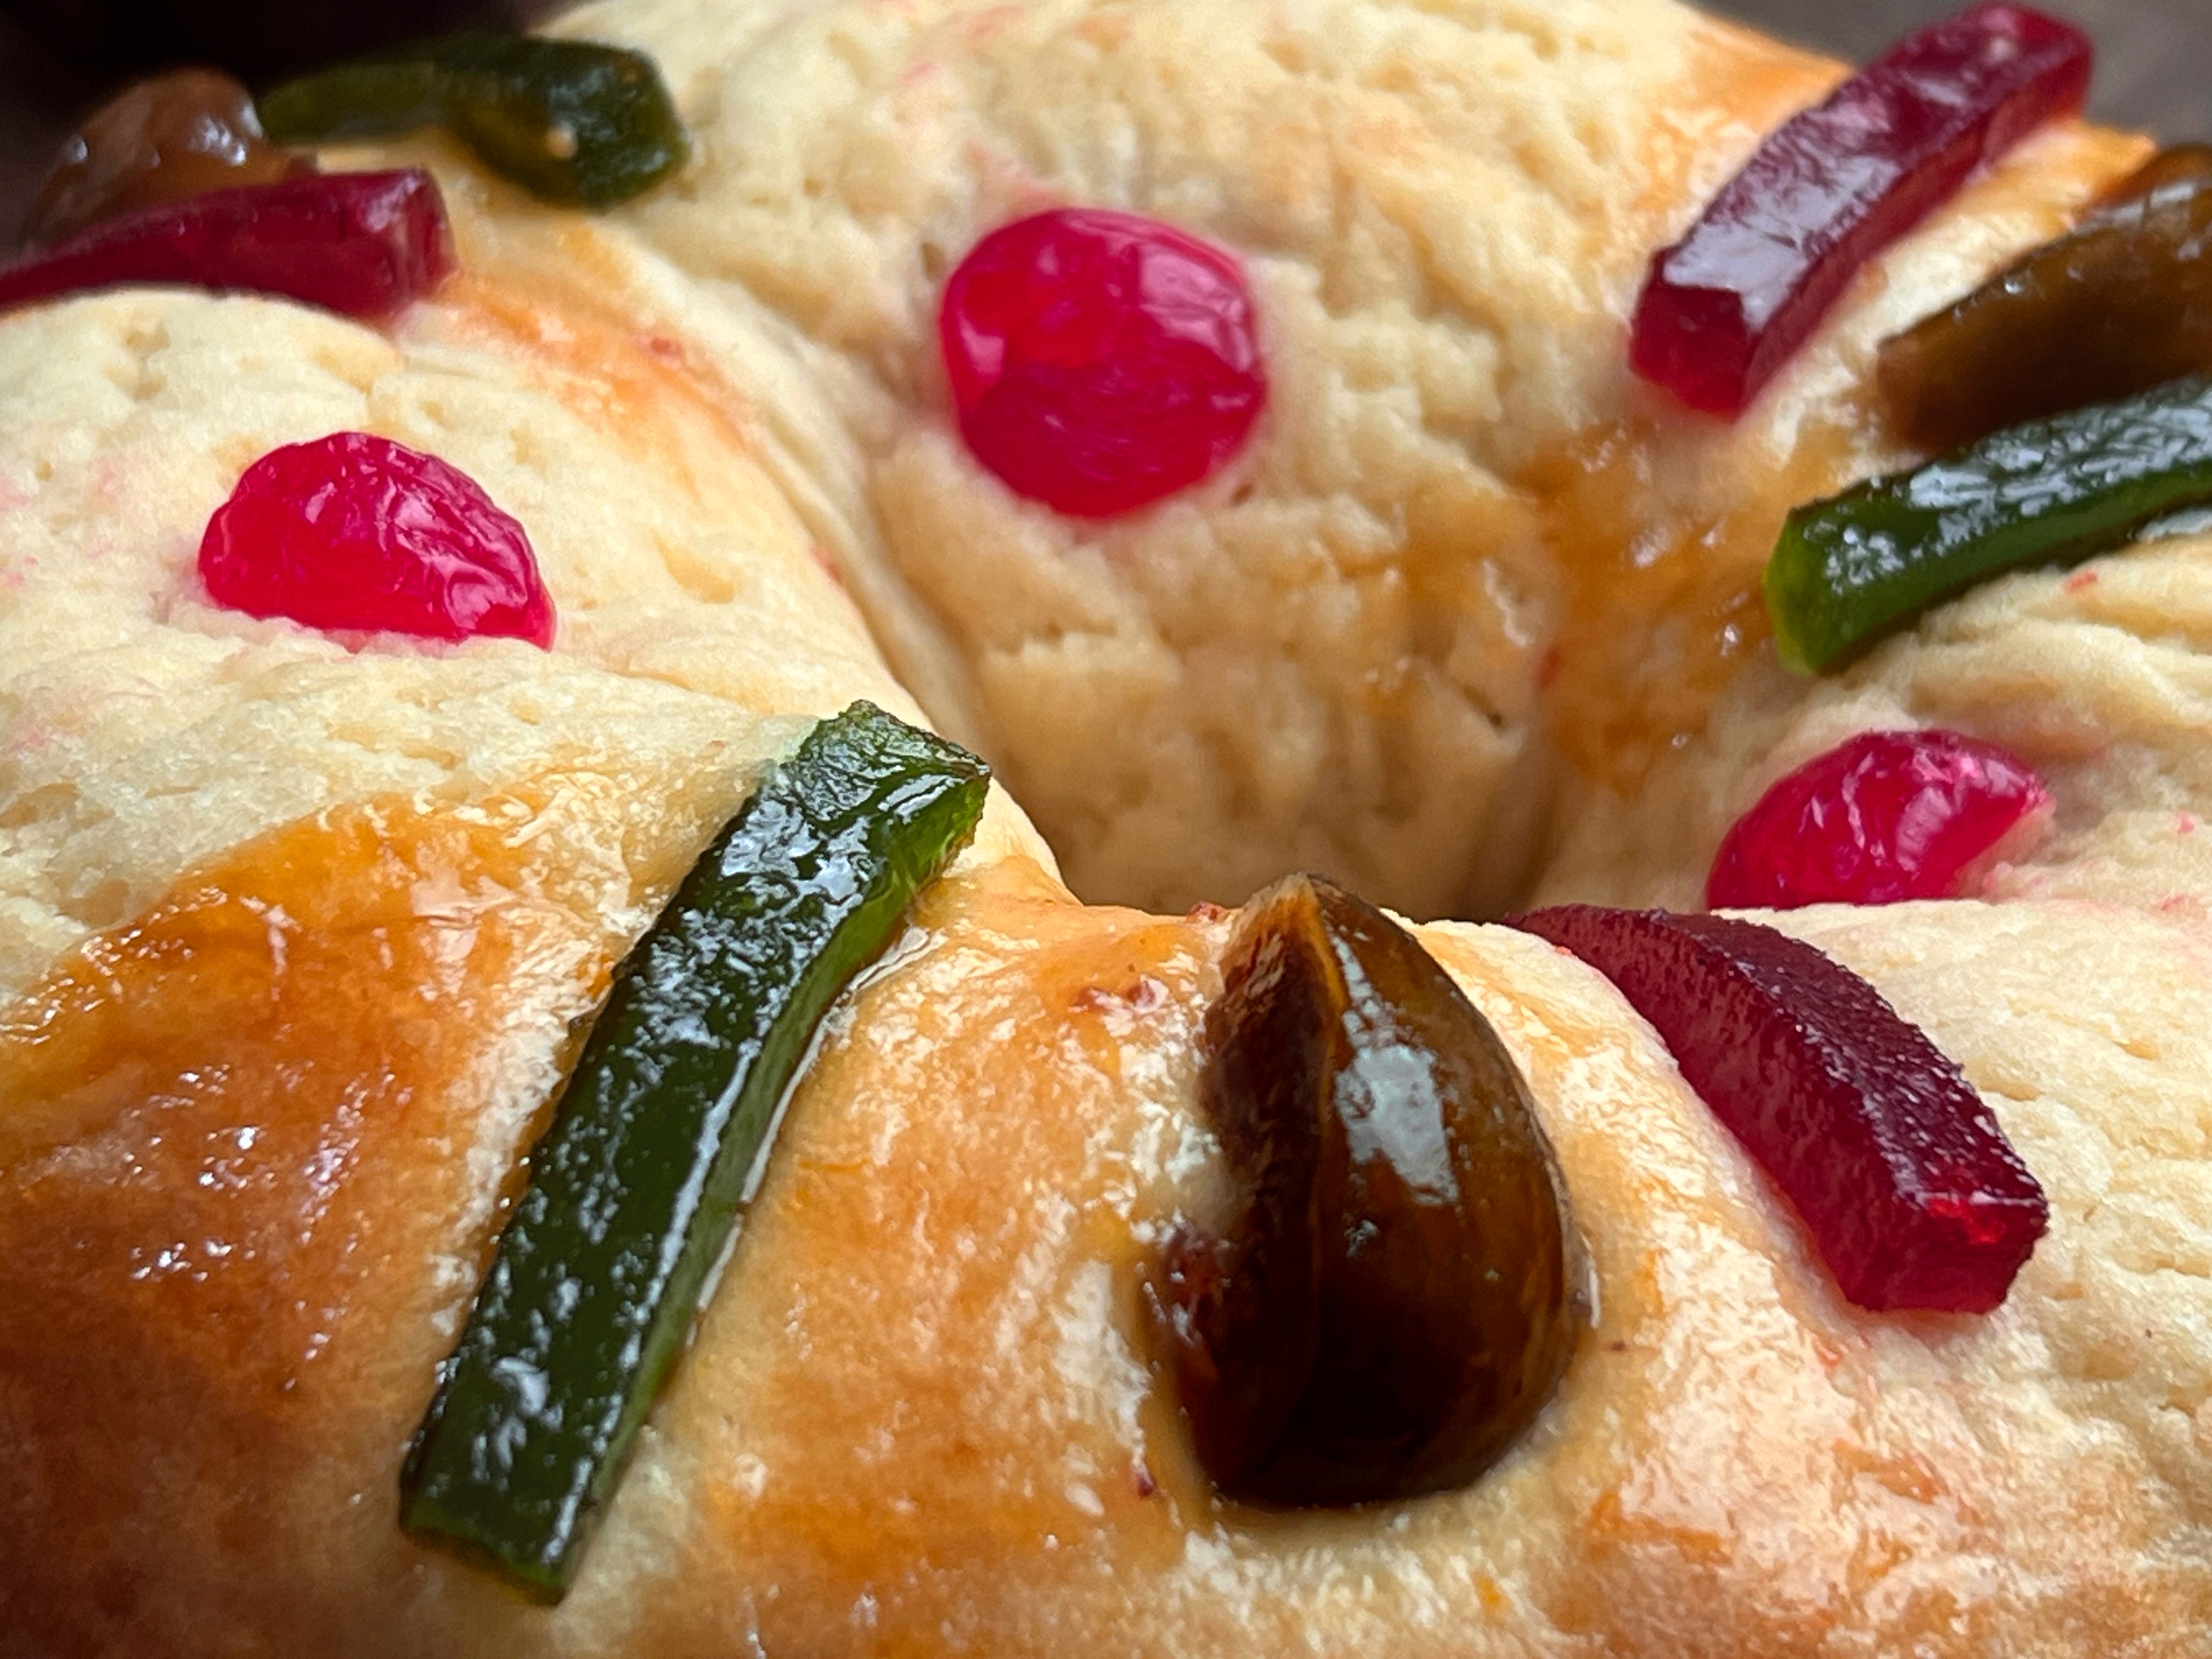
Decoration
• Quince paste (red, green, etc.): Traditional colorful accents.
• Maraschino cherries: Adds sweetness and vibrant color.
• Sliced almonds: Adds crunch and elegance.
• Sugar pearls: For festive sparkle.
• Figs: A unique, traditional garnish.

Making rosca is not a speedy process, as sweet breads do require some time to ferment and rise. But, this recipe is so worth the time and effort and is great for sharing with family and friends.
Instructions
1. Prepare the Pre-ferment
1. In a small bowl, combine the yeast, sugar, flour, and warm water. Stir until smooth.
2. Cover and let sit for 15–20 minutes, until bubbly.
2. Make the Dough
1. In a stand mixer fitted with the dough hook, combine the pre-ferment, milk, eggs, sugar, vanilla extract, and orange zest. Mix on low speed until blended.
2. Gradually add the flour and salt. Knead on medium speed for 5 minutes.
3. Add the butter, a few tablespoons at a time, and knead for another 8–10 minutes until the dough is smooth and elastic.
4. Transfer the dough to a greased bowl, cover, and let rise in a warm place until doubled in size (about 1.5–2 hours depending on the temperature of your kitchen).
3. Divide and Shape the Roscas
1. Turn the dough onto a floured surface and divide it into six equal portions.
2. Roll each portion into a rectangle, about 10 inches by 6 inches (25 cm x 15 cm).
3. Fold the rectangle like an envelope: bring the top third down toward the center and the bottom third up, overlapping slightly. Rotate the dough 90°, and repeat the envelope fold.
4. Roll the folded dough into a rectangle again, flattening gently to remove air pockets.
5. Place 2–3 small plastic muñecos (optional) inside the rectangle, roll the dough tightly into a log, and pinch the seam to seal.
6. Shape the log into an oval or circle, pinching the ends together securely. Transfer to parchment-lined baking sheets. Repeat for the remaining portions.
7. Cover the shaped Roscas with a clean kitchen towel and let rise until puffy (about 45 minutes).
4. Prepare the Pasta Topping
1. In a bowl, cream the butter and confectioner’s sugar until fluffy.
2. Add the eggs, milk, and vanilla flavoring, mixing until smooth.
3. Gradually mix in the flour and powdered milk. Chill for 10 minutes.
4. Divide the topping into 6 portions. Flatten each portion into small discs and place them evenly on top of each Rosca.
5. Decorate and Bake
1. Garnish each Rosca with quince paste, maraschino cherries, sliced almonds, sugar pearls, and figs.
2. Preheat the oven to 375°F (190°C) for conventional ovens or 340°F (170°C) for convection ovens.
3. Bake for 20–25 minutes, until golden brown and fragrant.

Equipment (Disclosure: Items below include affiliate links with Amazon USA. You pay the regular price, and I get a small commission.) I only recommend products that I own myself and know to be excellent quality. I often get asked on social media sites about my kitchen tools, so here are most of them used to make this recipe.
Mixing bowls (I like this oven-proof glass set of 10 for mixing and portioning out ingredients.)
Stand mixer (This dough can be mixed by hand, but a stand mixer ensures consistency.)
Cordless electric hand mixer (This is a handy mixer for these smaller bakes.)
Kitchen scale (Ingredients should be weighed rather than relying on volume.)
Oven thermometer (All ovens need calibration, an in-oven thermometer is essential.)
Silicon oven mitts (I’ve burned my hands too many times with cloth mitts.)
Parchment paper (Also check Costco.)
Whisk (This is a standard for combining dry ingredients.)
Silicone spatula set (These are great at high temperatures.)
Wire cooling rack (Every kitchen needs at least two.)
USA cookie sheet pans (Get the best you can afford; much worth it! This 3-piece set won’t disappoint.)
Thanks for stopping by our little place, the Mountaintop Kitchen, for home bakers everywhere!
Stone — The Mountaintop Baker