


Piloncillo Chocolate Chunk and Zesty Orange Cookies: A Taste of Old Mexico with a New Twist
Try today’s take on a traditional & beloved Mexican cookie, a guaranteed favorite with pools of rich chocolate, molasses, & bursts of orange.

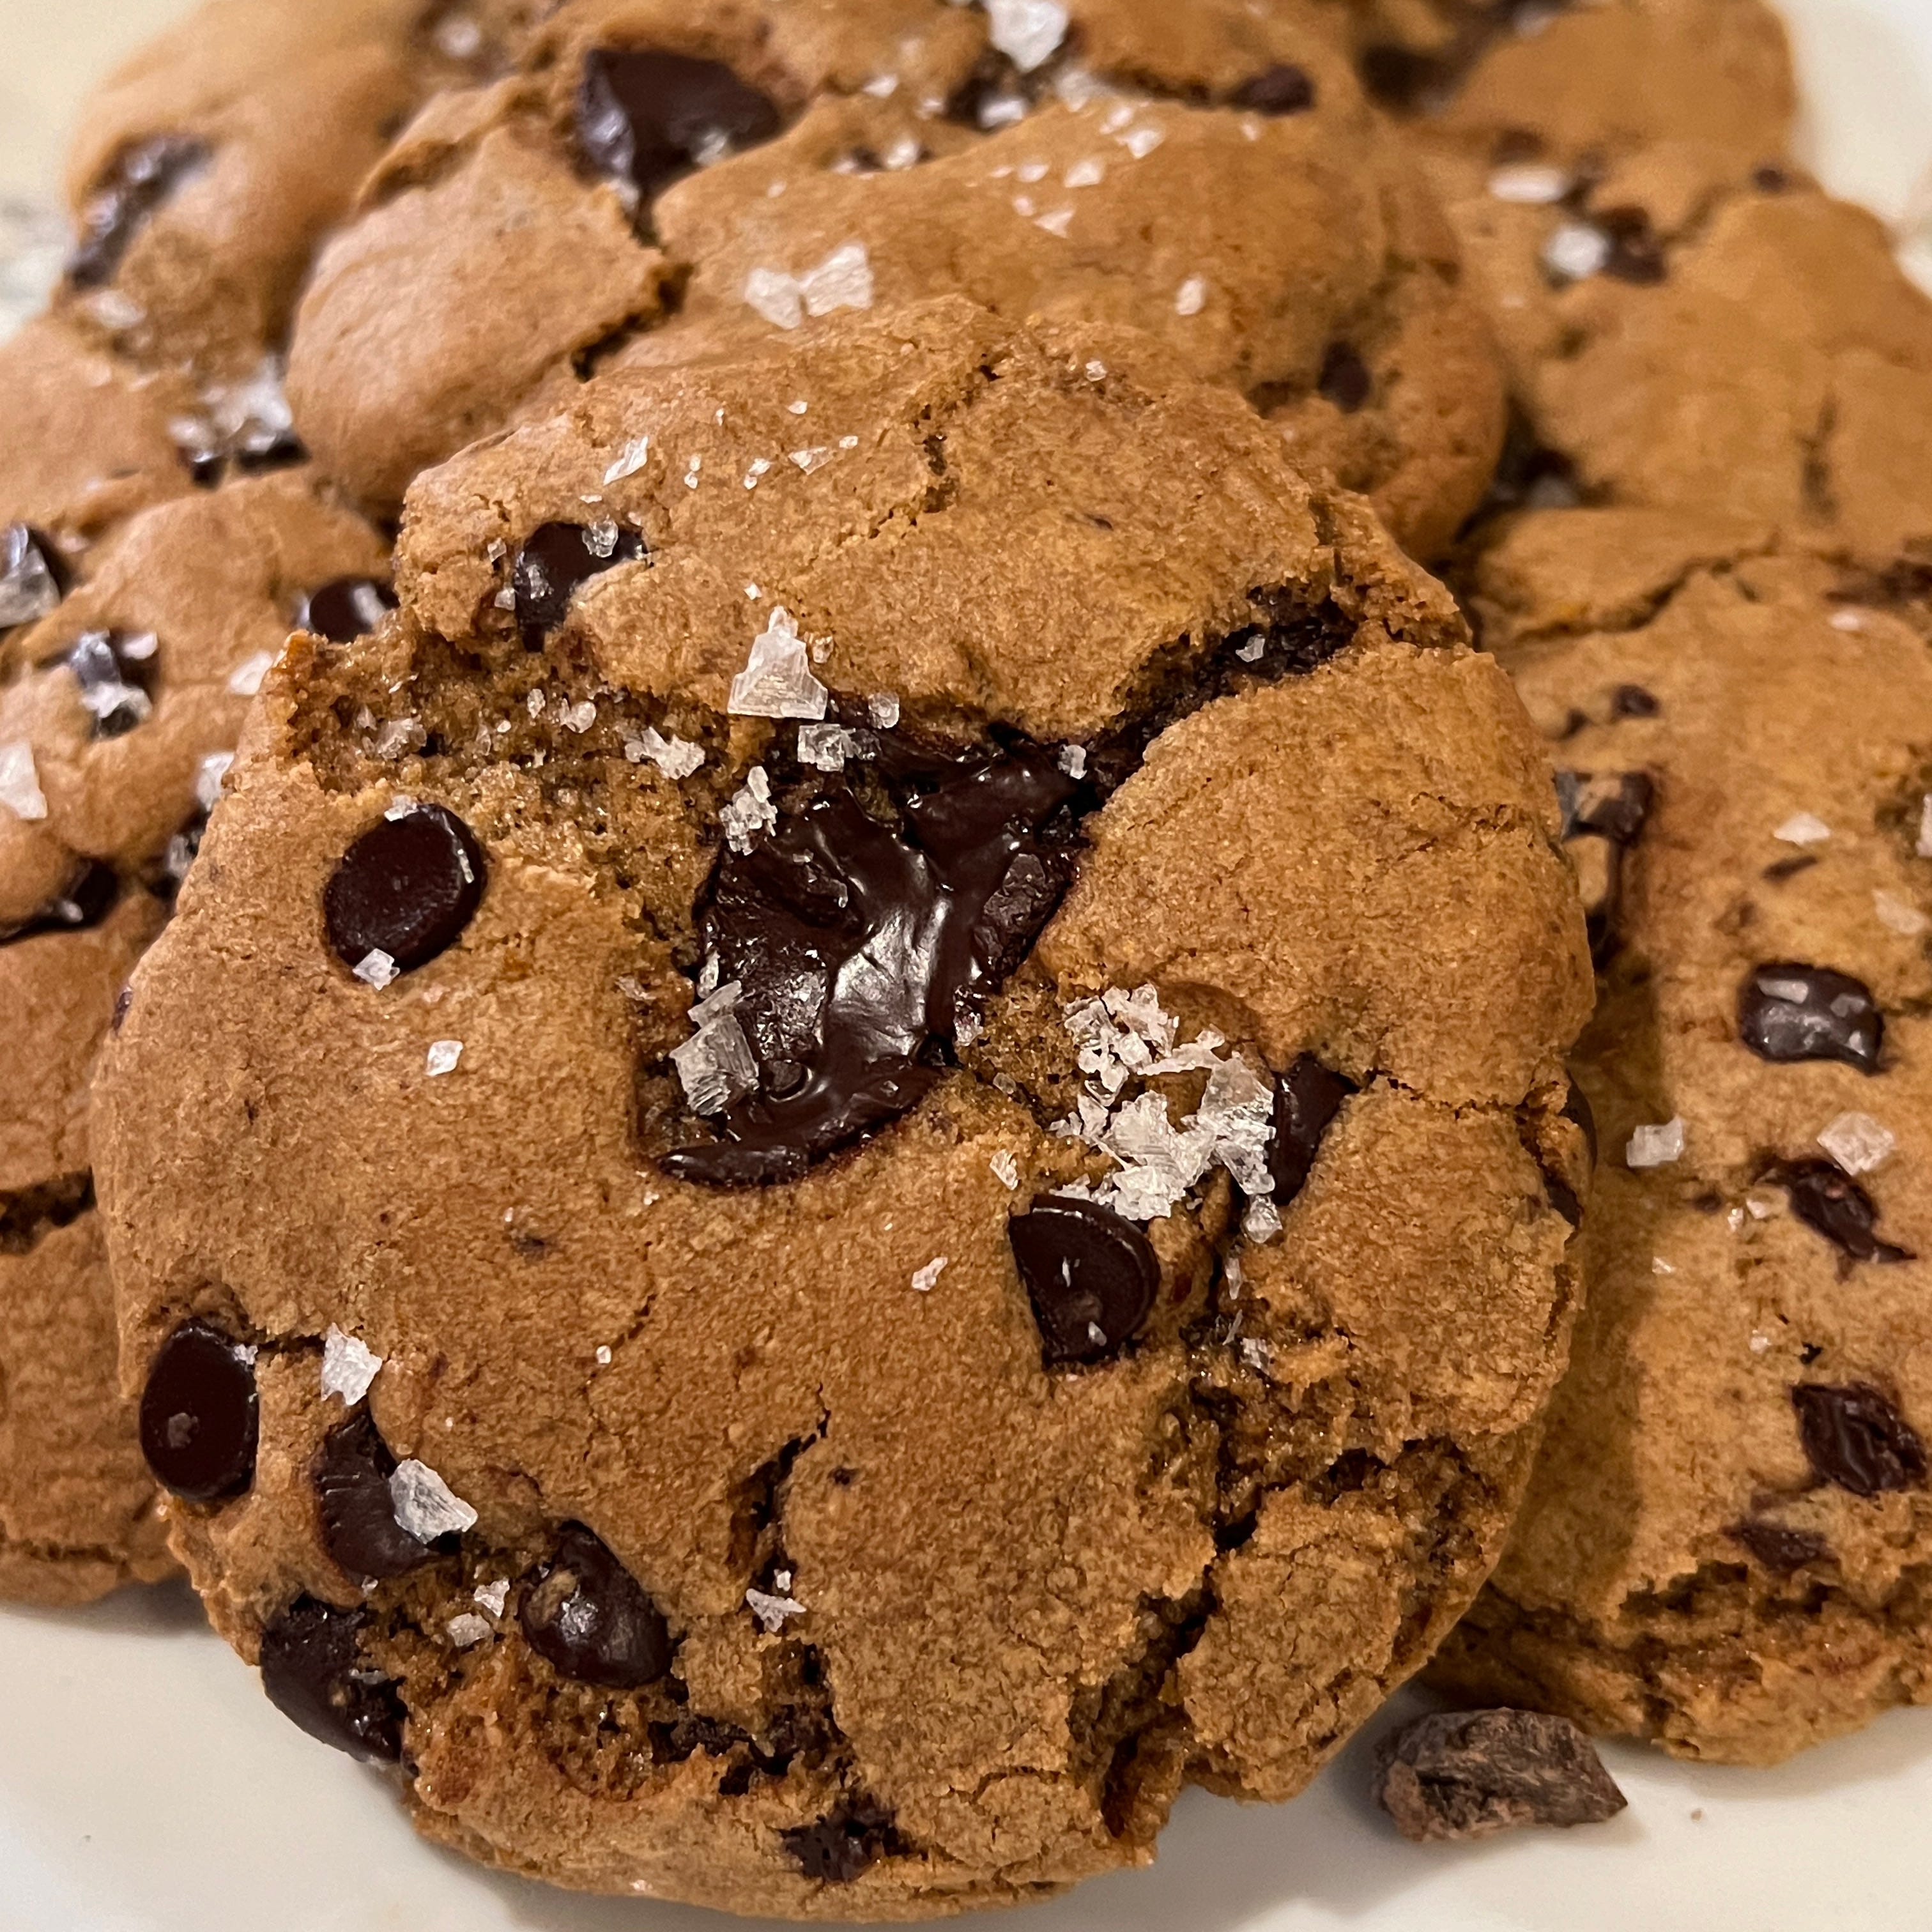
Welcome to the Mountaintop Kitchen, where we’re delighted to introduce our latest creation: the Piloncillo Chocolate Chunk and Zesty Orange Cookie. Transport your taste buds to Mexico with each bite of these rich, molasses piloncillo-infused cookies, studded with decadent chunks of chocolate and bright hints of citrus. Join us on a flavorful journey as we blend tradition with an innovative twist (Yes, we’re talking orange zest!) to create a cookie that’s sure to delight your senses; and that’s a 100% guarantee!


Come on into the kitchen, where we’re thrilled to unveil our newest treat: Piloncillo Chocolate Chunk and Zesty Orange Cookies. Picture this: rich, molasses-laden dough infused with the sweet, caramel flavor of piloncillo, mingling with decadent chocolate chunks and a lively punch of orange zest. Piloncillo, a traditional Mexican sweetener made from cane sugar, adds a delightful depth to these cookies, harkening back to centuries of culinary tradition with a modern twist. Originating from pre-Columbian times, piloncillo has been cherished for its natural sweetness and distinctive flavor, remaining a beloved ingredient in Mexican cuisine to this day.


On Measuring Ingredients: My preferred method of measuring is weight by grams. Baking by volume rather than weight can lead to varied and unexpected results. Flour is especially problematic when measured by volume (sifted, not sifted, spooned, not spooned, fluffed or not … you get the point). Grams are always the same; they are your friend as a baker. King Arthur Baking Company’s Ingredients Weight Chart is helpful for converting recipe weights.
On Altitude Adjustments: Before measuring ingredients, preheating your oven, or setting your timer; it’s important to consider any necessary adjustments for baking at higher altitudes, which is generally considered to be 3,500ft and above. Most recipes are written for sea level up to 3,500ft. Take at look at our baking at High-Altitude Baking Adjustments page for guidance.
Dough
6 ounces (170g) piloncillo (Muscovado and dark brown sugar are good substitutes.)
⅓ cup (67g) granulated sugar
½ cup (113g) unsalted butter (1 stick), melted
½ teaspoon kosher salt or ¼ teaspoon coarse kosher salt
1 large egg (55g unshelled)
2 teaspoons pure vanilla extract or vanilla paste
1 ⅔ cups (211g) all-purpose flour
½ teaspoon baking soda
1 heaping cup (170g) bittersweet chocolate chips or chunks (preferably 72 percent cacao or higher). We used both in this recipe
Zest of 1 medium-sized orange
Flaky sea salt or kosher salt for sprinkling on top of baked cookies

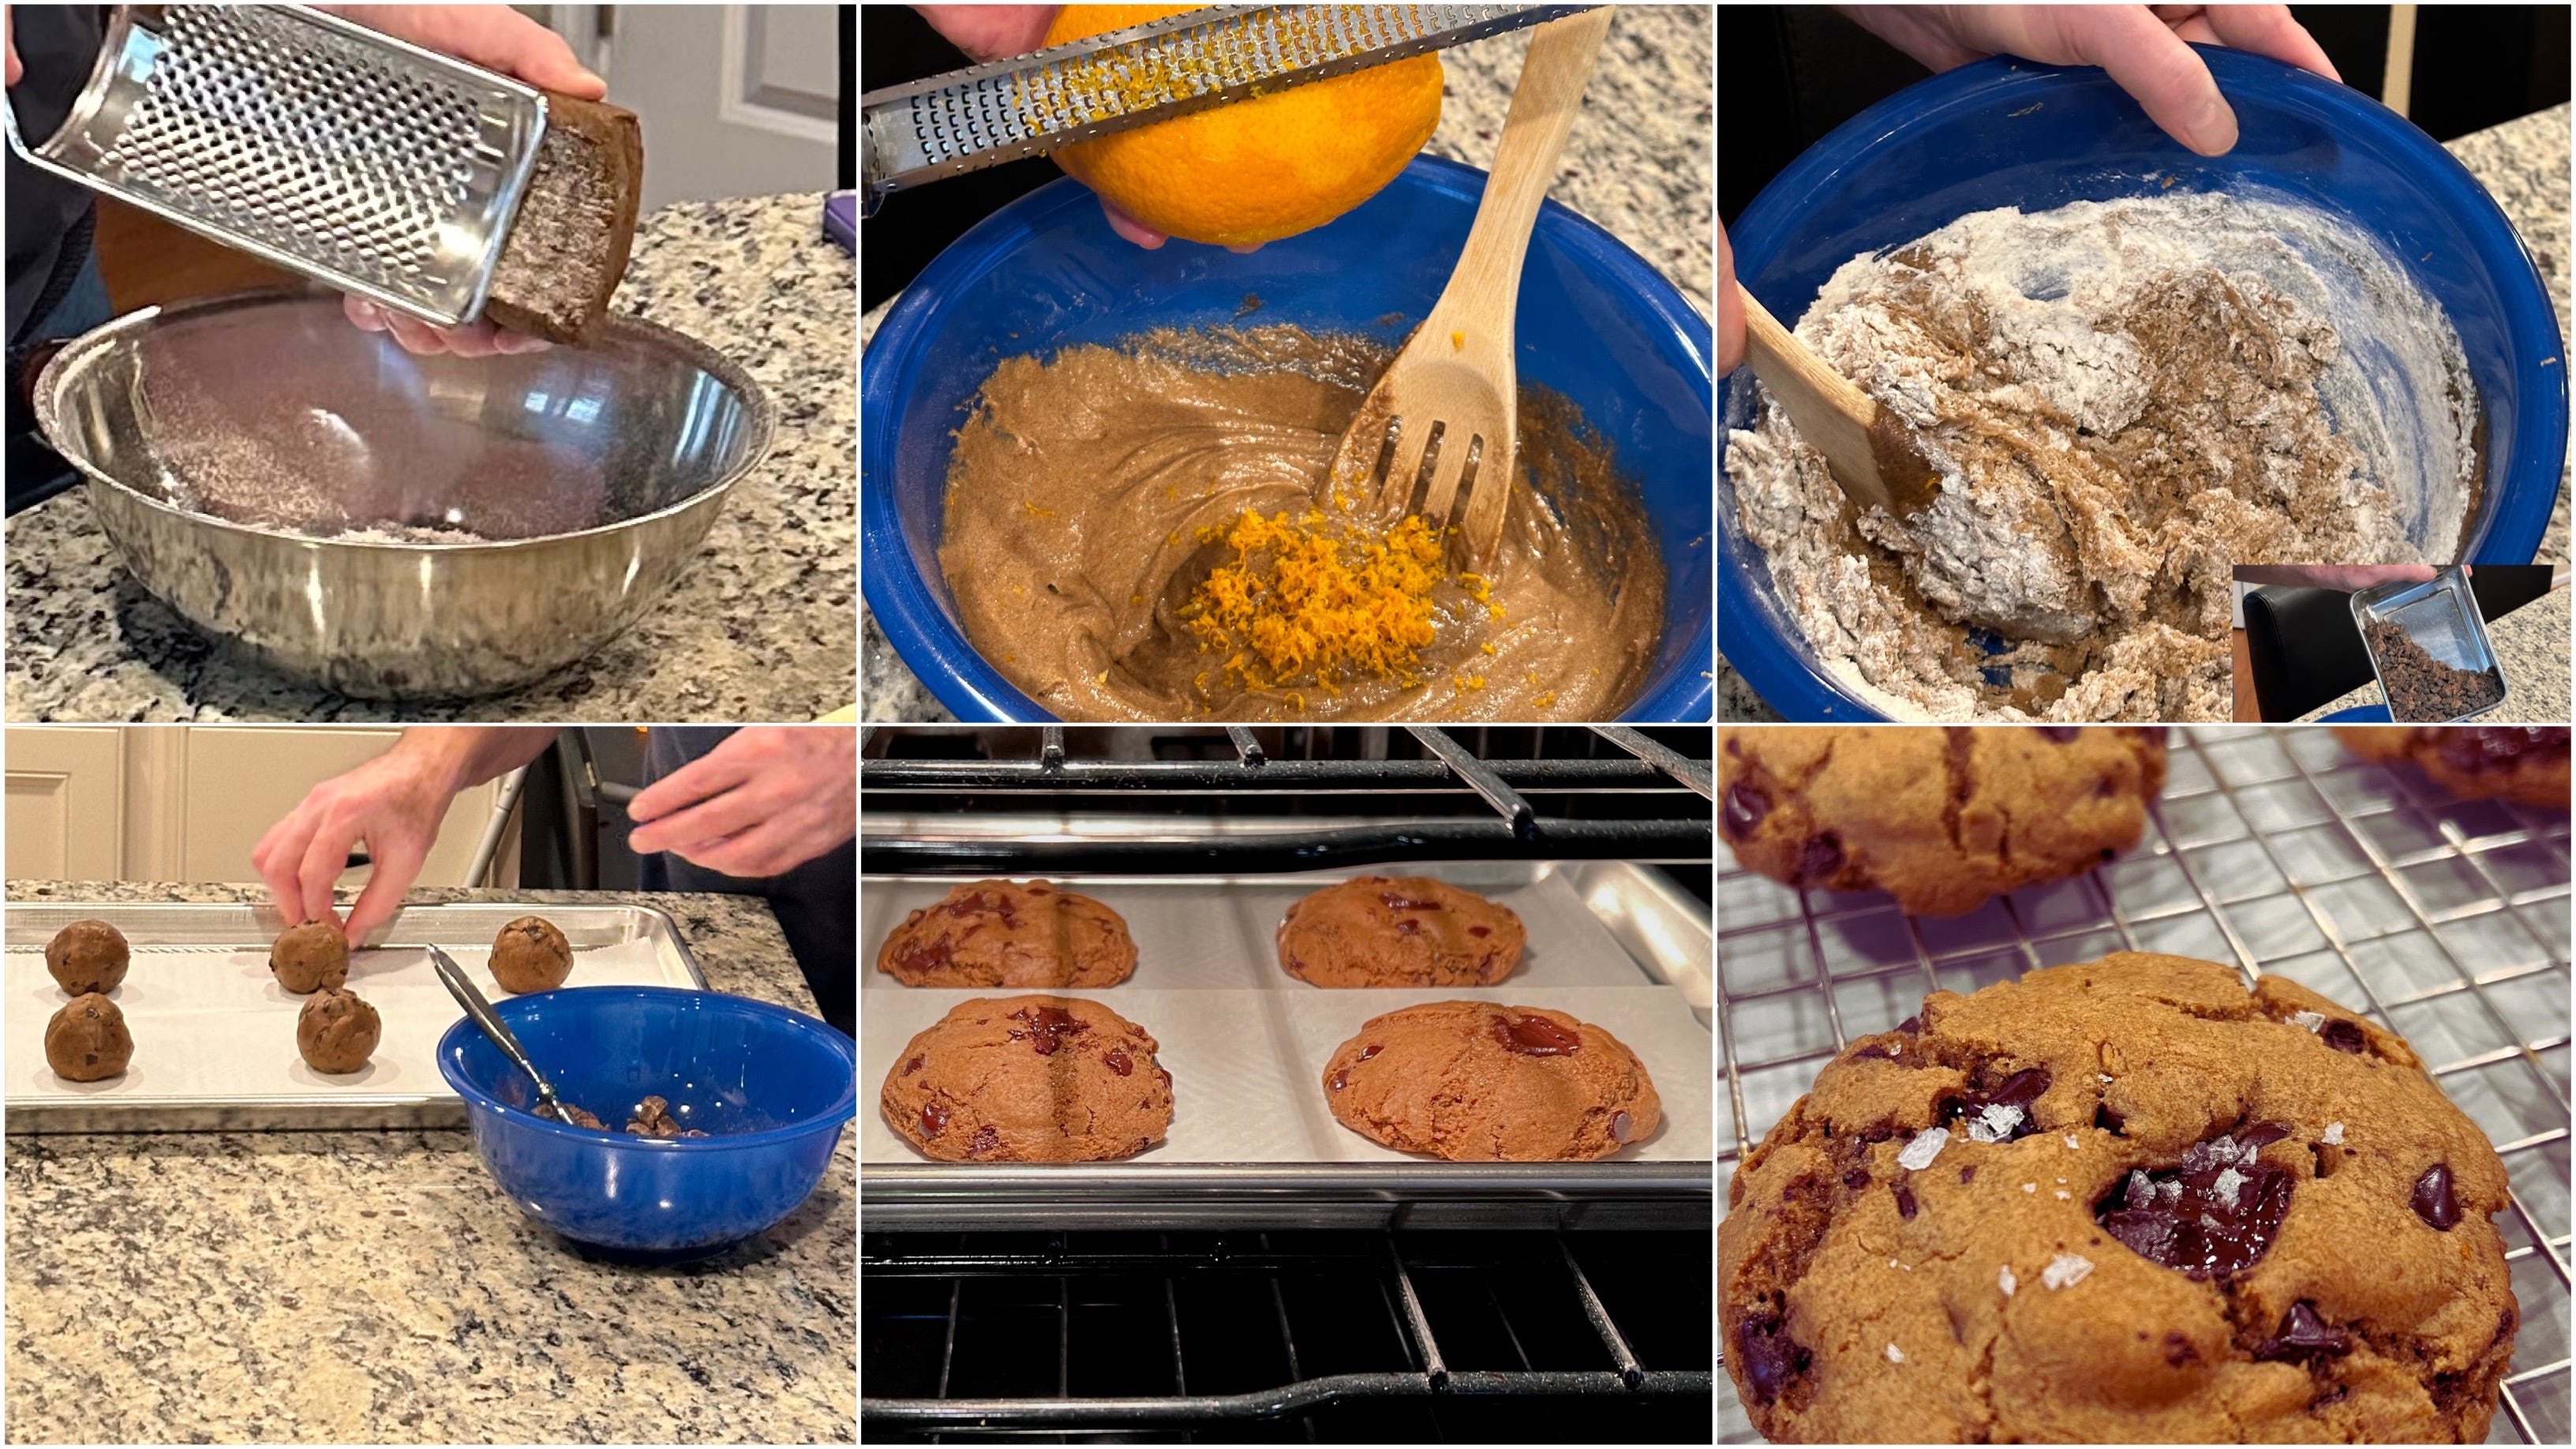
Preheat the oven to 350°F (177°C), positioning racks in the upper and lower thirds. For convection ovens, adjust the temperature to 325°F (163°C). Utilize the large holes of a box grater to grate the piloncillo, noting that the resulting texture will resemble that of grated hard cheese, featuring crumbly irregular shapes with some larger split pea-size pieces.
In a large bowl, whisk together the grated piloncillo, granulated sugar, orange zest, butter, and kosher salt until uniformly combined. Vigorously incorporate the egg and vanilla until the mixture lightens in color, achieving an almost ribbony consistency, while retaining undissolved pieces of piloncillo, a process lasting approximately 1 minute. This pivotal step ensures a glossy top akin to a brownie, which will crisp delightfully during baking.
Add the flour and baking soda, gently mixing with a wooden spoon or rubber spatula until the dough coalesces and no traces of flour remain, typically around 30 seconds. Integrate the chocolate evenly throughout the dough. The resulting dough will be soft, potentially warmer than room temperature. Refrigerate for 30 minutes, or up to 5 days, to enhance flavor and facilitate dough firmness.
Proceed to portion the dough into generous tablespoons, spacing them approximately 2 inches apart on two parchment-lined baking sheets, or form them into table tennis-sized balls by hand. Refrain from flattening the dough, as the cookies will spread during baking. Sprinkle each dough ball with flaky or kosher salt.
Bake the cookies, two sheets at a time, switching the pans halfway through the baking duration, until the edges acquire a golden brown hue and firm texture, while the centers retain a soft consistency, typically lasting 16 minutes. For convection ovens, adjust the baking time as needed.
Following baking, allow the cookies to cool on the baking sheets for 10 minutes before transferring them to a wire rack to cool completely.

Equipment (Disclosure: Items below include affiliate links with Amazon USA. You pay the regular price, and I get a small commission.) I only recommend products that I own myself and know to be excellent quality. I often get asked on social media sites about my kitchen tools, so here are most of them used to make this recipe.
Mixing bowls (I like this oven-proof glass set of 10 for mixing and portioning out ingredients.)
Stand mixer (This dough can be mixed by hand, but a stand mixer ensures consistency.)
Cordless electric hand mixer (This is a handy mixer for these smaller bakes.)
Kitchen scale (Ingredients should be weighed rather than relying on volume.)
Oven thermometer (All ovens need calibration, an in-oven thermometer is essential.)
Silicon oven mitts (I’ve burned my hands too many times with cloth mitts.)
Sauce pan (This is a versatile pan that works on all cooktops.)
Parchment paper (Also check Costco.)
Whisk (This is a standard for combining dry ingredients.)
Silicone spatula set (These are great at high temperatures.)
Wire cooling rack (Every kitchen needs at least two.)
USA cookie sheet pans (Get the best you can afford; much worth it! This 3-piece set won’t disappoint.)
Grater (Makes grating piloncillo a cinch.)
Citrus zester (Every kitchen needs this handy tool.)

Enjoy! — Mountaintop Kitchen | Frank Stonehouse