Pan de Miel Sourdough Sandwich Bread
Squared-off or a beautiful domed crust, this is the loaf your family will crave time and time again.
“Good bread is the most fundamentally satisfying of all foods; and good bread with fresh butter, the greatest of feasts.” – James Beard
“Bread making is a form of creativity, a peaceful, almost meditative process that feeds not just the body, but the soul.” – Unknown
Welcome to the Mountaintop Kitchen! Bread-baking is often perceived as a laborious and tedious task, reserved for those with endless time and patience. This myth, however, couldn’t be further from the truth. With a bit of planning and the right techniques, baking your own bread can be a fulfilling and enjoyable experience. Imagine the aroma of freshly baked bread filling your home, the satisfaction of slicing into a loaf you made from scratch, and the joy of sharing it with your family.
Baking fresh bread brings numerous benefits. Not only do you control the quality and ingredients, ensuring a healthier product, but you also get to enjoy a superior taste and texture that store-bought bread can’t match. Plus, the sense of accomplishment from creating something so essential and nourishing is truly gratifying.
Homemade bread offers a delightful variety of options. From crusty artisan loaves to soft and fluffy sandwich bread, the possibilities are endless. Slicing into a warm, honey-scented Pan de Miel sourdough loaf, you’ll discover a world of flavors and textures that elevate even the simplest sandwich or toast.
If you haven’t started baking bread yet, now is the perfect time to begin. With each bake, you’ll grow more confident and skilled, turning the process into a relaxing and rewarding hobby. Embrace the journey, and before you know it, you’ll wonder how you ever settled for anything less than the delightful, homemade bread you crafted with your own hands. Happy baking!

Make the levain the night before (see below) and it should be active; double or triples in size with bubbles. It should have a pleasant sour smell from fermentation.
Dough Mix
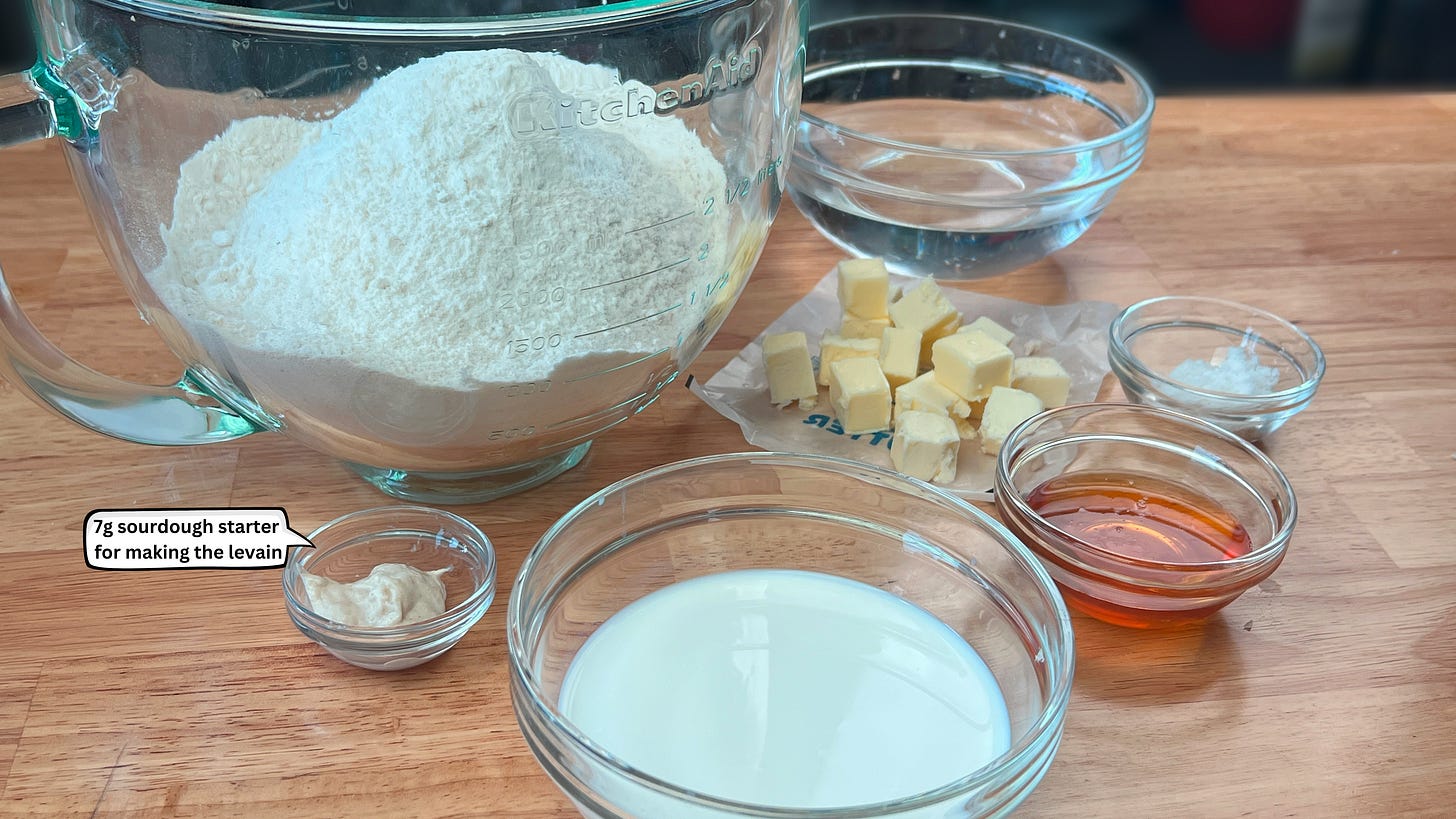
White flour (11.5% protein, all-purpose is OK too): 835g
Whole milk: 184g
Unsalted butter: 100g
Honey: 58-64g (64g if you would like your bread a bit sweeter)
Water 1 (autolyse only): 305g
Water 2 (mix): 25g
Fine sea salt: 15g
Ripe sourdough starter (100% hydration): 7g
Optional: Egg wash (optional): 1 egg and 1 tablespoon whole milk or heavy cream

Levain: Make this the night before using the 7g of active starter shown in the ingredients list above.
Flour: 71g
Water: 71g
Active Sourdough Starter: 7g
Tradition: At Mountaintop Kitchen, we believe that baking sourdough bread is more than just a culinary activity; it’s a way to connect with a time-honored tradition. Each loaf is a testament to the patient art of fermentation, a practice that demands time, care, and a touch of love.
So, whether you’re a seasoned sourdough aficionado or a curious newcomer, we invite you to embrace the slow rhythm of sourdough baking. Let’s celebrate the simple joy of turning flour, water, and salt into something truly extraordinary. Happy baking! Just follow these simple instructions. Baking sourdough bread from scratch does take some time for stretching, folding, fermentation, shaping, etc. But it is easy once you get the hang of it.
Mix the Autolyse: Combine flour, milk, water (305g), and ripe levain in a stand mixer bowl. Mix on low until just incorporated. Cover and rest for 30 minutes.
Prepare the Butter: Cut butter into ½-inch pats and let them warm to room temperature.
Adjust Water Temperature: Check dough temperature. If it’s higher than desired, use cold water (25g) for the remaining mix; if lower, use warm water.
Mix the Dough: Add honey and salt on top of the dough. Pour remaining water (25g) over it. Mix on low speed until incorporated, then on medium until the dough clings to the hook, about 6 minutes.
Incorporate the Butter: Ensure butter is at room temperature. With the mixer on low, add butter gradually until fully incorporated. Cover and let rest for 30 minutes.
Bulk Fermentation: Duration: 4 hours at 74°–76°F (23°–24°C). Perform 3 sets of stretches and folds at 30-minute intervals. Let rest for the remaining time.
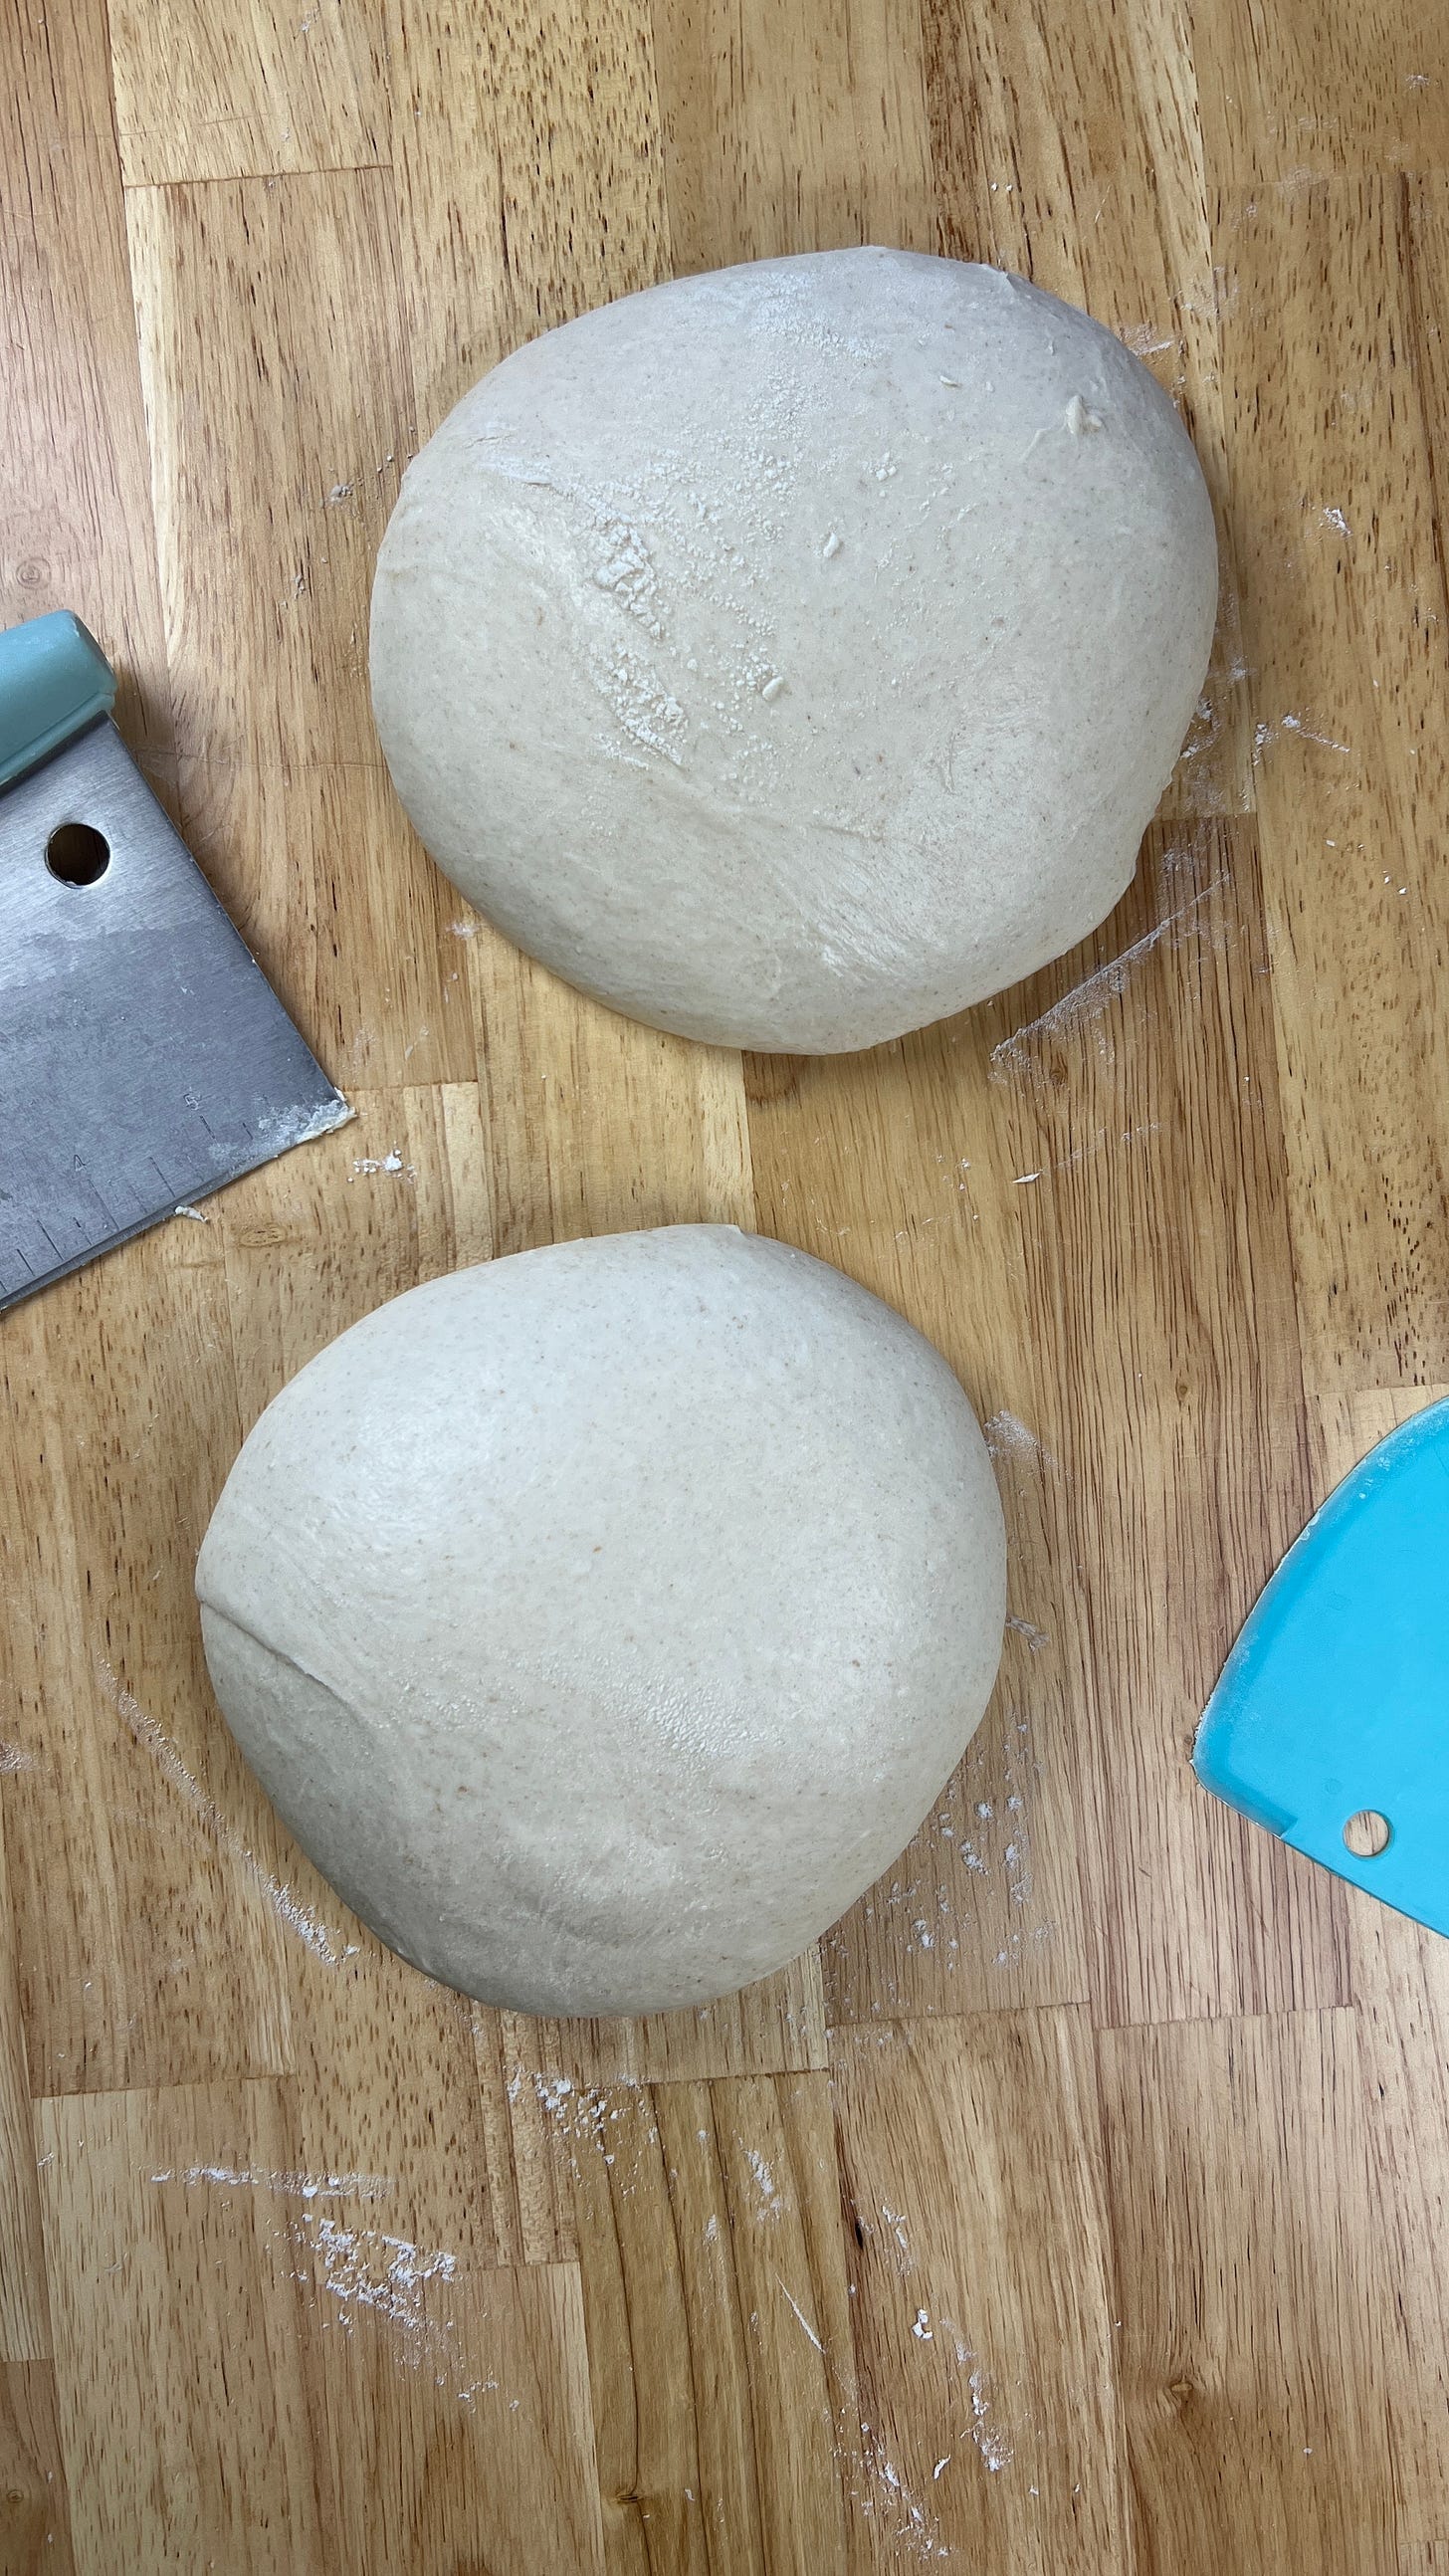
Divide and Preshape: Use a dough scraper ro turn the dough out onto the work surface with the sticky side up (the bottom side in the bowl). With a bench scraper, divide the dough into two equal halves (Use a kitchen scale to get equal weights or just eyeball it.). Use your wetted hand with the bench scraper in the other hand to form tight balls of dough. Pull towards you and turn the ball to create some tension. Repeat several times. Let the two balls of dough rest uncovered on the bench for 30 minutes.
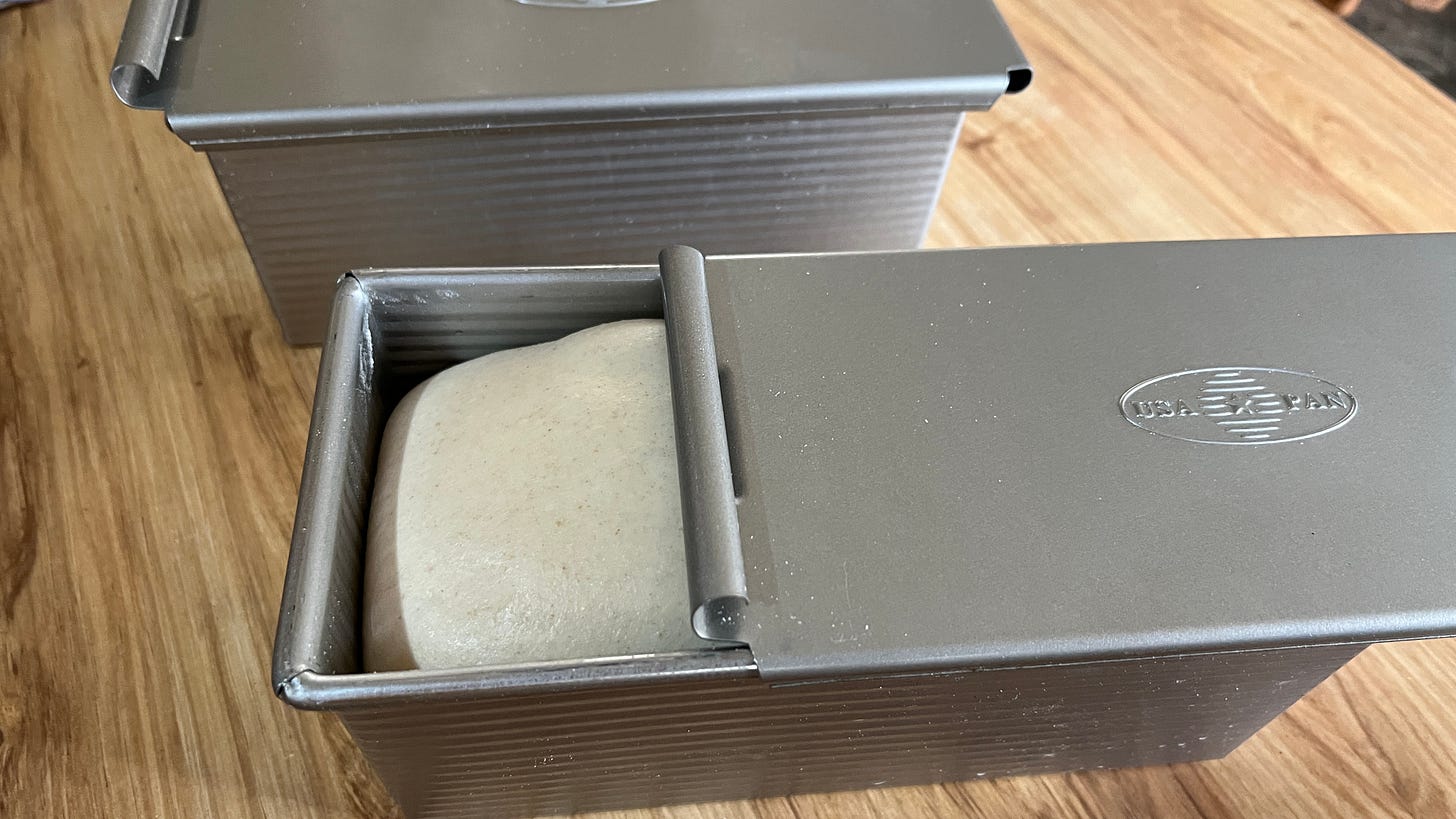
Shape the Dough: Grease two 9 × 4 × 4-inch Pullman pans. Shape each dough piece into a tube and place in the pans. Cover with reusable plastic bags.
Final Proof: Duration: About 3 hours at 74°–76°F (23°–24°C). Proof until dough is 1 inch from the top rim of the pan.
Bake: Preheat oven to 425°F (220°C) with a rack in the bottom third.
For a square loaf, cover with the Pullman lid. For a domed top, brush with egg wash (1 egg and 1 tbsp milk) and do not use the lid. We made squared loaves.
Bake for 15 minutes, then reduce temperature to 350°F (175°C) and bake for 30 more minutes until the internal temperature reaches 205°F (96°C).
Finish and Cool: Remove from oven, uncover, and cool loaves on a wire rack for 1 to 2 hours before slicing. To freeze, wrap cooled loaves tightly in plastic wrap, place in a freezer bag, and freeze for at least 12 hours. Thaw in the refrigerator, then keep on the counter.
Equipment (Disclosure: Items below include affiliate links with Amazon USA. You pay the regular price, and I get a small commission.) I only recommend products that I own myself and know to be excellent quality. I often get asked on social media sites about my kitchen tools, so here are most of them used to make this recipe.
9”x4”x4” Pullman bread pans (Any suitable bread pan of the same size will be fine; if you want the perfectly square loaf, a Pullman pan with lid is necessary.)
Mixing bowls (I like this oven-proof glass set of 10 for mixing and portioning out ingredients.)
Stand mixer (This dough can be mixed by hand as we did, but a stand mixer ensures consistency, especially when incorporating any butter, if used.)
Bench scraper and dough scraper (These tools cut and scrape doughs.)
Glass jar with lid (The straight sides are perfect for sourdough starter.)
Kitchen scale (Ingredients should be weighed rather than relying on volume.)
Probe thermometer (Bread temperature must be checked for doneness.)
Oven thermometer (All ovens need calibration, an in-oven thermometer is essential.)
Silicon oven mitts (I’ve burned my hands too many times with cloth mitts.)
Thanks so much for stopping by the blog today! — Frank, Mountaintop Kitchen


That Pullman lid invokes a leap of faith, because it would appear that you don't know if the bread is done until you've removed that lid. Speaking of which, why is that called a Pullman loaf?
Those edges on the bread look sharp enough to cut the fingers of the unwary.