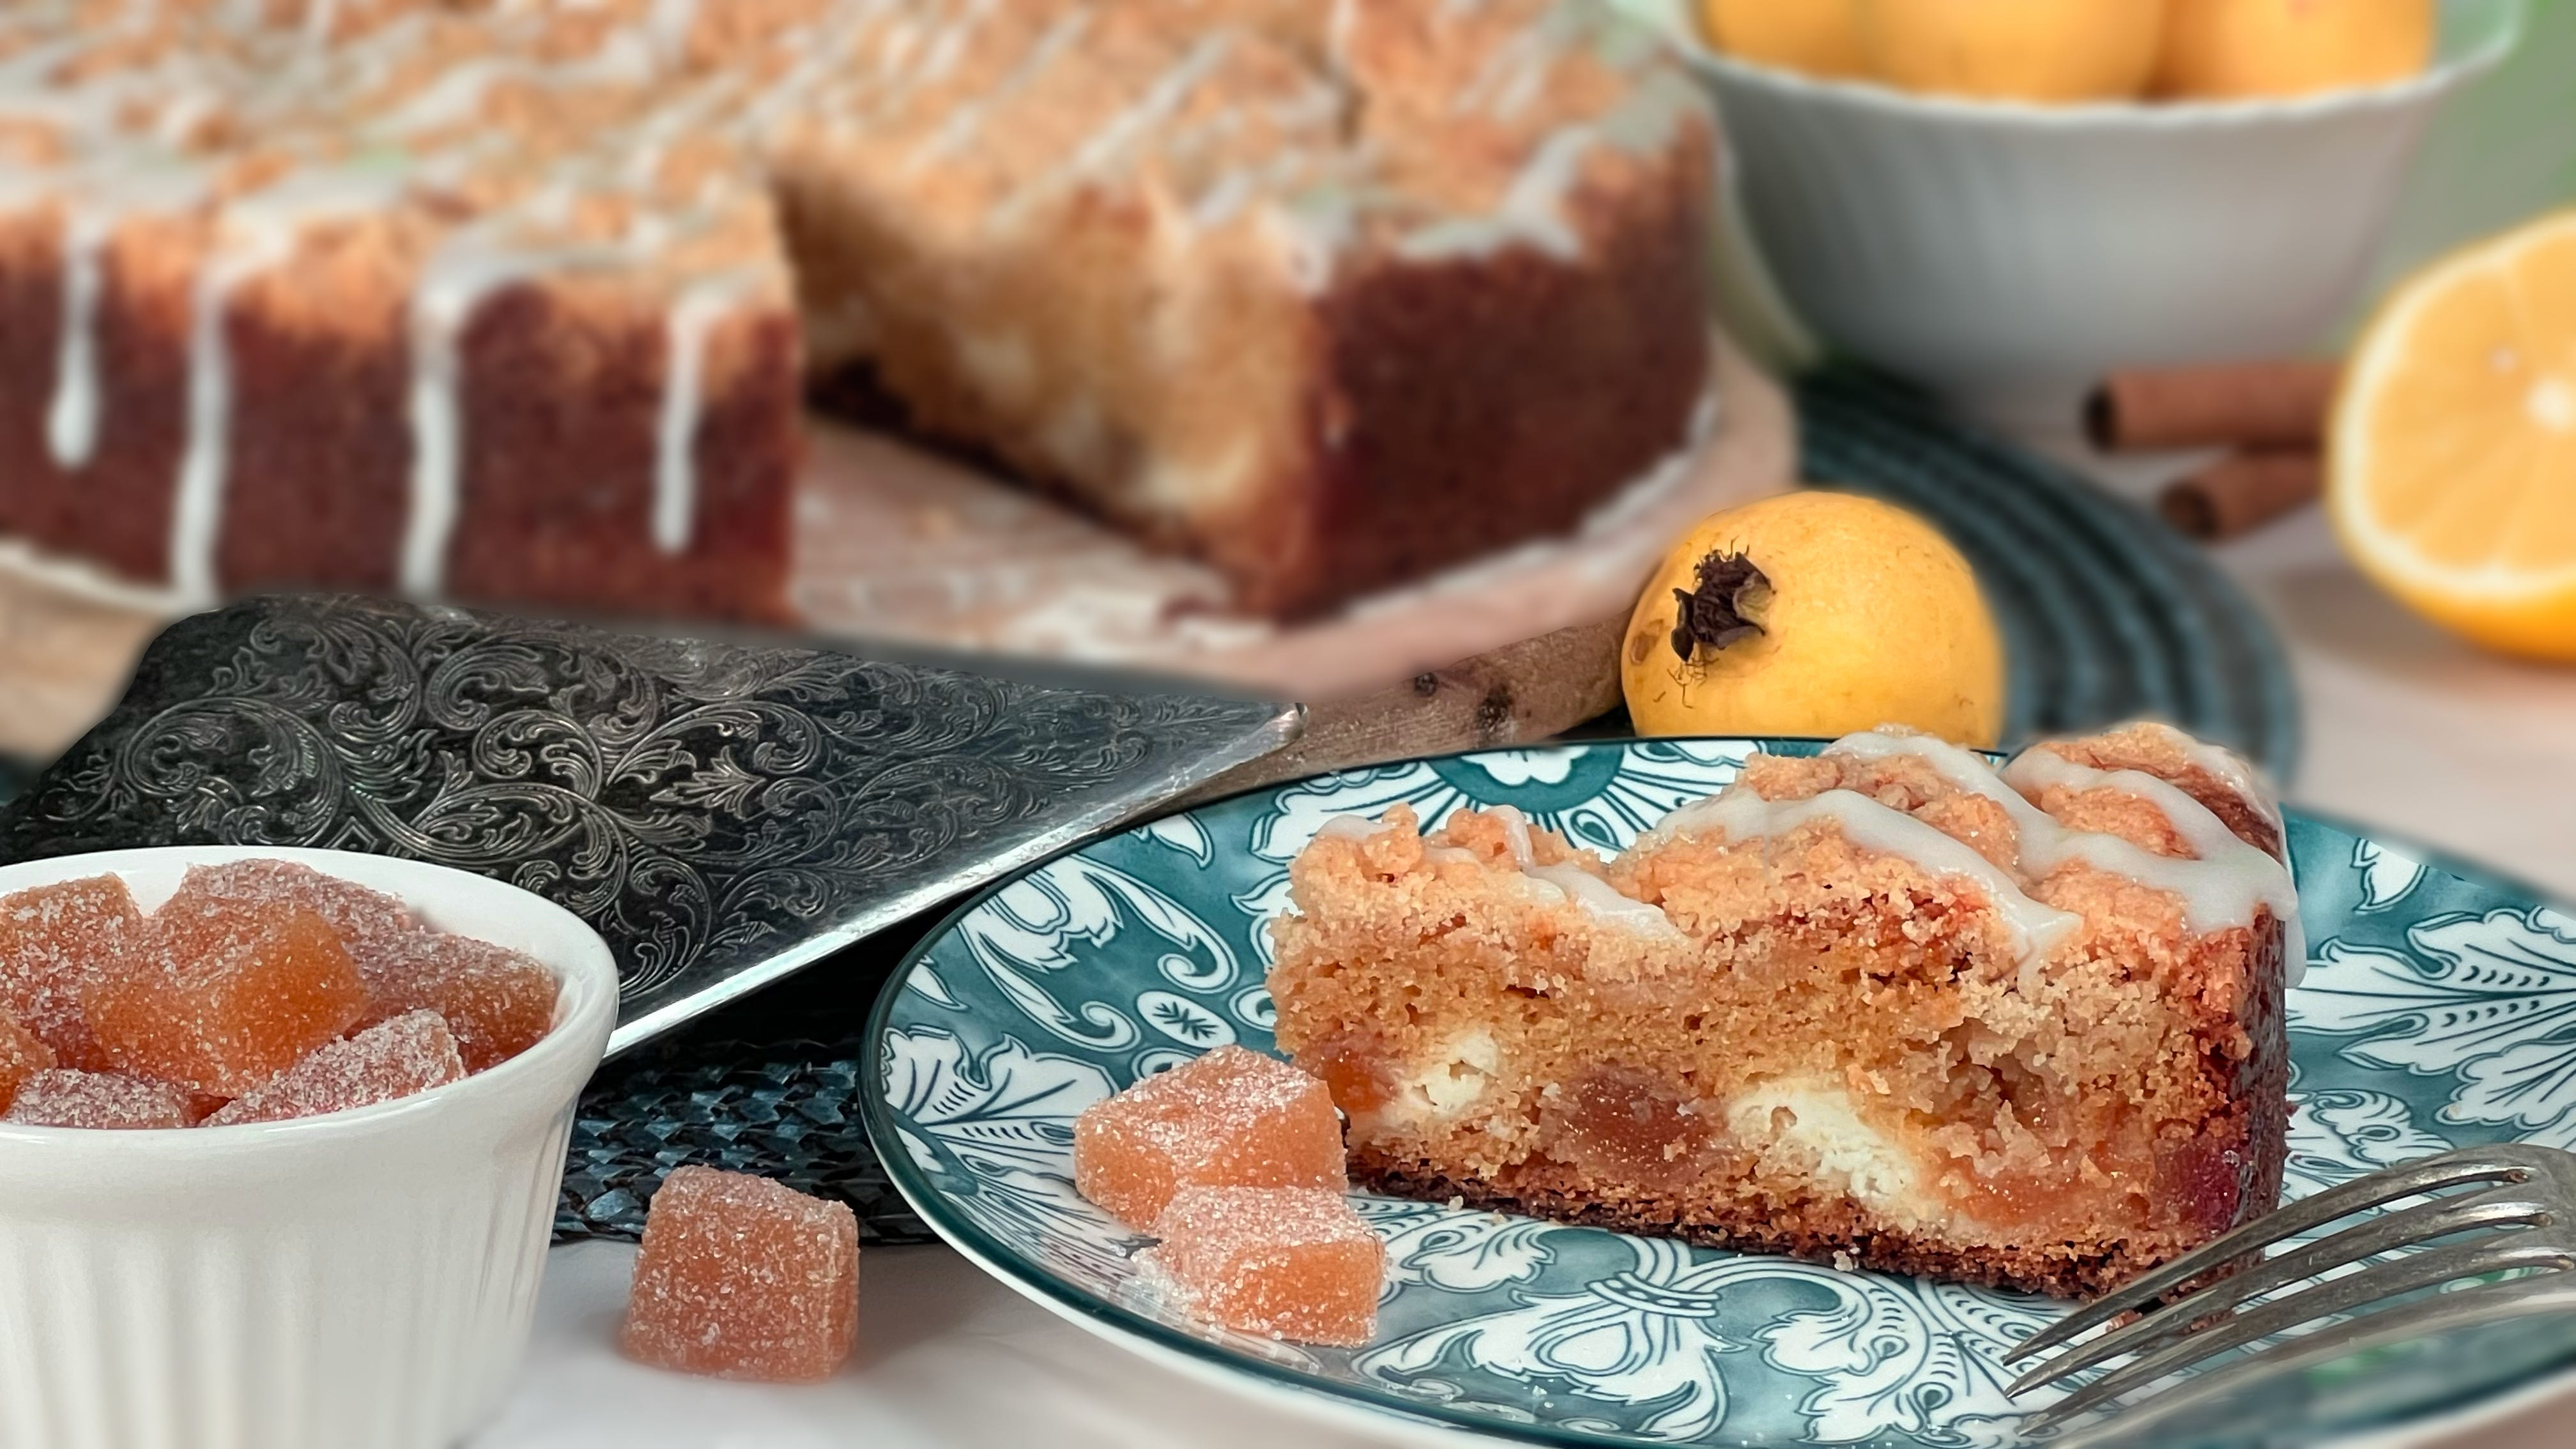
Welcome to this week’s bake at the Mountaintop Kitchen, DeliciousGuava (Guayaba) and Cream Cheese Coffee Cake. While many recipes can be attributed to watching and learning in my grandmother’s kitchen, this is not one of them; I don’t think I ever saw a guava (guayaba) until I moved to Mexico almost a quarter of a century ago. But you don’t have to live in Latin America to get your hands on some guavas and bake this tasty coffee cake; guavas are pretty much available at your favorite supermarket or farmer’s market nowadays. This recipe balances the sweetness of guava paste with the tang of cream cheese, all nestled under a buttery crumble topping. The springform pan ensures an elegant presentation.
The homemade guava paste in this recipe combines fresh guavas, sugar, and a hint of lemon juice for a sweet, tangy flavor with a touch of warmth from cinnamon. It’s perfect for adding to desserts or pairing with cheese and crackers. Or you can cut any extra paste in cubes and dust with sugar as shown above. You can optionally use store-bought guava paste to save time. This recipe makes paste from scratch to limit preservatives, colorants, artificial flavorings and other additives. The choice is completely yours. So, let’s bake!
New to guava? Guava is a tropical fruit native to Central America, believed to have originated in Mexico (Hey! That’s where we are!) or the northern regions of South America. It has been cultivated for thousands of years, and its cultivation spread through trade and exploration to many tropical and subtropical regions around the world.
Guavas typically ripen in late summer and fall, though in tropical climates they can be harvested year-round. The fruit is ready when it turns soft and its skin changes from green to yellow or pink, depending on the variety. Guavas are rich in vitamin C, dietary fiber, and antioxidants.
In Latin America, guava is a key ingredient in many sweet and savory dishes. It is used to make guava paste (known as pasta de guayaba or bocadillo), a thick, sweet confection often paired with cheese. Guava is also commonly found in aguas frescas (refreshing fruit drinks), jams, jellies, and desserts such as flans or empanadas. In savory applications, guava sauce is often served with roasted meats or in glazes. The fruit’s unique blend of sweetness and tartness makes it a versatile and beloved ingredient in Latin American cuisine.
Guava/Guayaba and Cream Cheese Coffee Cake with Guava Paste Sugar-Dusted Cubes
On Measuring Ingredients: My preferred method of measuring is weight by grams. Baking by volume rather than weight can lead to varied and unexpected results. Flour is especially problematic when measured by volume (sifted, not sifted, spooned, not spooned, fluffed or not … you get the point). Grams are always the same; they are your friend as a baker. King Arthur Baking Company’s Ingredients Weight Chart is helpful for converting recipe weights.
On Altitude Adjustments: Before measuring ingredients, preheating your oven, or setting your timer; it’s important to consider any necessary adjustments for baking at higher altitudes, which is generally considered to be 3,500ft and above. Most recipes are written for sea level up to 3,500ft. Take at look at our baking at High-Altitude Baking Adjustmentspage for guidance.
At an altitude of 7,032 feet, baking can be tricky due to lower air pressure, faster evaporation, and quicker rising of baked goods. Here’s how to adjust the Guava and Cream Cheese Coffee Cake recipe for the Mountaintop Kitchen’s altitude. Click the link above for guidance on other altitudes:
Flour: Increase the flour by 1 to 2 tablespoons (8–16g) to give the cake more structure and prevent it from collapsing.
Leavening (Baking Soda): Decrease the baking soda to ¾ teaspoon instead of 1 teaspoon. This will slow the rise and help prevent over-expansion of the cake.
Sugar: Decrease the sugar slightly by 1 to 2 tablespoons (10–20g) in both the cake and crumble topping. At high altitudes, sugar affects the structure and can cause the cake to be too moist.
Liquid (Sour Cream): Add 1–2 tablespoons (15–30g) extra sour cream. Increased evaporation at high altitudes means you need more liquid to keep the cake moist.
Oven Temperature: Increase the oven temperature by 15–25°F (about 10–15°C). This helps the cake set faster and prevents it from over-expanding. For this recipe, bake at 365–375°F (185–190°C).
Baking Time: You may need to reduce the baking time slightly, so start checking the cake 5–10 minutes earlier than the original time (around 35–40 minutes).
By making these adjustments, your coffee cake should rise properly, retain moisture, and bake evenly at high altitude. The ingredients list and directions below are for sea-level up to about 3,500 feet. Adjust as needed.
Guava Paste:
We made our own paste from scratch, but feel free to use store-bought paste as pictured in the round tin. Here in Mexico, guava is called guayaba.
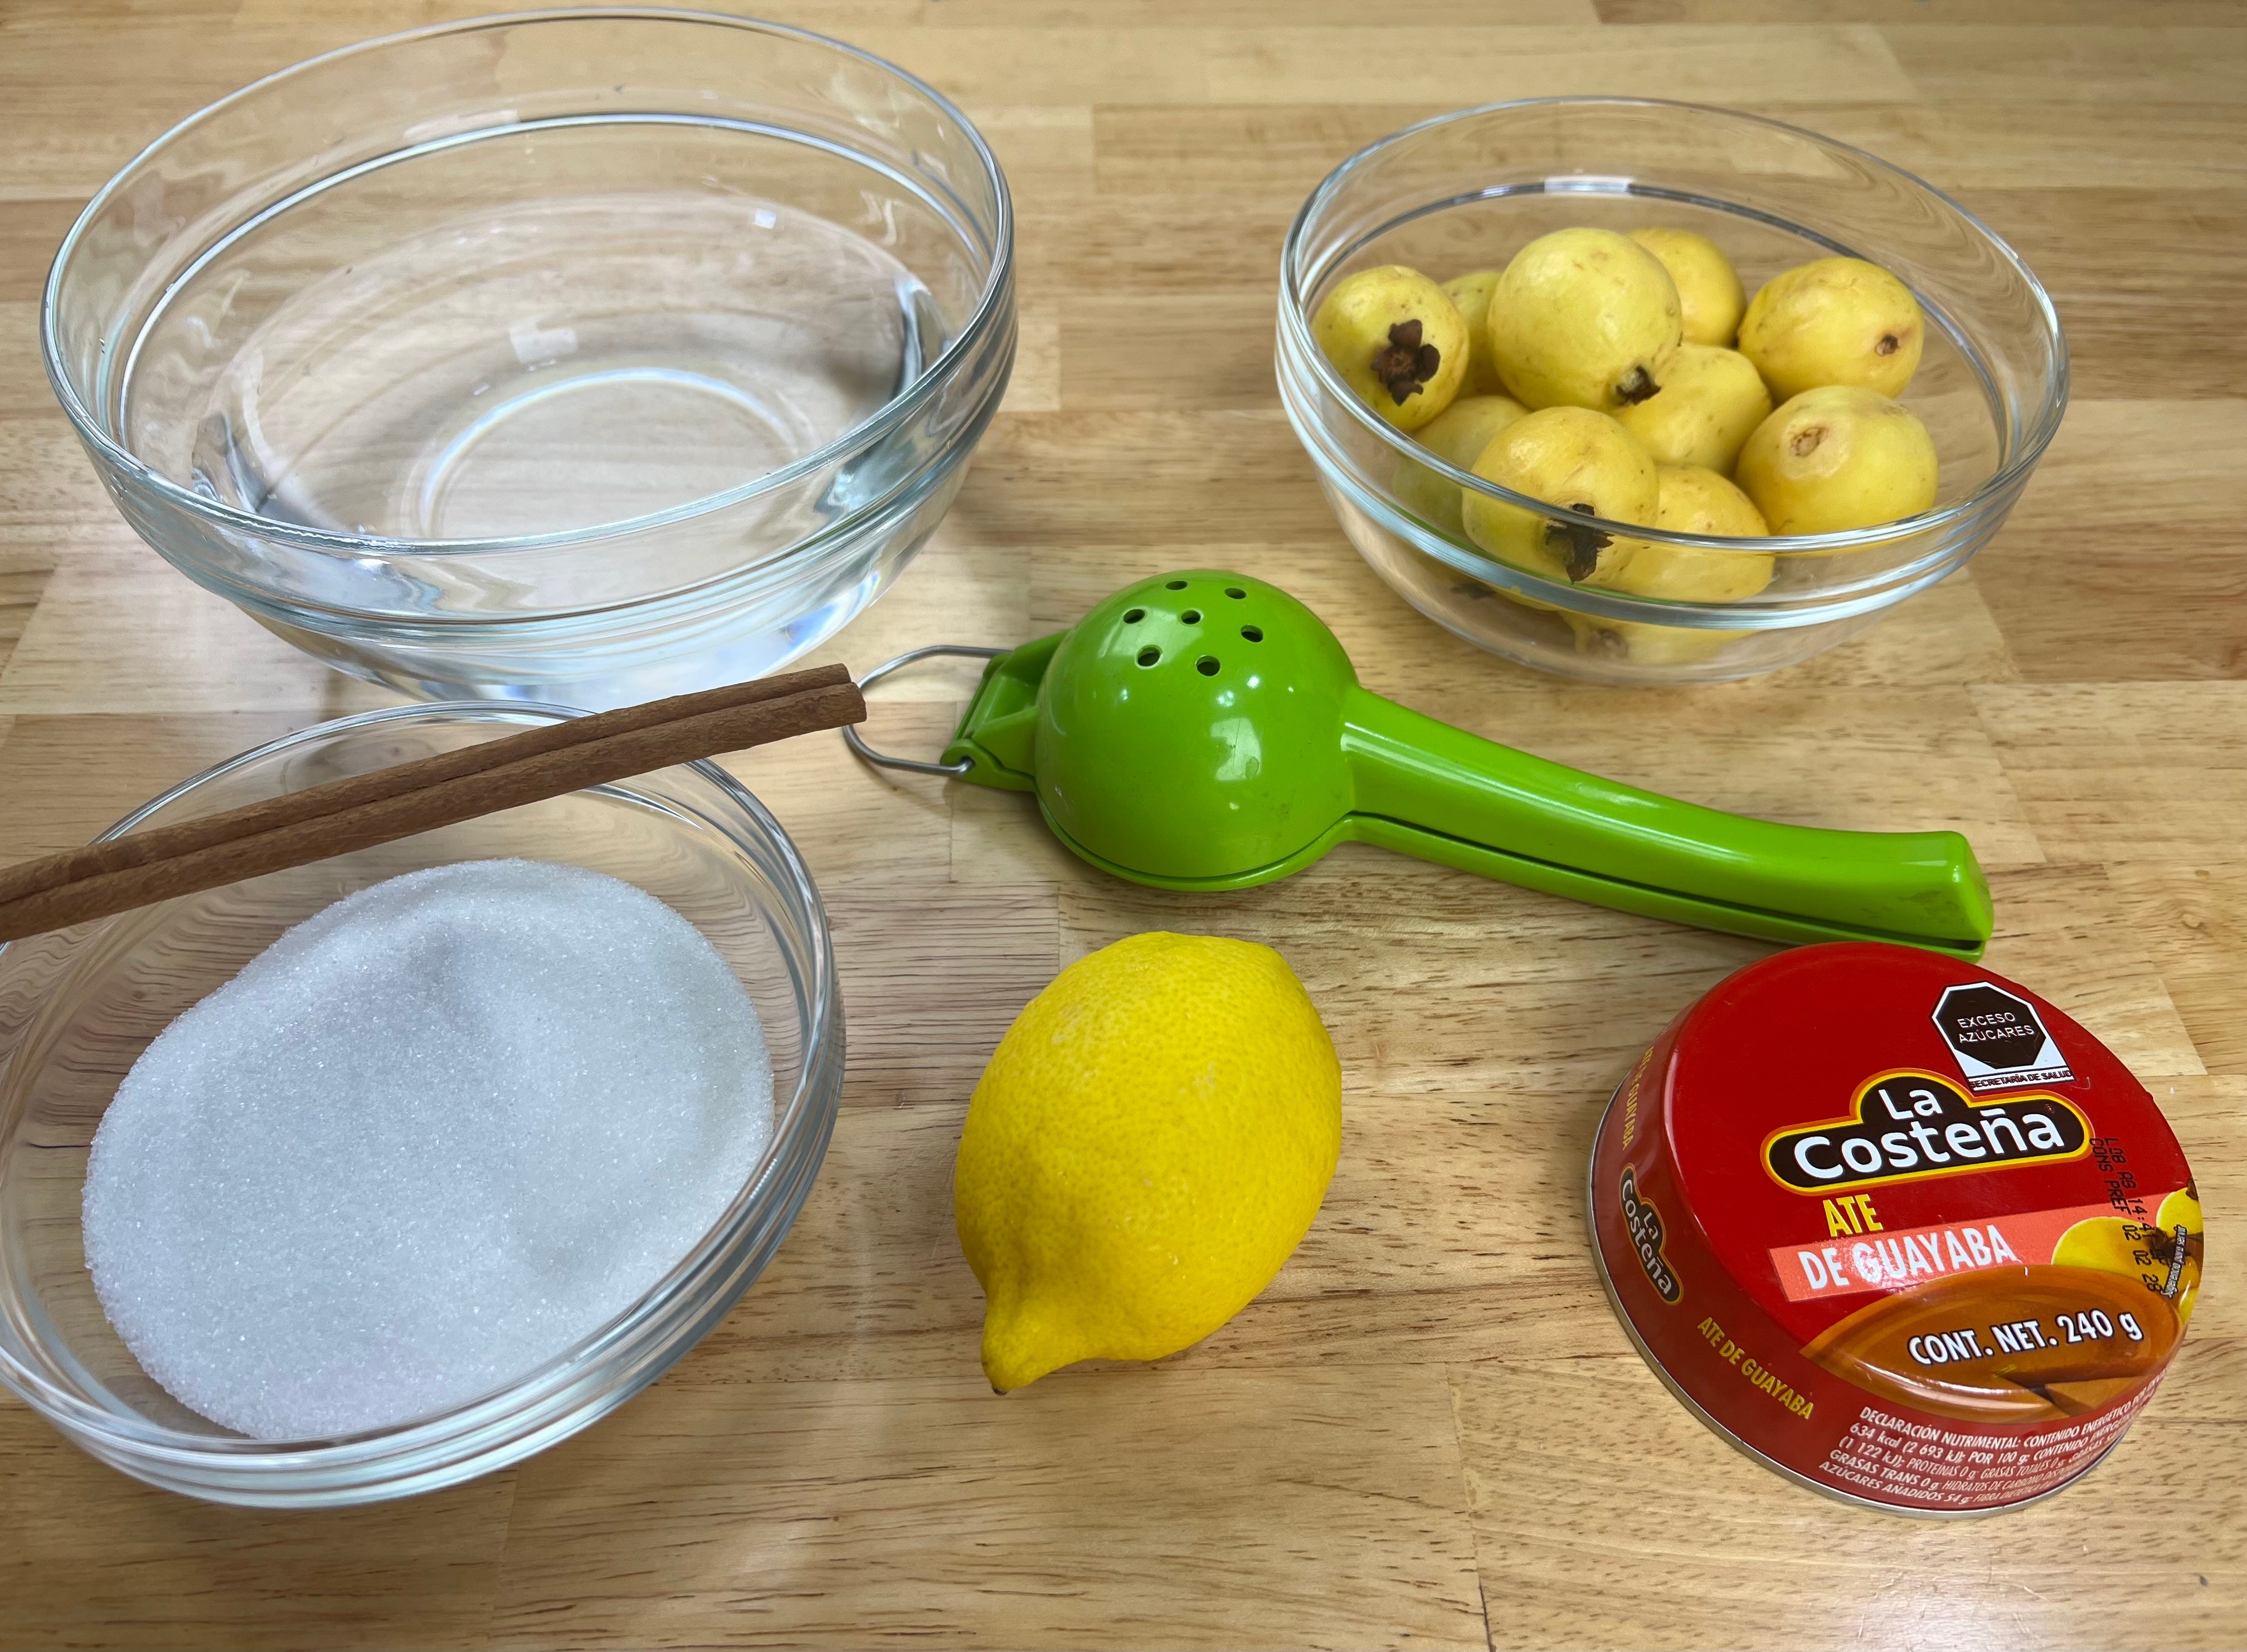
Ingredients for making guava paste (optionally purchase ready-made in a tin)
500g fresh guavas (about 10-12 smallish guavas)
1 cup (200g) white sugar
2 tablespoons lemon juice (about half a lemon)
1/4 teaspoon ground cinnamon or optionally 1 stick of cinnamon
Preparing the guava paste: Store-bought guava paste is fine to save a bit of time. Skip this section if using packaged guava paste.
1. Prepare the guavas: Wash the guavas thoroughly, then cut them in half. Scoop out the seeds using a spoon, and discard the seeds. Roughly chop the guava flesh and set aside.
2. Cook the guavas: Place the chopped guavas in a medium saucepan, and add just enough water to cover them (about 1 cup). Add the cinnamon stick (if using). Bring to a simmer over medium heat, then reduce the heat and cook for 10-15 minutes, or until the guavas are soft and tender.
3. Drain and puree the guavas: Once the guavas are soft, remove the cinnamon stick (if using) and discard it. Drain the guavas, but reserve about 1/4 cup of the cooking liquid. Transfer the guavas to a blender or food processor, and puree them until smooth, adding a little of the reserved cooking liquid as needed to help blend.
4. Make the paste: Return the guava puree to the saucepan and add the white sugar, lemon juice, and ground cinnamon (if using in place of a cinnamon stick). Stir well to combine. Cook the mixture over low heat, stirring frequently to prevent sticking, for about 30–45 minutes, or until it thickens and starts pulling away from the sides of the pan. The lemon juice helps balance the sweetness, while the cinnamon adds a subtle warmth.
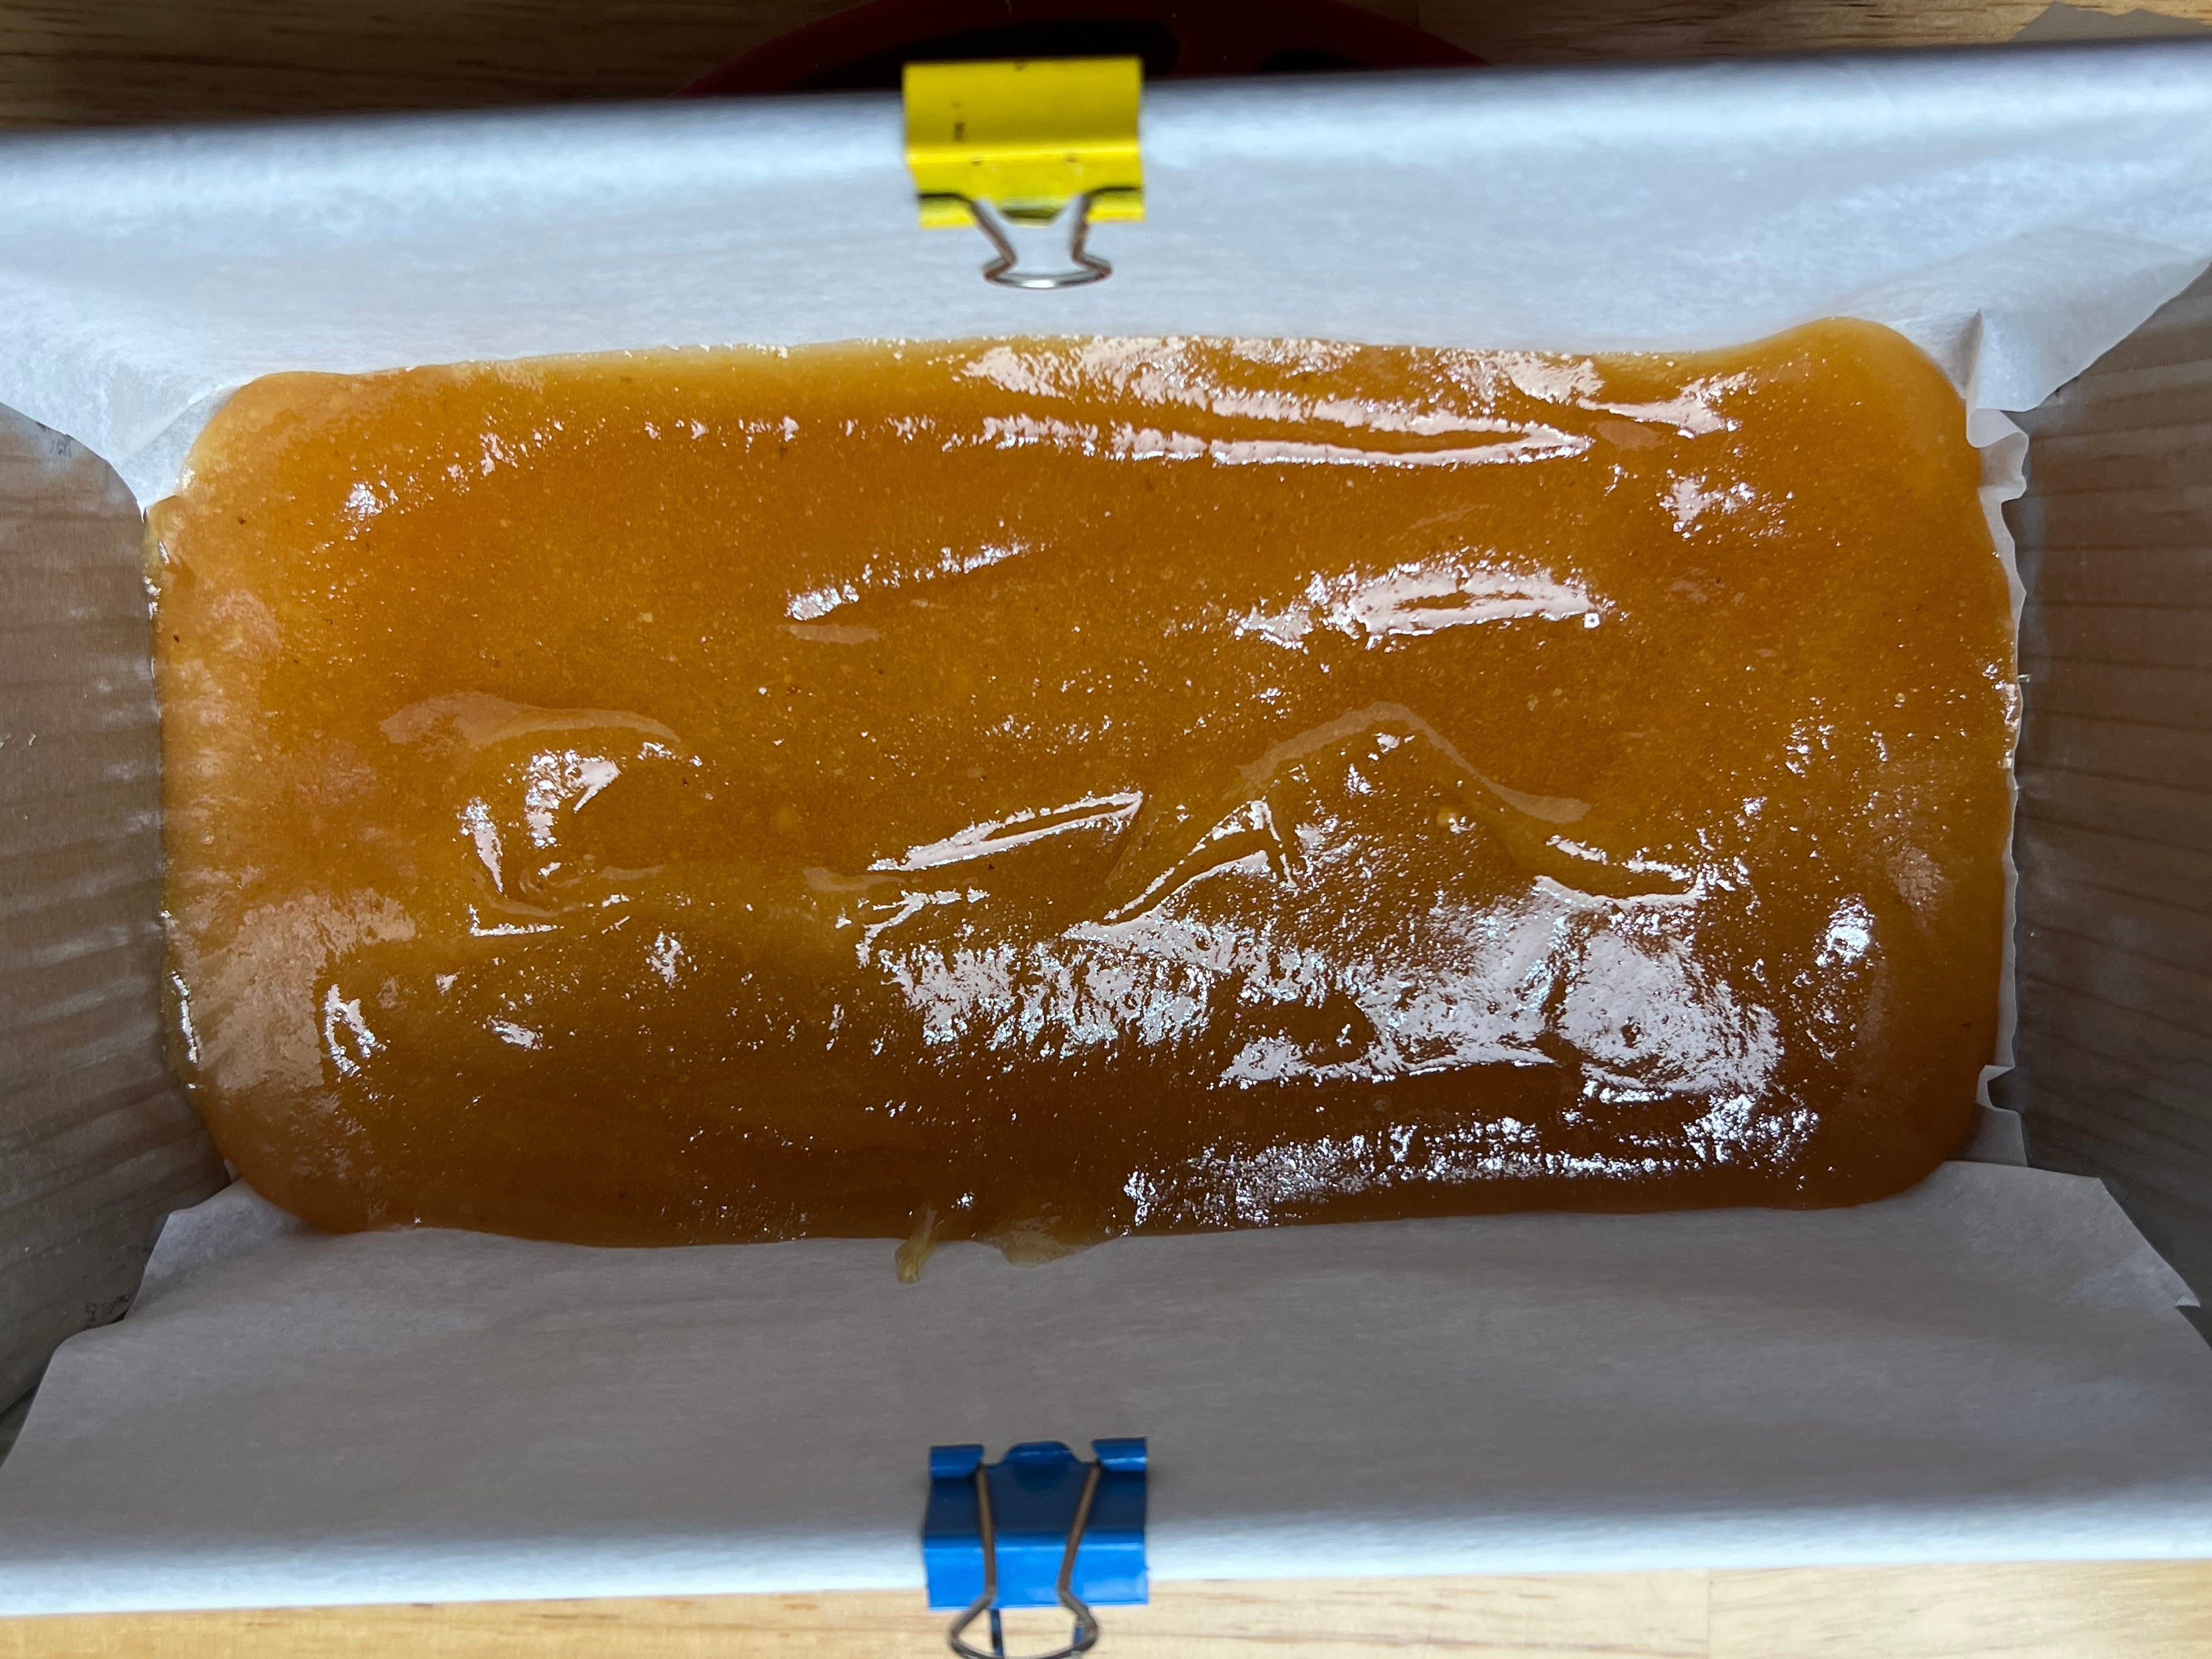
5. Set the paste: Pour the thickened guava paste into a parchment-lined dish and smooth the top. Let it cool completely, then refrigerate for at least 2 hours to firm up.
Preparing the coffee cake: While the guava paste in cooling in the fridge, prepare the cake batter and cream cheese filling.
1. Preheat the oven: Once the guava paste is cooled and ready, preheat your oven to 350°F (175°C). Grease and line a 9” springform pan with parchment paper.
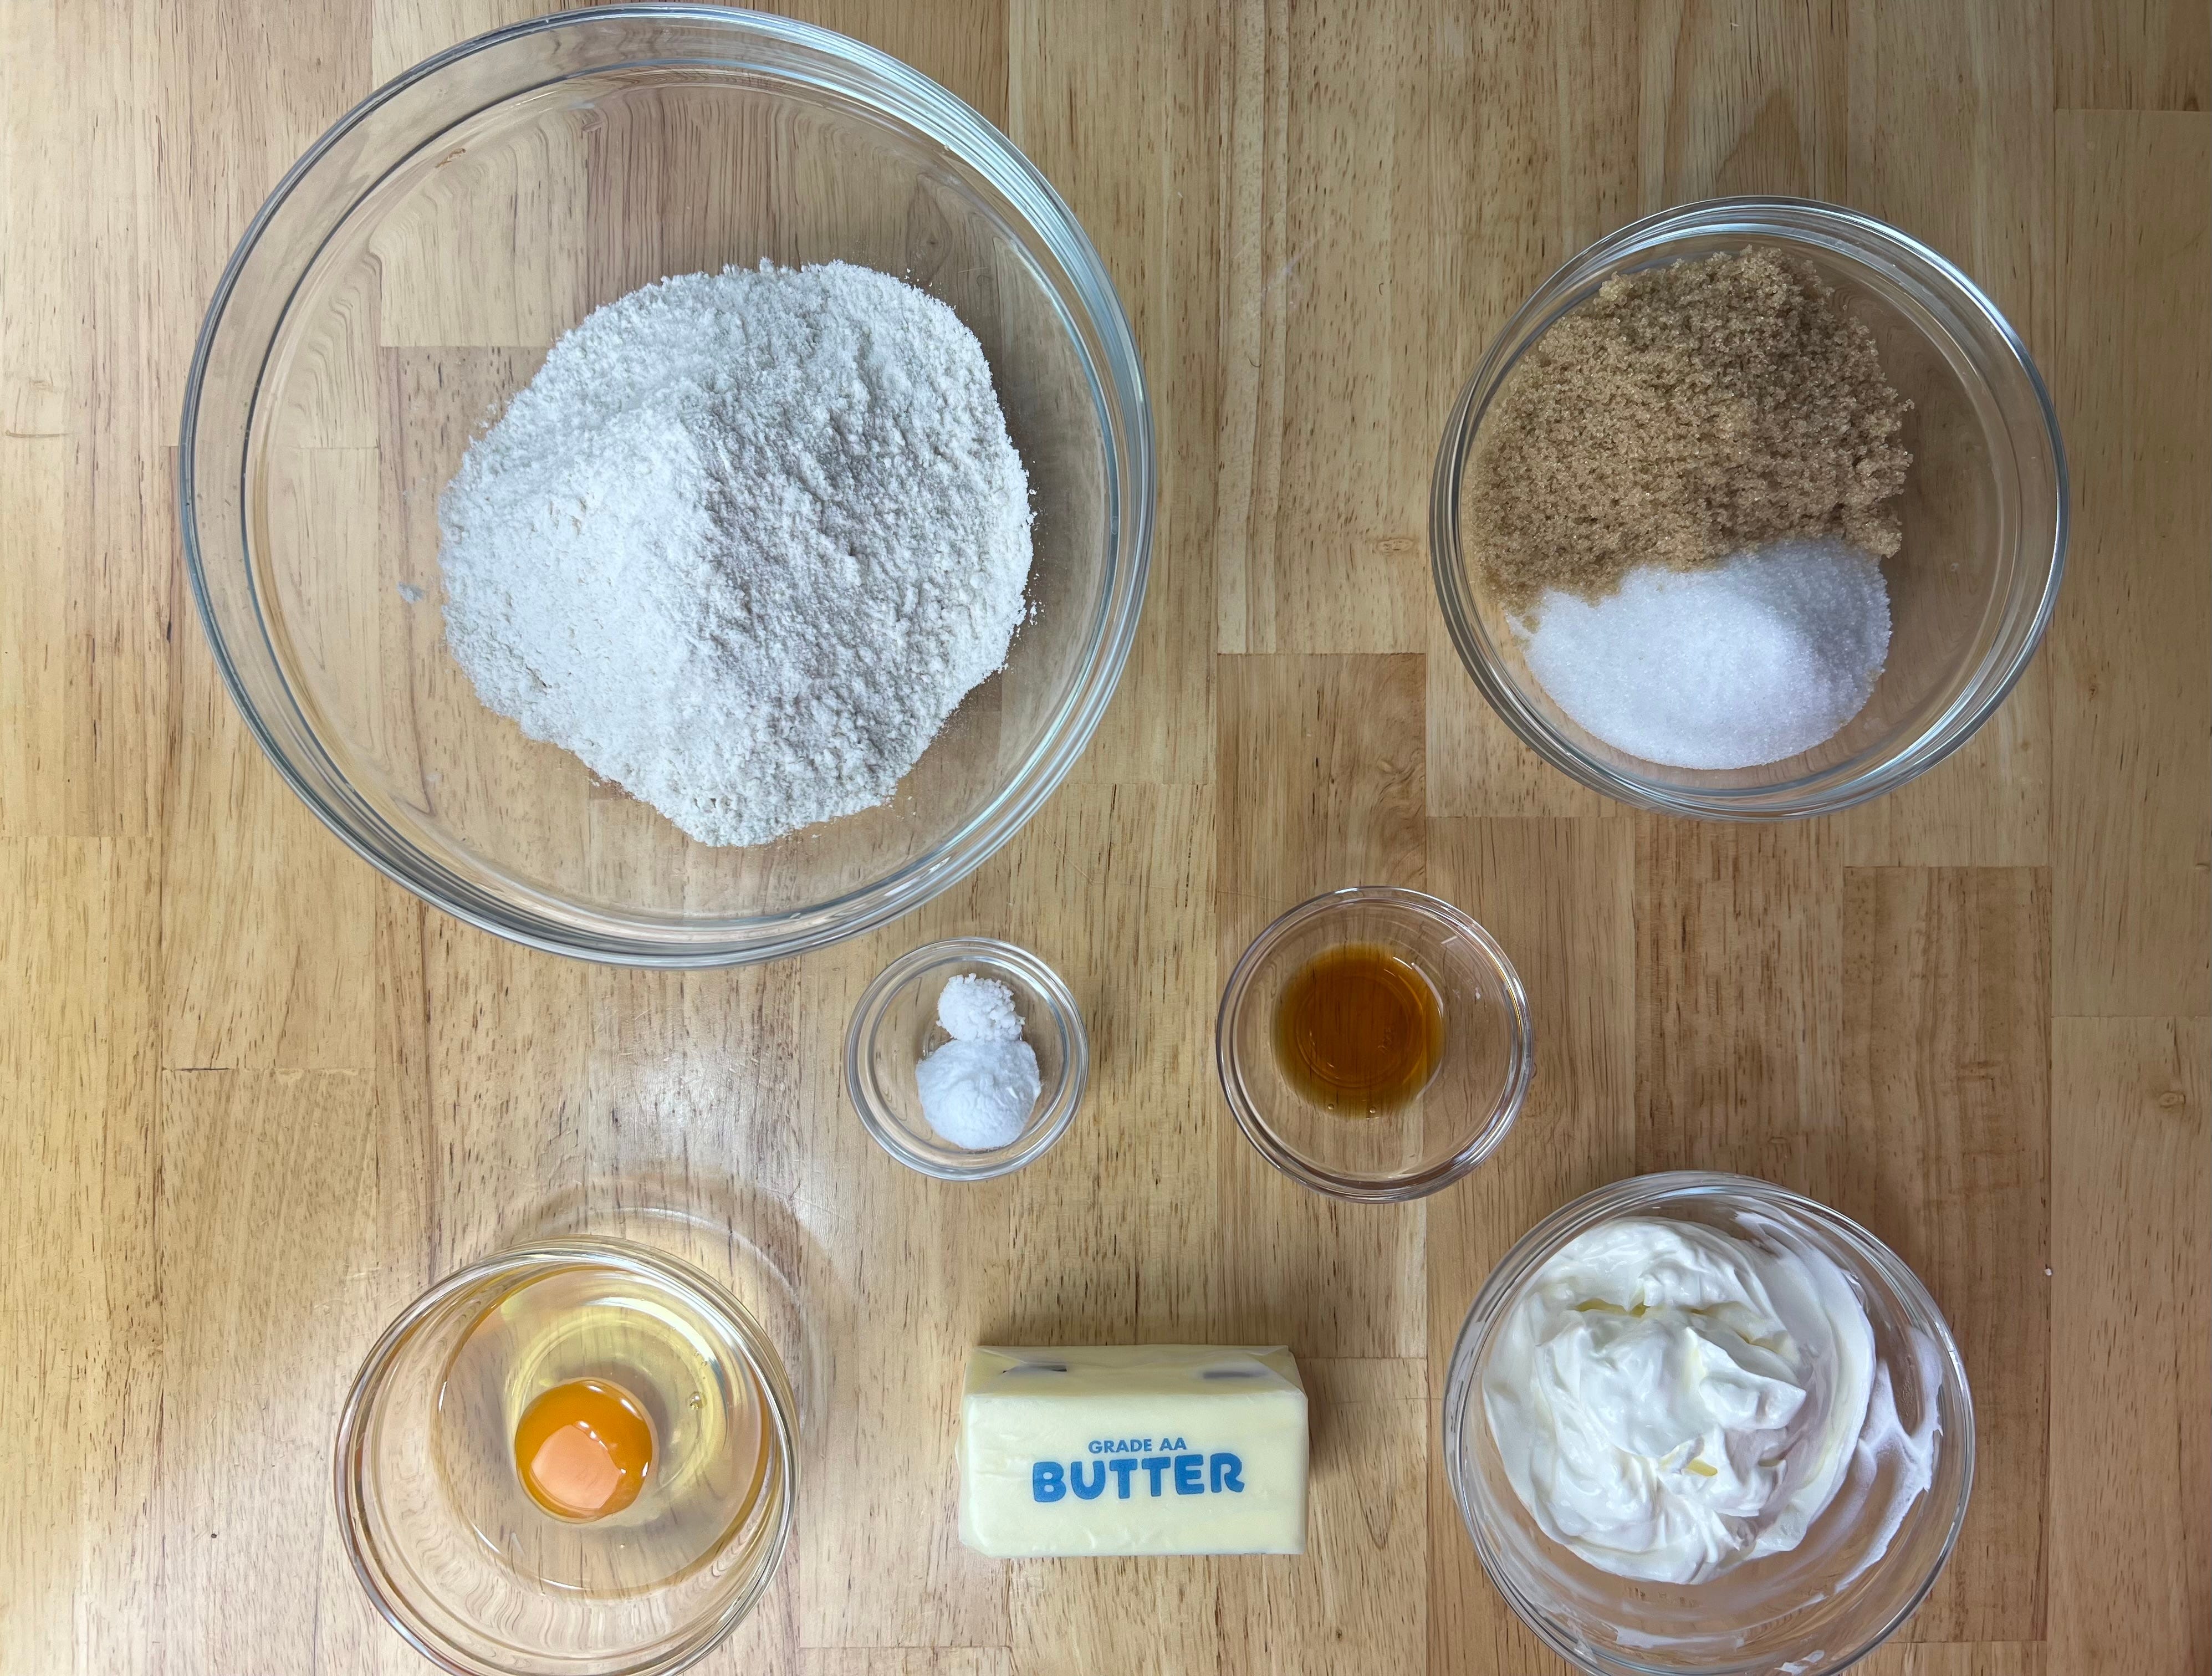
2. Make the cake batter: In a large bowl, whisk together the flour, granulated sugar, brown sugar, baking soda, and salt. In a separate bowl, mix the sour cream, egg, and vanilla extract until smooth. Add the softened butter to the dry ingredients, and mix using a hand mixer or stand mixer at low speed until the mixture resembles fine crumbs. Slowly pour in the wet ingredients, continuing to mix until just combined. The batter will be thick.
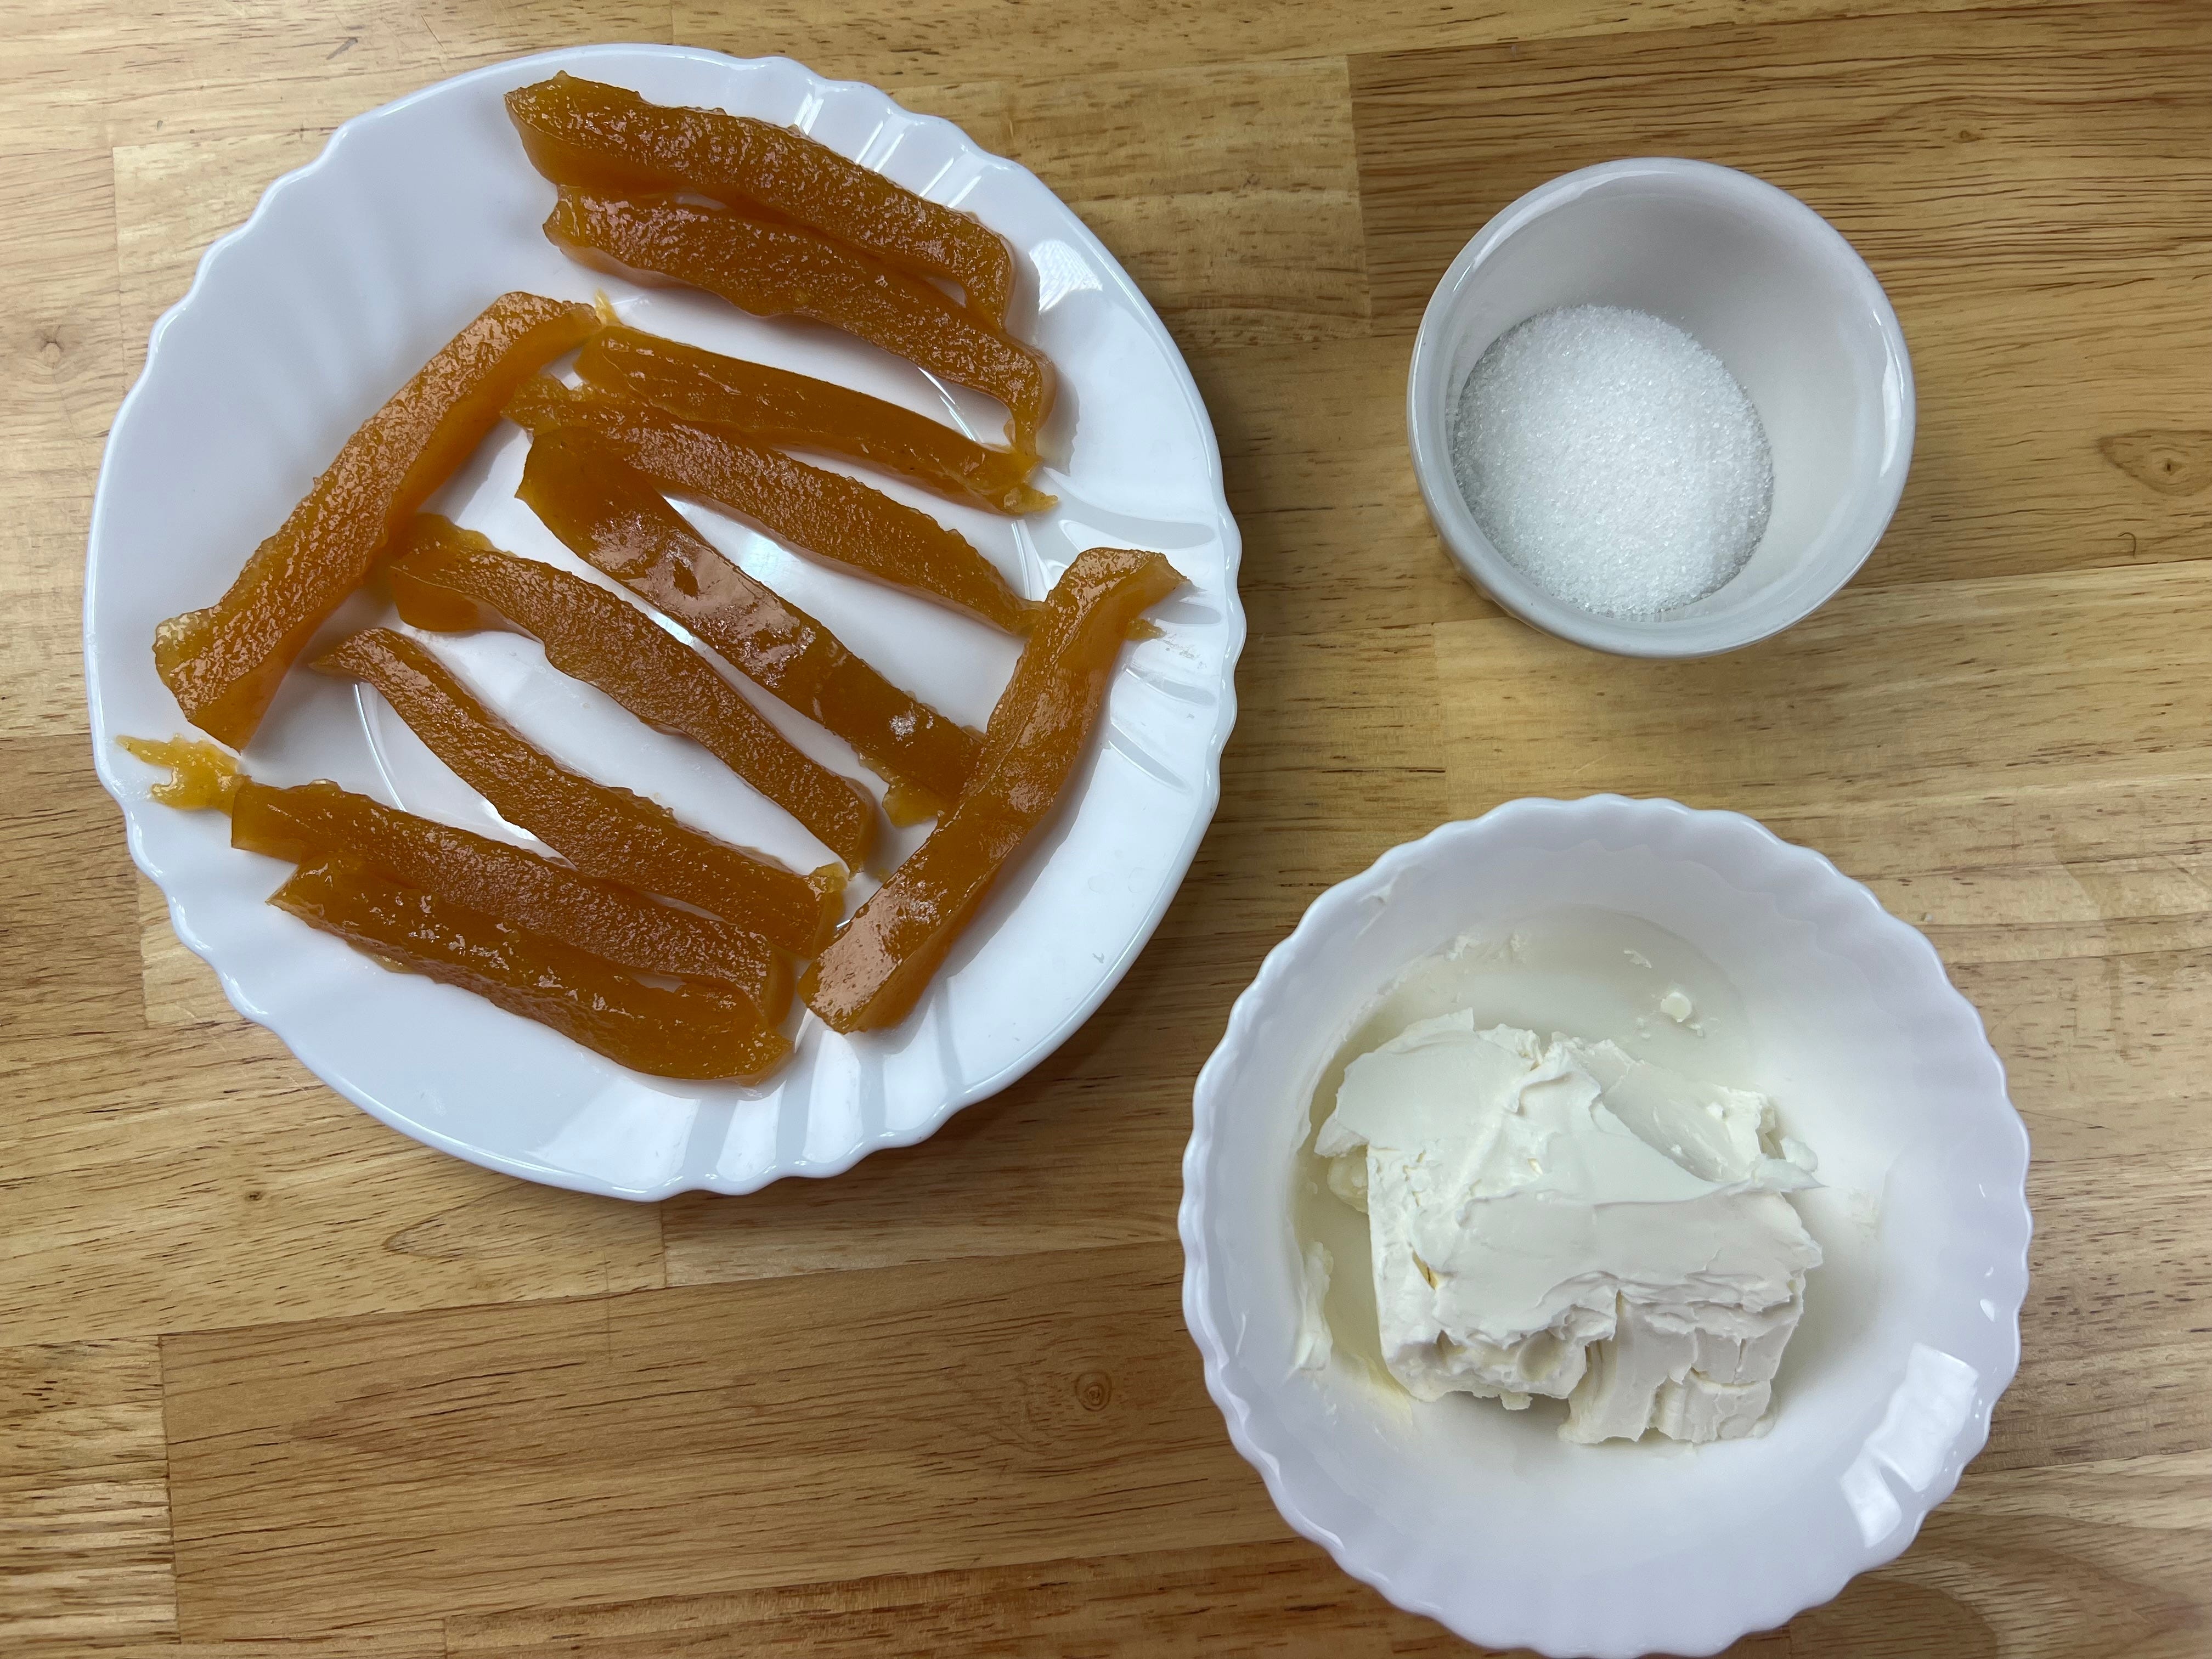
3. Prepare the filling: In a medium bowl, beat the cream cheese and sugar together until smooth. Set aside. Cut the guava paste into thin slices or small cubes.
4. Assemble the cake: Spread half the cake batter into the prepared pan, smoothing it into an even layer. Drop spoonfuls of the cream cheese mixture over the batter, followed by a layer of guava paste slices. Spread the remaining cake batter over the filling, carefully smoothing it out to cover the guava and cream cheese.
5. Make the crumble topping: In a small bowl, whisk together the flour, granulated sugar, and brown sugar. Add the cold butter cubes, and use your fingers or a pastry cutter to work the butter into the mixture until it forms coarse crumbs.
6. Top and bake: Sprinkle the crumble topping evenly over the cake. Bake for 40–50 minutes, or until a toothpick inserted into the center comes out clean or with a few moist crumbs. If the top begins to brown too quickly, tent the cake with aluminum foil.
7. Cool and serve: Let the coffee cake cool in the pan on a wire rack for 10–15 minutes. Run a knife around the edge of the cake, then carefully release the springform pan. Slice and enjoy!
This cake can be served warm or at room temperature, with lemon or caramel drizzle if you like extra indulgence. We chose lemon drizzle: mix 1 cup of powdered sugar with 2-3 tablespoons of lemon juice … drizzle onto cooled coffee cake.
Storage Notes:
At Room Temperature: The guava and cream cheese coffee cake can be stored, covered, at room temperature for up to 2 days.
In the Refrigerator: For longer storage, cover the cake tightly with plastic wrap or transfer it to an airtight container. It will keep well in the refrigerator for up to 5 days. Let the cake come to room temperature before serving or warm slices briefly in the microwave.
Freezing: To freeze, wrap individual slices in plastic wrap and place them in a freezer-safe bag or container. The cake will keep for up to 3 months in the freezer. Thaw at room temperature before serving or reheat in the microwave.
Guava paste: Once set, cut the guava paste into squares or slices. Store it in an airtight container in the refrigerator for up to 2 weeks
Equipment (Disclosure: Items below include affiliate links with Amazon USA. You pay the regular price, and I get a small commission.) I only recommend products that I own myself and know to be excellent quality. I often get asked on social media sites about my kitchen tools, so here are most of them used to make this recipe.
9” springform pan (This is a great pan for single-layer cakes and cheesecakes.)
Mixing bowls (I like this oven-proof glass set of 10 for mixing and portioning out ingredients.)
Stand mixer (An electric hand mixer can also be used.)


That looks positively delish, but you know what would make it even better? Yep, walnuts! And a suggestion of ginger.