


Amazing Raspberry Coconut Blondies Recipe from the Bake with Brooki Cookbook | Mountaintop Kitchen
Bright raspberry notes, caramel flavor, and creamy white chocolate all rolled into a delicious blondie.


Thanks for dropping in to the Mountaintop Kitchen. Looking to add something vibrant, chewy, and absolutely irresistible to your recipe collection? These Raspberry Coconut Blondies are inspired by the popular Bake with Brooki cookbook and are perfect for home bakers and commercial bakeries alike! Packed with tart raspberries, creamy white chocolate, and the tropical sweetness of coconut, they’re a show-stopping dessert with minimal effort. Whether you’re baking for your family and friends or selling at your next market, these blondies are guaranteed to impress.
Stick around, and I’ll show you how to make these bakery-worthy bars from scratch!

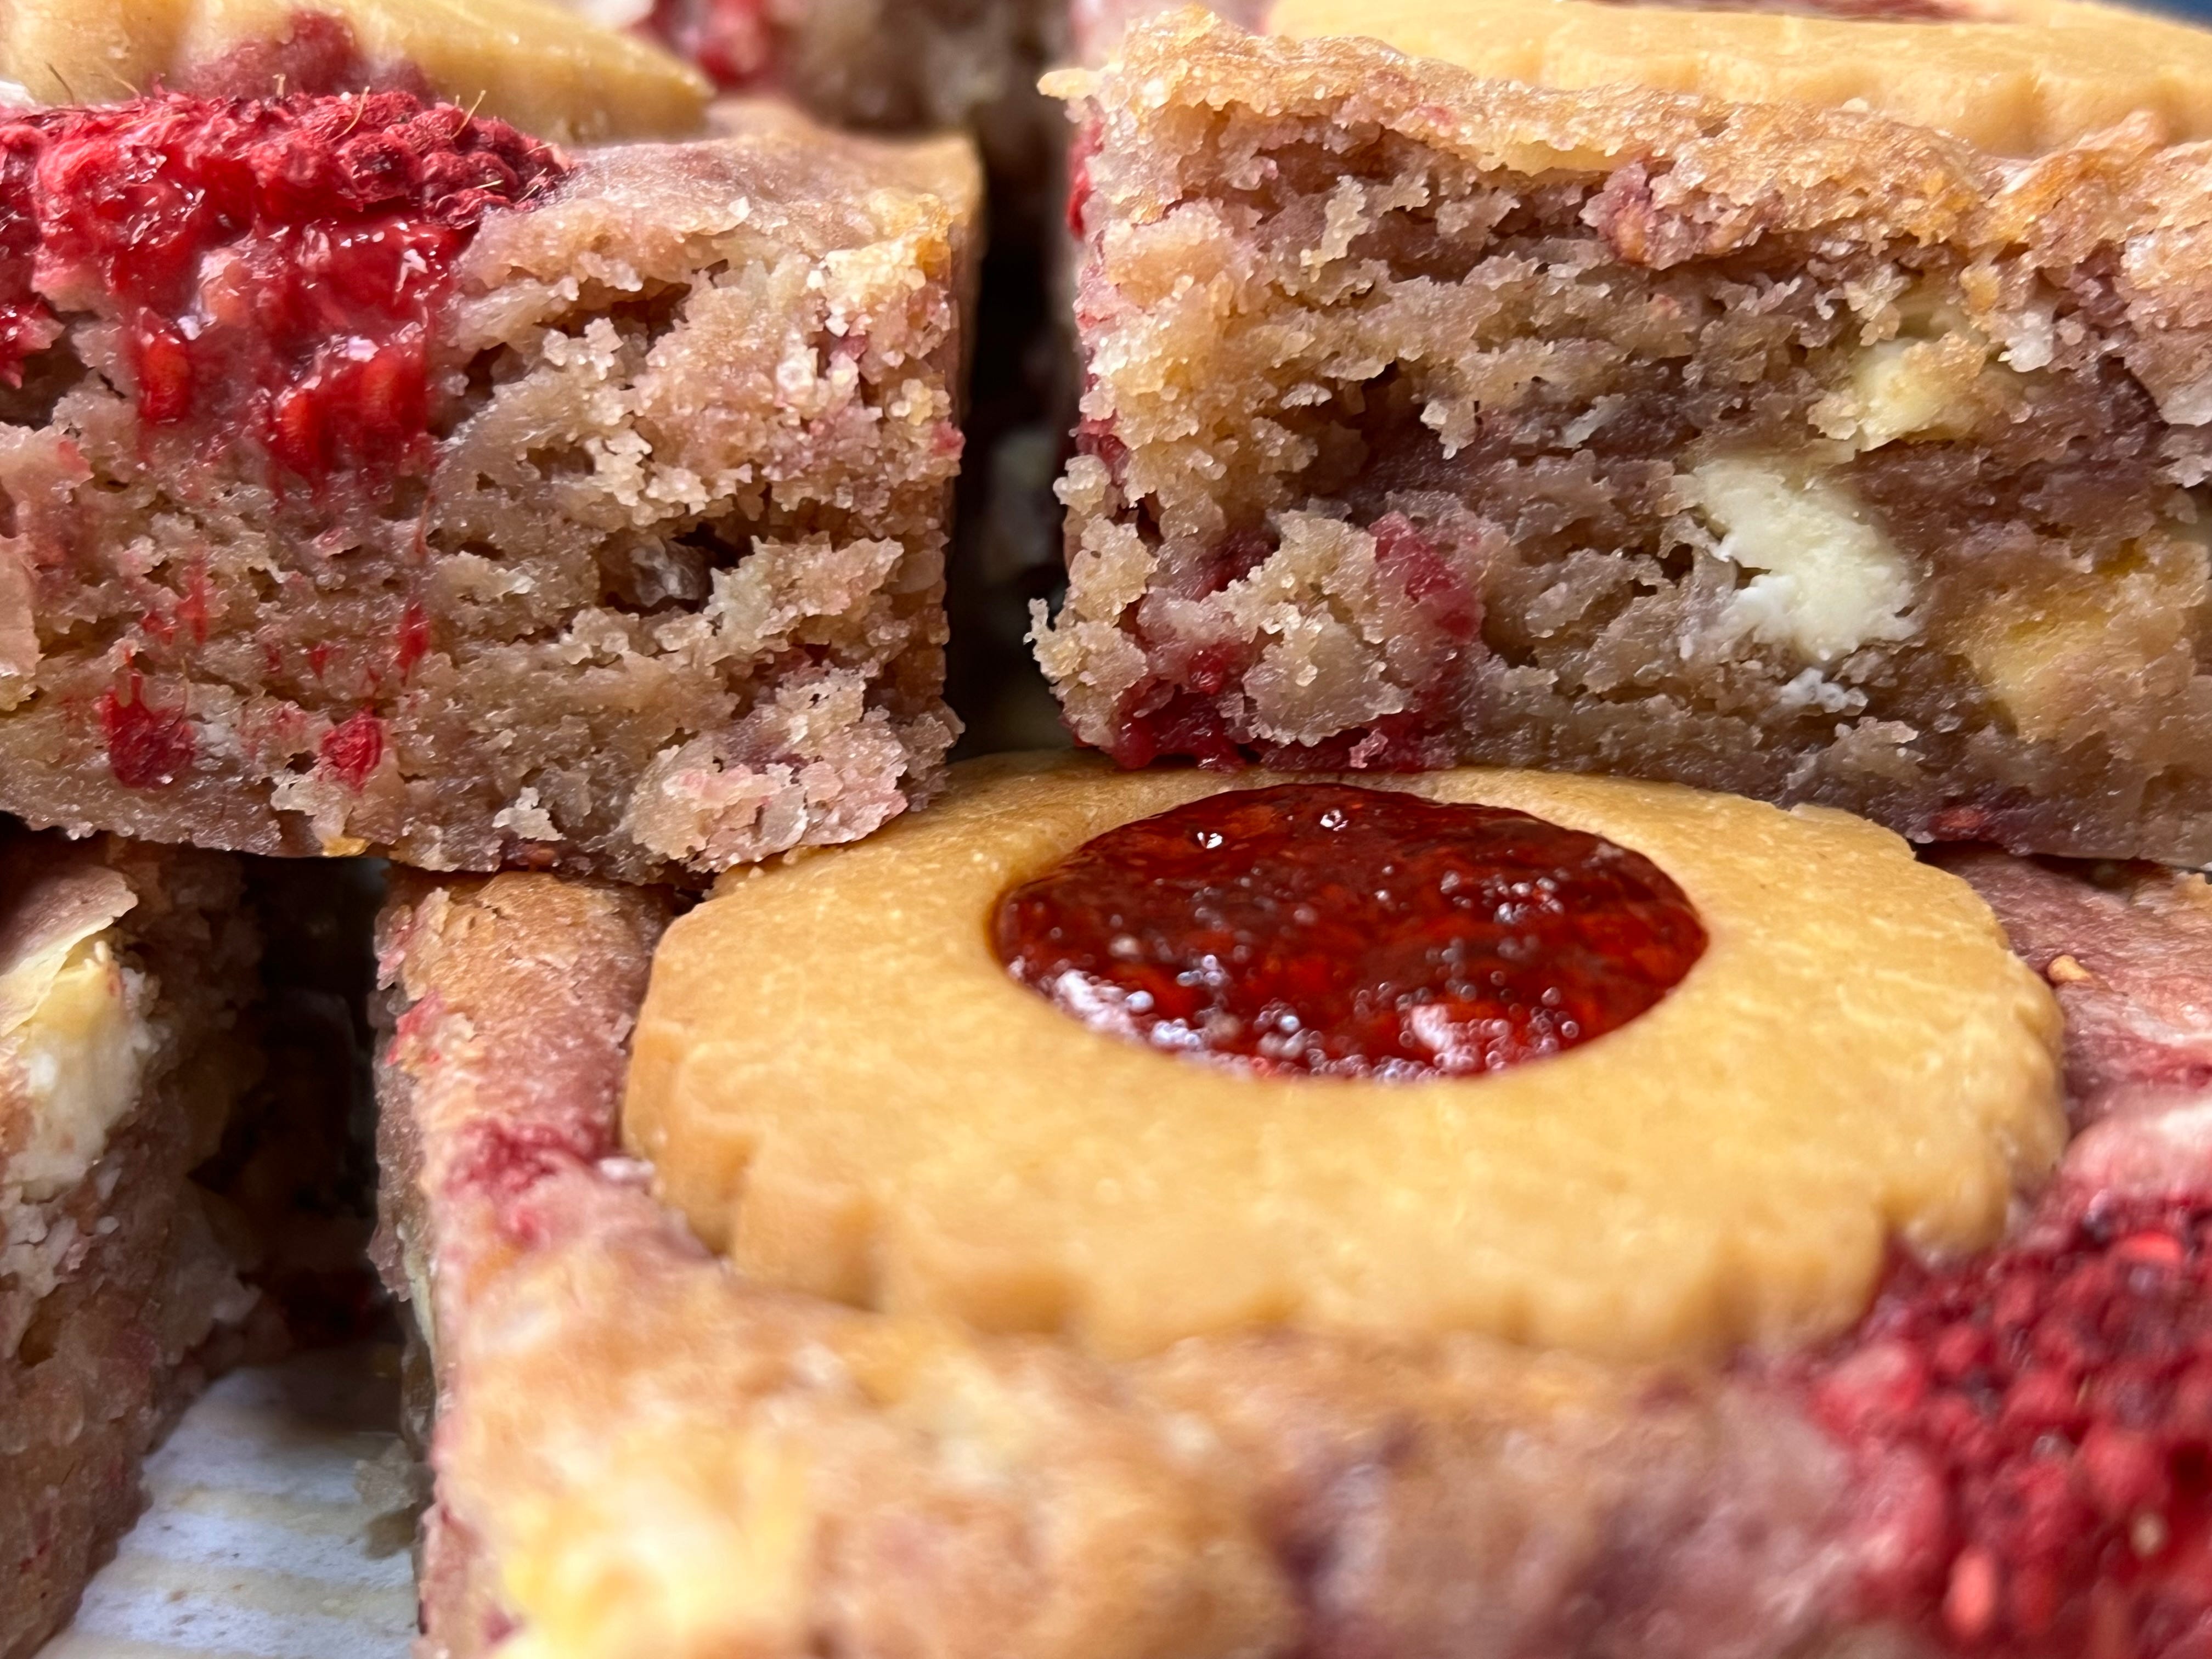
These thick, chewy blondies boast the deeper caramelized flavor of dark brown sugar, complemented by the rich sweetness of white chocolate, the tartness of raspberries, and tropical coconut. For a decorative and fruity flair, you can optionally top the batter with jam-filled thumbprint cookies before baking.

In Search of the Perfect Raspberry
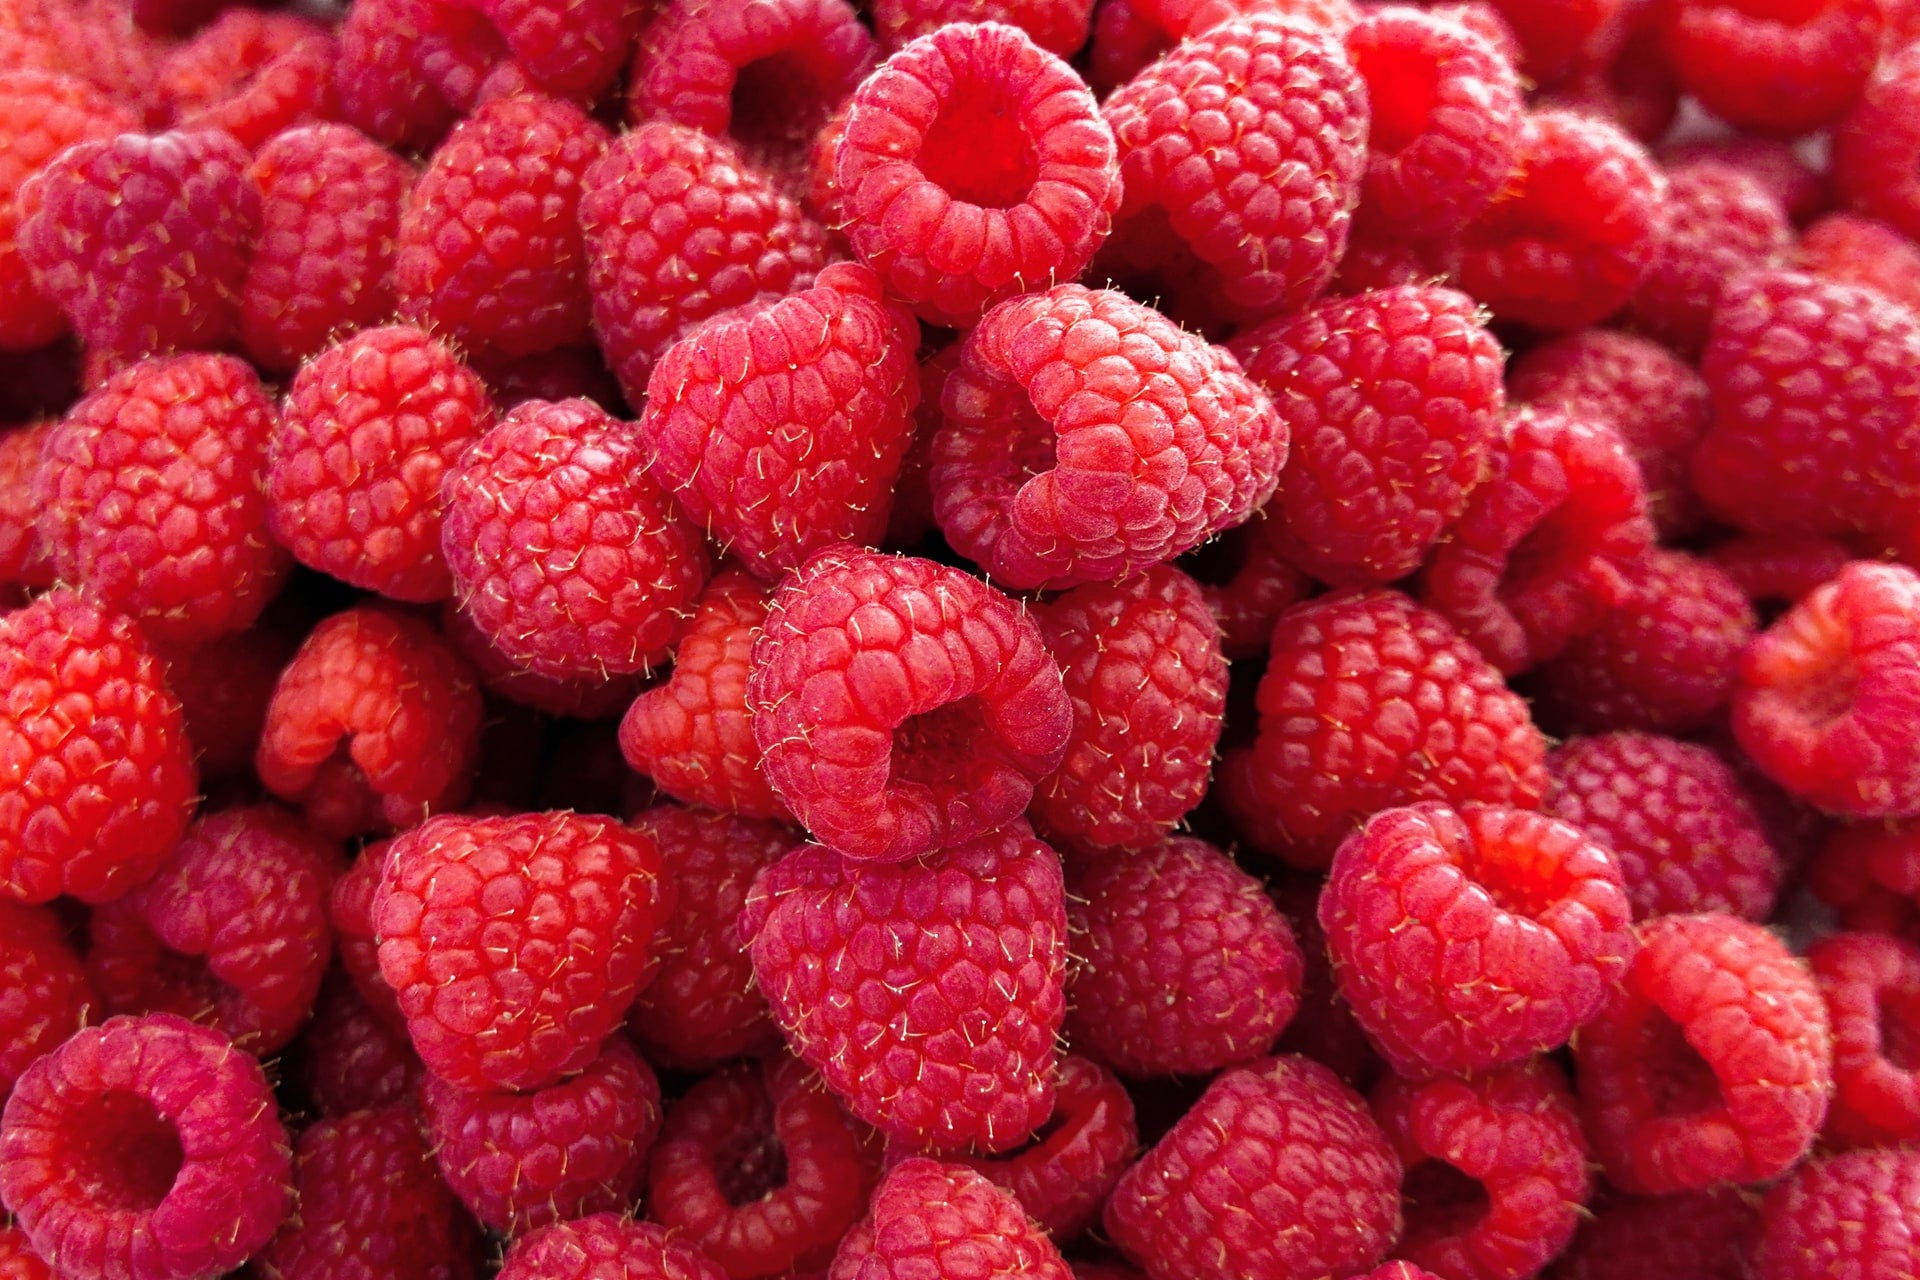
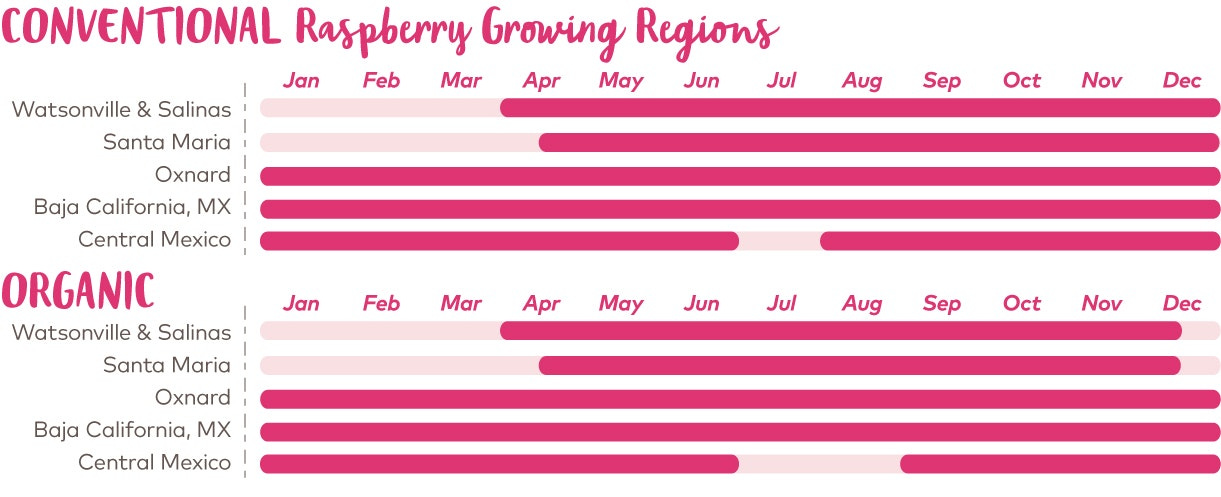
The first time I picked raspberries in the highlands of Central Mexico (See growing schedule by season and region below.), I thought I knew what to expect. I had eaten raspberries all my life—those little cartons from the store, some sweet, some tart, always a little fragile. But nothing prepared me for the explosion of flavor when I plucked a deep ruby berry straight from the bramble, still warm from the morning sun.
The air smelled of earth and sunlight, mingling with the faint perfume of ripe fruit. The raspberry bushes stood in long, tangled rows, their leaves a deep green that made the berries pop like tiny glowing jewels. My fingers, already stained crimson from picking, moved quickly—pluck, drop, pluck, drop—each berry landing in the woven basket at my side. The growers, a family who had tended this land for generations, worked beside me, laughing and chatting in rapid Spanish. They moved with practiced ease, their hands knowing exactly which berries were at peak ripeness.
“This one,” the farmer’s son said, handing me a berry so colorful that it practically left a permanent impression on my retinas. “The best ones look like this.”

I popped it into my mouth, and for a moment, the world disappeared. It was nothing like the store-bought raspberries I knew from my life in the states. This was sweet beyond belief, with a floral depth and an almost honey-like richness. There was still that bright, tart kick, but it was balanced, rounder, fuller. I could taste the land in it—the fertile soil, the warm sun, the cool nights that coaxed out every drop of sweetness.
The farmer’s son grinned at my expression. “Te lo dije.”
I had always thought of raspberries as a fleeting summer indulgence, something you buy, savor, and forget until next time. But here, in the fields where they grew, I realized they were more than that. They were a livelihood, a tradition, a connection between people and the land. Instead of sitting on a store shelf, losing their delicate flavor with every passing hour, these berries went straight from the cane to the hands of those who would eat them.
As we filled our baskets, the farmer’s wife called us over to a shaded spot under a mesquite tree. She had brought fresh cream and a bit of sugar, and we tumbled our raspberries into clay bowls, drizzling them with the thick, golden cream. The taste was pure magic—berries so fresh they burst like tiny fireworks, the cream soft and rich against their tartness.
I had come here thinking I knew raspberries. I left knowing I had only just met them. And as I walked away with my basket full of the freshest, ripest fruit; I smiled, knowing that each berry held not just flavor, but a story—one I would carry with me, and one I would share with every bite.

On Measuring Ingredients: My preferred method of measuring is weight by grams. Baking by volume rather than weight can lead to varied and unexpected results. Flour is especially problematic when measured by volume (sifted, not sifted, spooned, not spooned, fluffed or not … you get the point). Grams are always the same; they are your friend as a baker. King Arthur Baking Company’s Ingredients Weight Chart is helpful for converting recipe weights.
On Altitude Adjustments: Before measuring ingredients, preheating your oven, or setting your timer; it’s important to consider any necessary adjustments for baking at higher altitudes, which is generally considered to be 3,500ft and above. Most recipes are written for sea level up to 3,500ft. Take at look at our baking at High-Altitude Baking Adjustments page for guidance.
Recipe
Amazing Raspberry Coconut Blondies
Yield: 9 squares in a 20 cm (8") square baking tin
Prep Time: 30 minutes
Cooking Time: 25-30 minutes
Cooling Time: 2 hours
• 225 g (8 oz) unsalted butter, room temperature: Provides richness and moisture, giving the blondies their soft, chewy texture.
• 110 g (3¾ oz) granulated sugar: Adds sweetness and helps create a light, tender crumb.
• 110 g (3¾ oz) dark brown sugar: Contributes moisture, depth of flavor, and a chewy texture due to its higher molasses content.
• 2 teaspoons of vanilla extract: Enhances the overall flavor and complements the sweetness of the white chocolate and coconut.
• 2 large eggs, room temperature: Acts as a binder and provides structure, helping the blondies rise and hold their shape.
• 260 g (9 oz) plain flour: Forms the base of the batter and gives the blondies their structure.
• 1 teaspoon of salt: Balances the sweetness and enhances the flavors of the other ingredients.
• 150 g (5¼ oz) white chocolate chips: Adds bursts of creamy sweetness throughout the blondies.
• 100 g (3½ oz) raspberries, frozen or fresh: Brings a tart, fruity contrast to the rich sweetness of the batter.
• 50 g (1¾ oz) shredded coconut: Contributes a tropical flavor and adds texture to the blondies.
• Raspberry thumbprint cookies (optional): About 9 cookies with raspberry jam filling: Provides a decorative and flavorful topping, making the blondies visually striking and extra indulgent.

1. Preheat oven and prepare the pan:
Preheat your oven to:
Conventional: 350°F (175°C)
Convection: 325°F (160°C)
Grease and line an 8-inch (20 cm) square pan with parchment paper, leaving a slight overhang on two sides for easy removal.
2. Cream the butter and sugars:
In the bowl of a stand mixer fitted with the paddle attachment, beat the butter, granulated sugar, and dark brown sugar on medium-high speed until light and fluffy, about 4-5 minutes.
3. Incorporate wet ingredients:
Add the vanilla extract and eggs one at a time, beating well after each addition. Scrape down the sides of the bowl to ensure the mixture is fully combined.
4. Mix the dry ingredients:
In a separate bowl, whisk together the flour andsalt. Add the dry mixture to the wet ingredients and mix on low speed until just combined.
5. Fold in the mix-ins:
Gently fold in the white chocolate chips, raspberries, and shredded coconut using a spatula. Be careful not to overmix or break the raspberries too much.
6. Assemble and bake:

Spread the batter evenly into the prepared pan, smoothing the top with a spatula.
Optional cookie topping: Arrange about 9 raspberry thumbprint cookies evenly on top of the batter, gently pressing them into the surface.
Bake in the center of the oven for 25-30 minutes
The bars are done when the top is golden, and a toothpick inserted into the center comes out clean or with a few moist crumbs.
7. Cool and slice:
Let the bars cool completely in the pan on a wire rack. Use the parchment overhang to lift them out of the pan and onto a cutting board. Slice into squares, ensuring each piece has a cookie topping if used.
High-Altitude Adjustments for Baking at 7,000 Feet (We are in the mountains)
At 7,000 feet, the lower air pressure affects how blondies bake, causing them to rise and fall unevenly. To ensure tall, perfectly baked blondies with a chewy texture, follow these adjustments:
Ingredient Adjustments
1. Reduce leavening: Decrease the baking powder from ¾ teaspoon to ½ teaspoon. This prevents the batter from rising too quickly and collapsing.
2. Increase flour: Add 2 tablespoons (15 g) of flour to stabilize the structure of the blondies.
3. Adjust sugar: Reduce the total sugar by 2 tablespoons (25 g) to improve structure and prevent excess moisture retention.
Baking Adjustments
1. Increase oven temperature:
For conventional baking, increase the oven temperature to 375°F (190°C).
For convection baking, increase to 350°F (175°C).
2. Shorten baking time: Start checking for doneness 3-5 minutes earlier than the listed baking time. Expect to bake for:
3. Moisture retention: To prevent drying, keep a close eye on the blondies during the last few minutes of baking. They should be moist but not underbaked.
Additional Tips
Eggs and butter at room temperature: This helps ensure proper mixing and prevents the batter from over-aerating at higher altitudes.
Do not overmix: Gently fold the ingredients together to avoid introducing too much air, which can lead to instability at high altitudes.
Cool completely before cutting: Allow the blondies to set and firm up fully after baking, ensuring a clean cut and a stable texture.
Storage
Store the blondies in an airtight container at room temperature for up to 3 days, or in the refrigerator for up to 5 days. For longer storage, freeze for up to 2 months and thaw at room temperature before serving.
These blondies combine rich, buttery flavors with bursts of tart raspberry and tropical coconut, making them an irresistible treat for any occasion!


Equipment (Disclosure: Items below include affiliate links with Amazon USA. You pay the regular price, and I get a small commission.) I only recommend products that I own myself and know to be excellent quality. I often get asked on social media sites about my kitchen tools, so here are most of them used to make this recipe. The full list of our recommended kitchen equipment can be found here.
8x8-inch square baking pan with 3-inch sides (This is the perfect size for a variety of brownies, bars, and traybakes.)
Small Baking Palette Knives (These are great for leveling and teasing batters into pan corners.)
Mixing bowls (I like this oven-proof glass set of 10 for mixing and portioning out ingredients.)
Offset spatula (I use this for cake decorating and leveling batters in baking tins.)
Silicon spatulas (Every kitchen needs something to mix, scrape, and scoop batters.)
Mesh strainers/sifters/sieves (Sifting dry ingredients is important.)
Stand mixer (This dough can be mixed by hand, but a stand mixer ensures consistency.)
Glass mixing bowl for KitchenAid stand mixer (See all your ingredients as they mix.)
Colorful small binder clips (For fastening parchment paper to your baking tin, these are a handy wonder.)
Double-handed long cutting blade (This is a perfect tool for slicing up brownies and other traybakes.)
Cordless electric hand mixer (This is a handy mixer for these smaller bakes.)
Kitchen scale (Ingredients should be weighed rather than relying on volume.)
Oven thermometer (All ovens need calibration, an in-oven thermometer is essential.)
Silicon oven mitts (I’ve burned my hands too many times with cloth mitts.)
Thanks for popping into the Mountaintop Kitchen today!
Stone — The Mountaintop Baker 👨🏼🍳